 Deutsch
Rich text editor
In this introduction, we will explain the function of and how to use the "Rich Text Editor" element. This is a very versatile tool with which you can add texts in various formats as well as images, videos or linked words and buttons.
Rich text editor
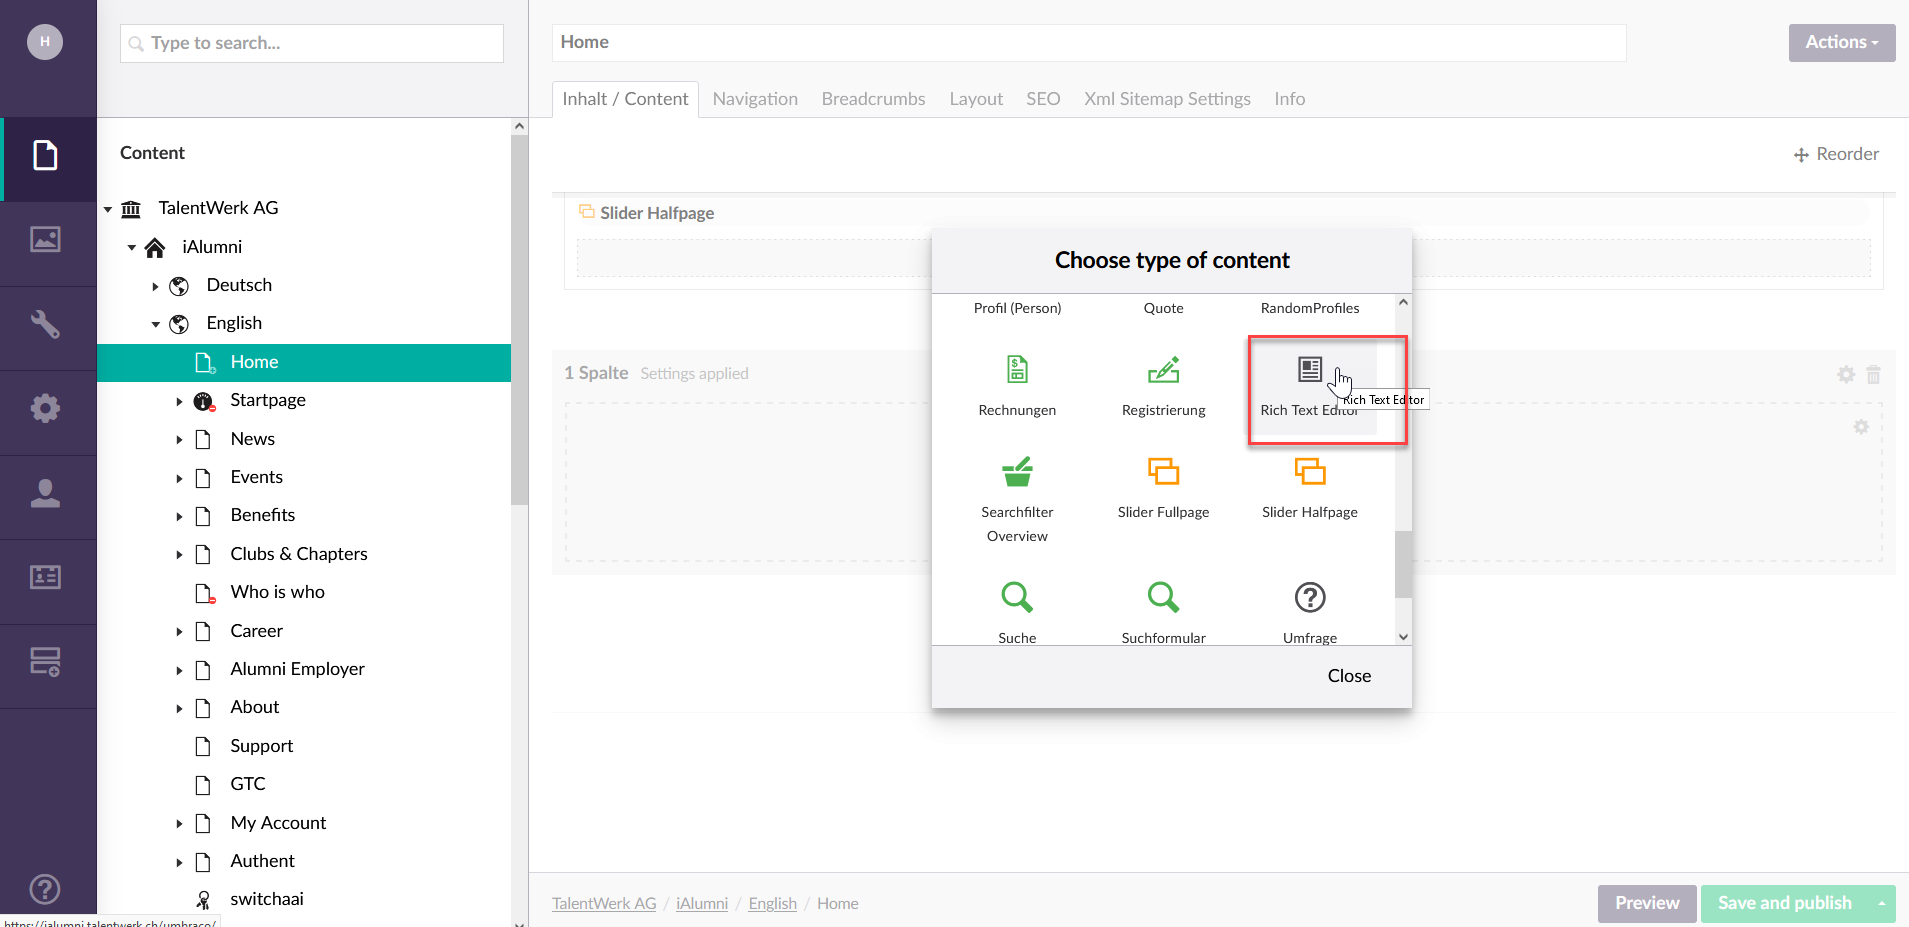
1. Open the elemnt "rich text editor"
|
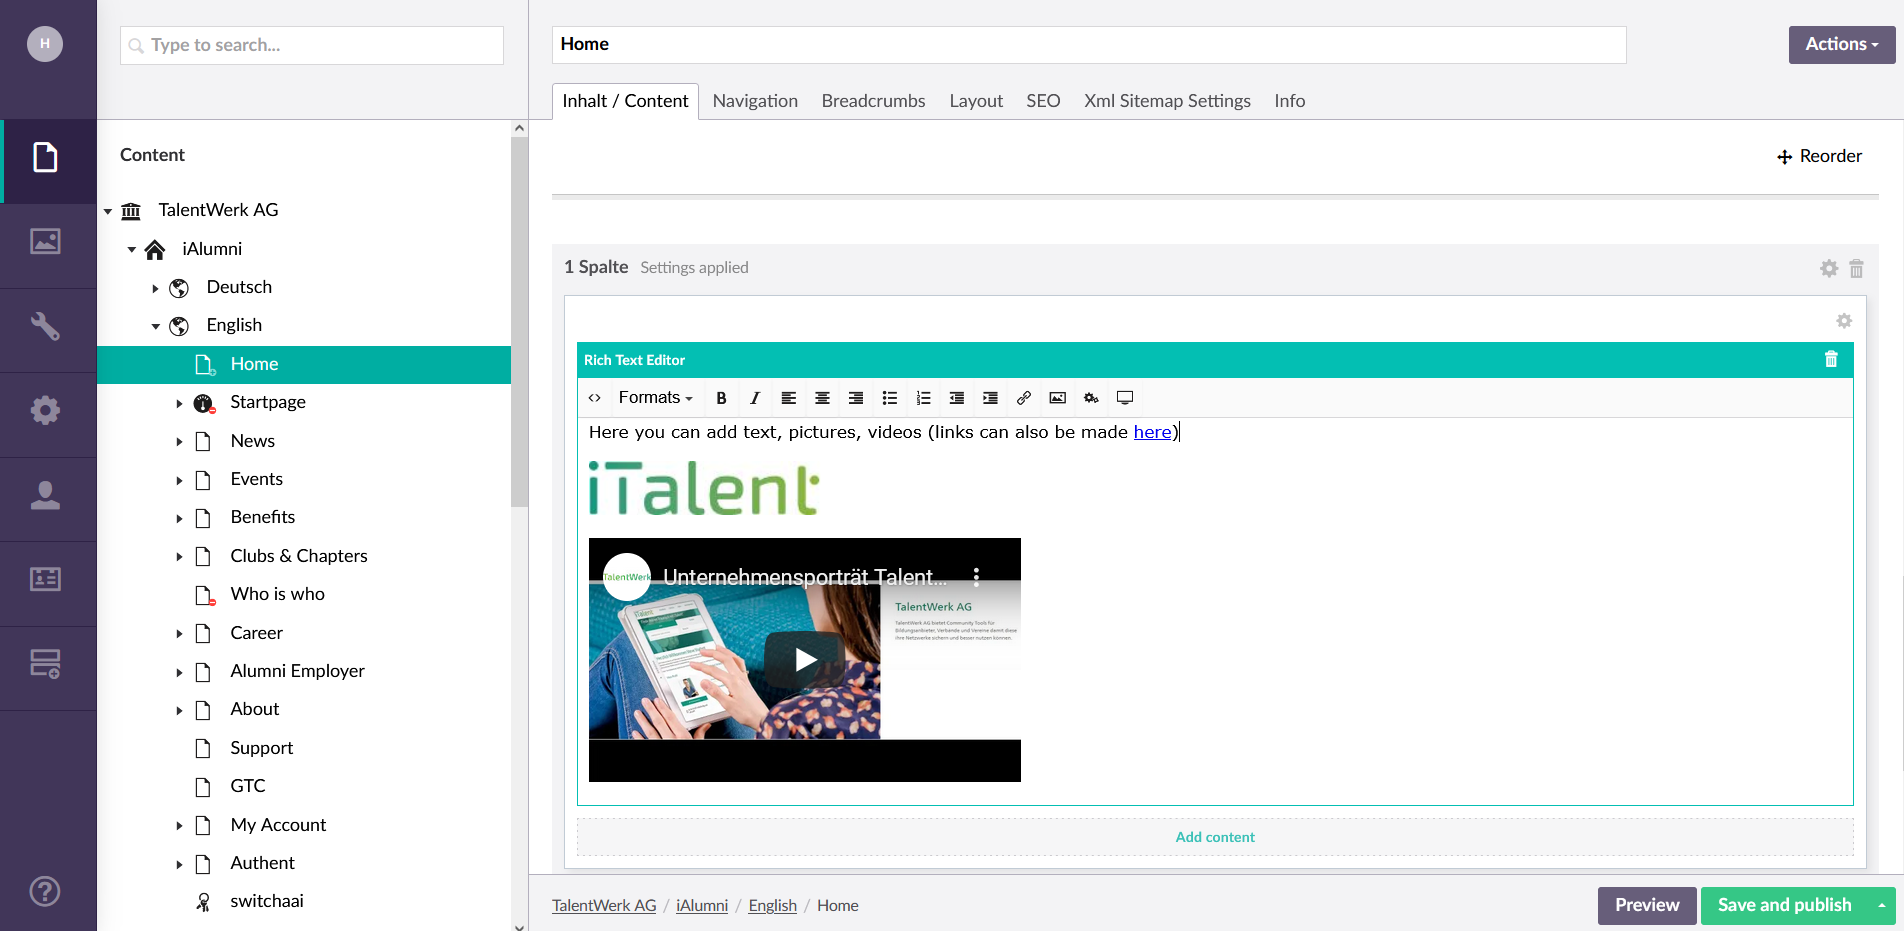
2. The rich text editor
In the menu bar you will find all the functions, most of which are similar to those in Microsoft Word.
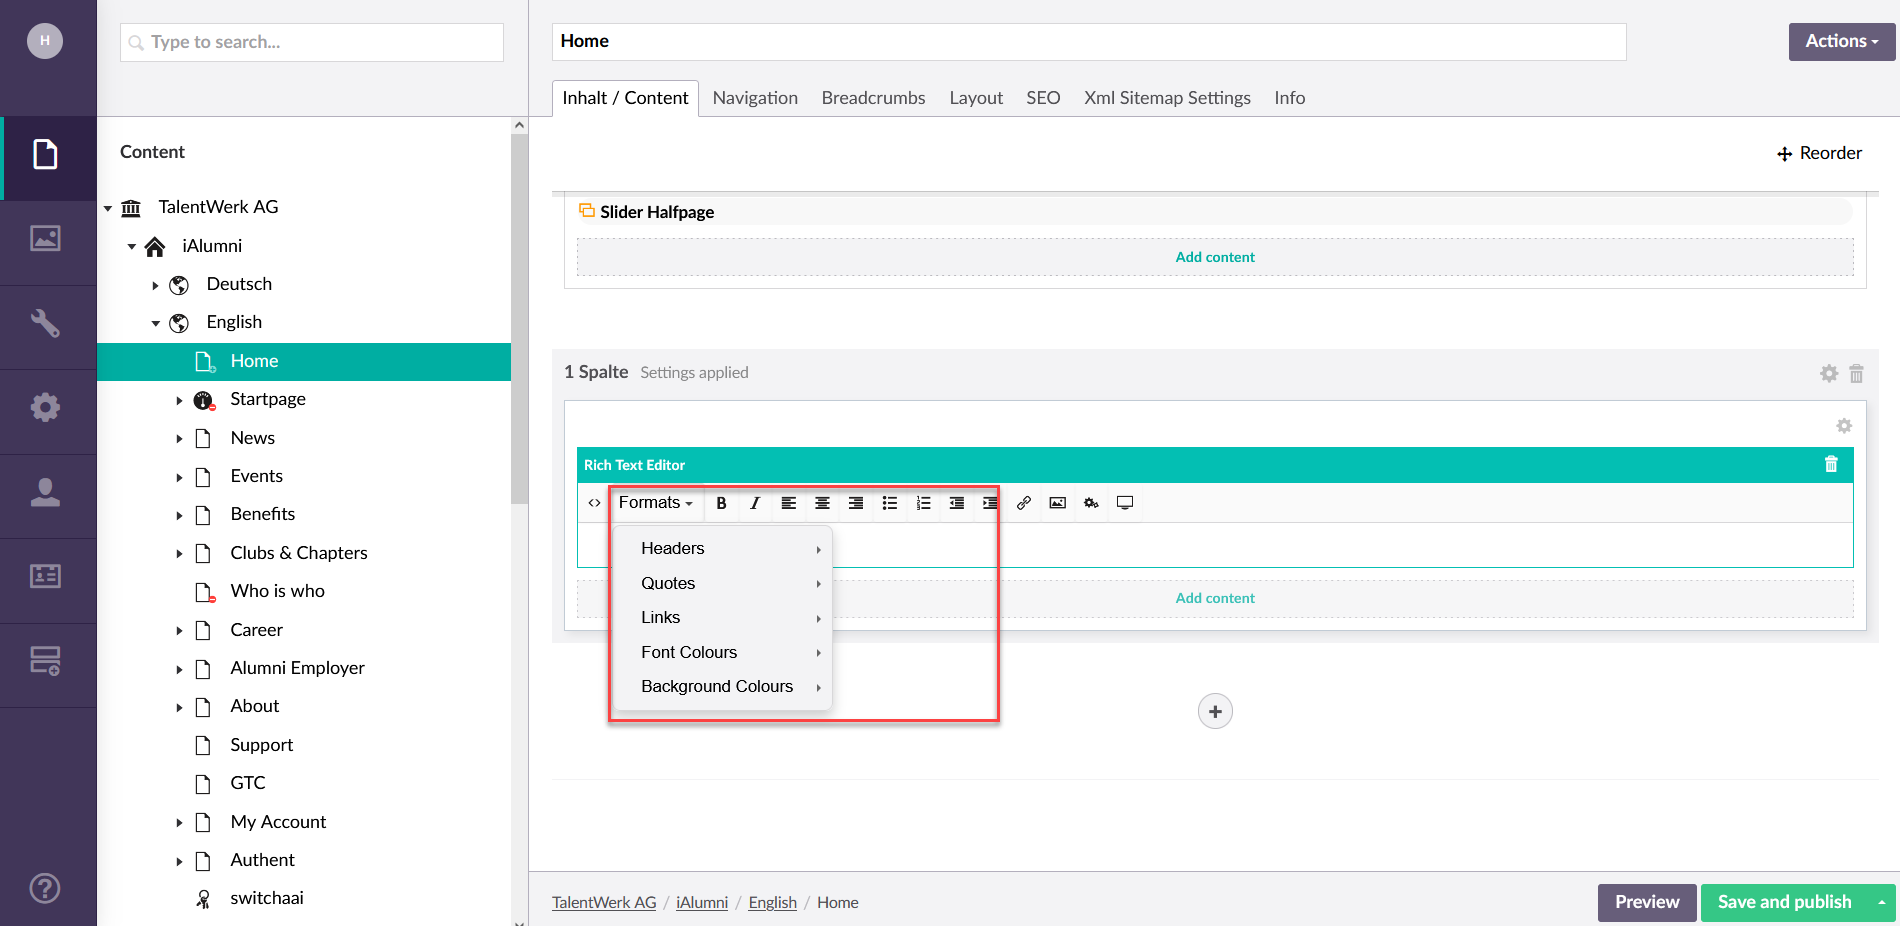
2.1 text formatting
For example, you can select different font sizes, font and background colours or make a bulleted or numbered list.
2.2 Links
You can also add a link to a picture or word by first selecting the desired object and then selecting the bracket and linking to the desired page.
|

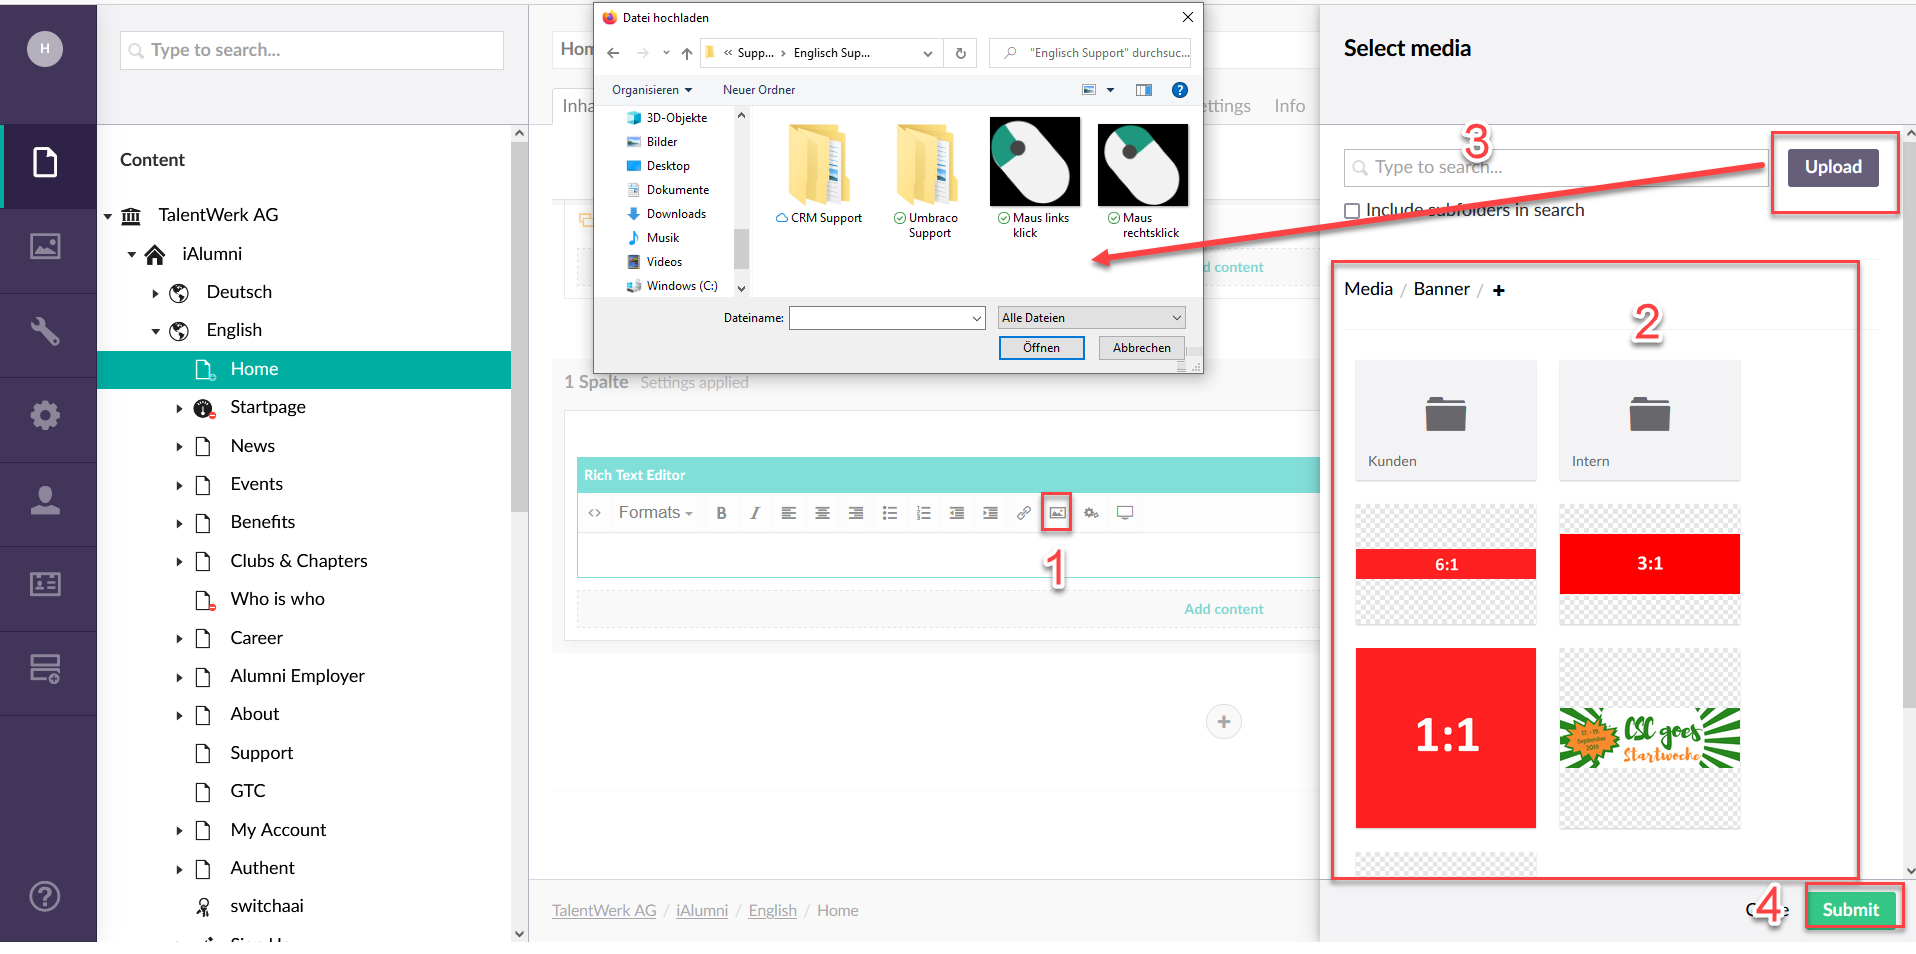
2.3 Media picker
With the "Media Picker" you can integrate pictures and other media that you have stored in the media area into your text field.
|
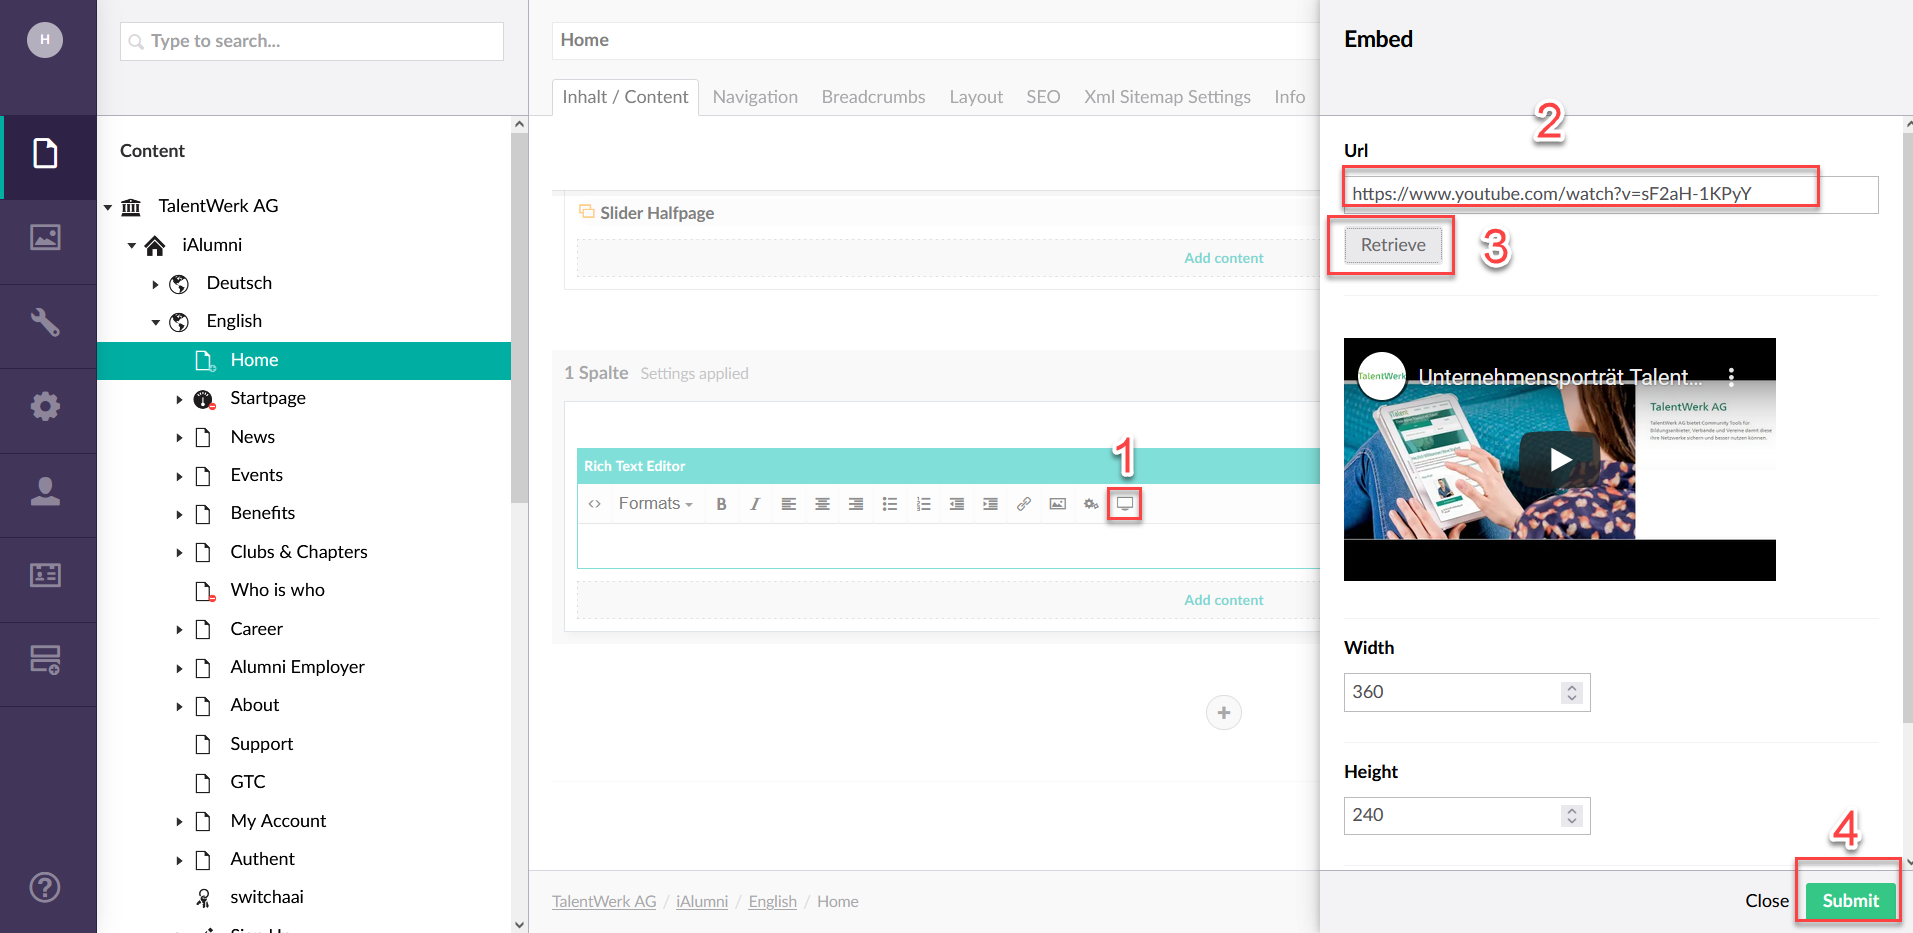
2.3 Integrate YouTube videos
In addition, you can also integrate YouTube videos directly via the Rich Text Editor by copying the URL of the desired video and pasting it into the field of the embed function. This has the advantage that the video is streamed on your website with the YouTube player and thus the loading time of your website is not extended by a heavy video.
|
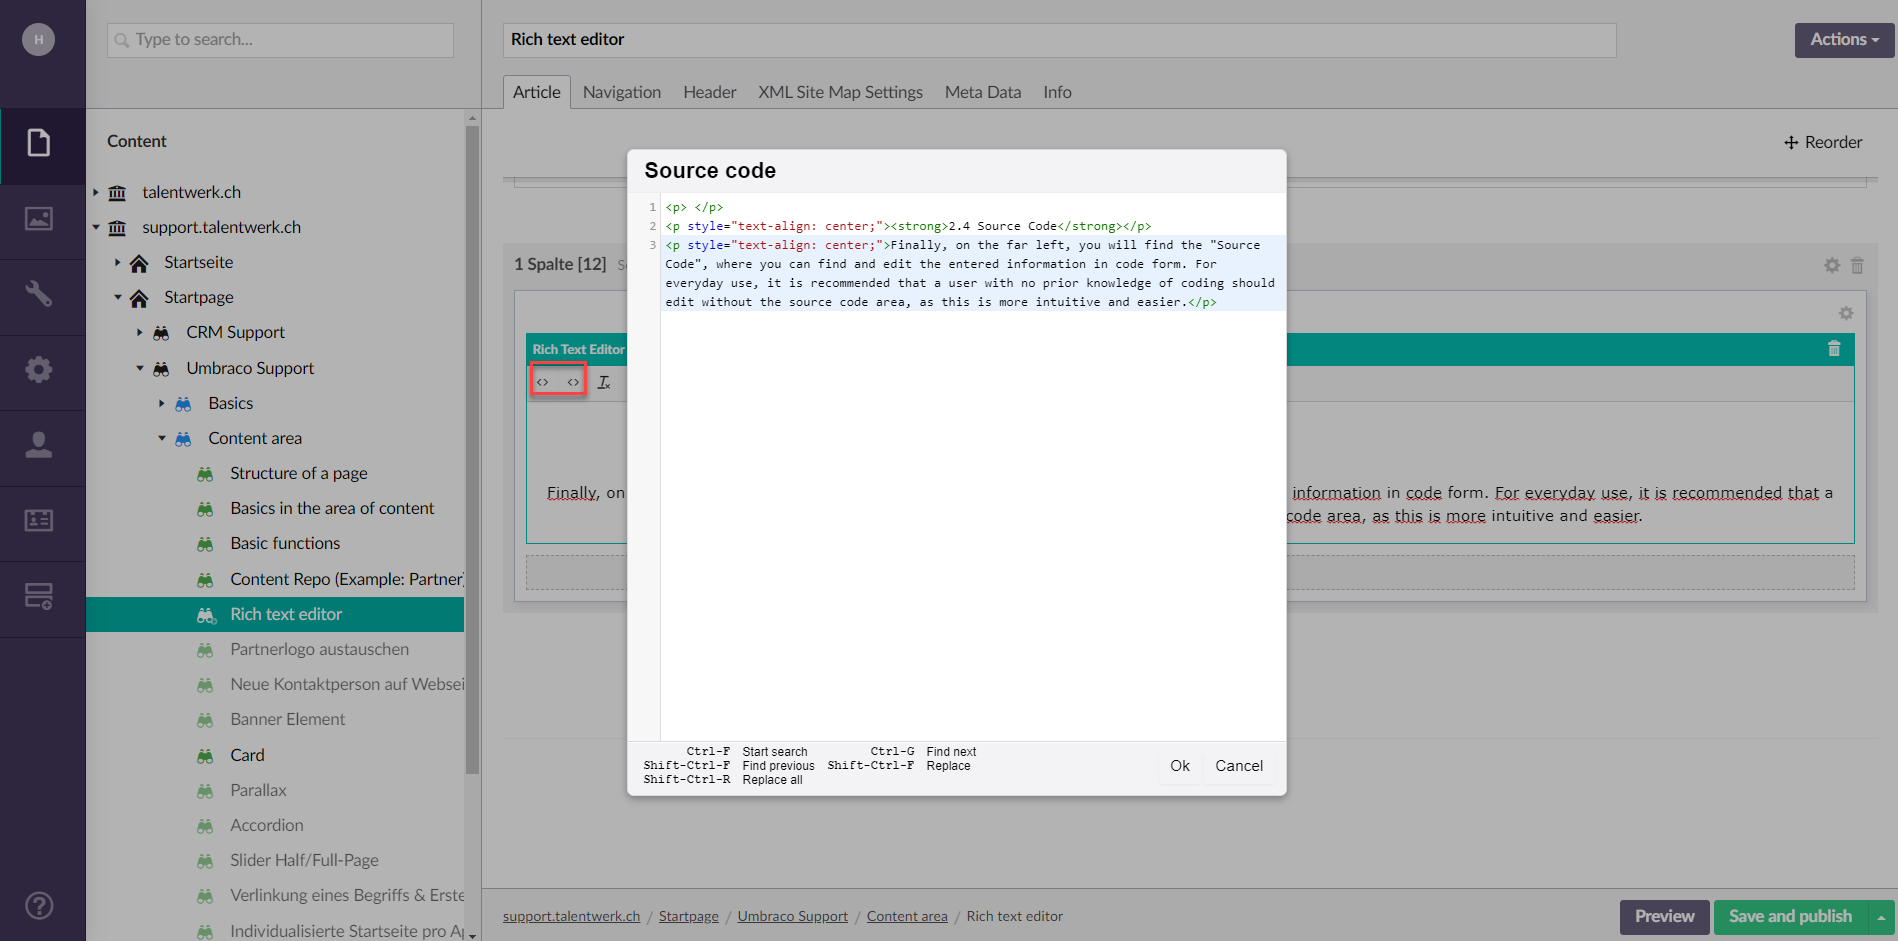
2.4 Source Code
Finally, on the far left, you will find the "Source Code", where you can find and edit the entered information in code form. For everyday use, it is recommended that a user with no prior knowledge of coding should edit without the source code area, as this is more intuitive and easier.
Weitere Artikel
Basics in the area of content
In this instruction we will explain the basics of the "Content" area in your Umbraco.
Read moreReplace partner logo
In this instruction we explain how you can add a new partner or exchange parts of the information of an existing partner.
Read more