 Deutsch
Basics in the area of content
In this instruction we will explain the basics of the "Content" area in your Umbraco.
1. Basics in the area of content
1. Create a page
|

2. Page
|
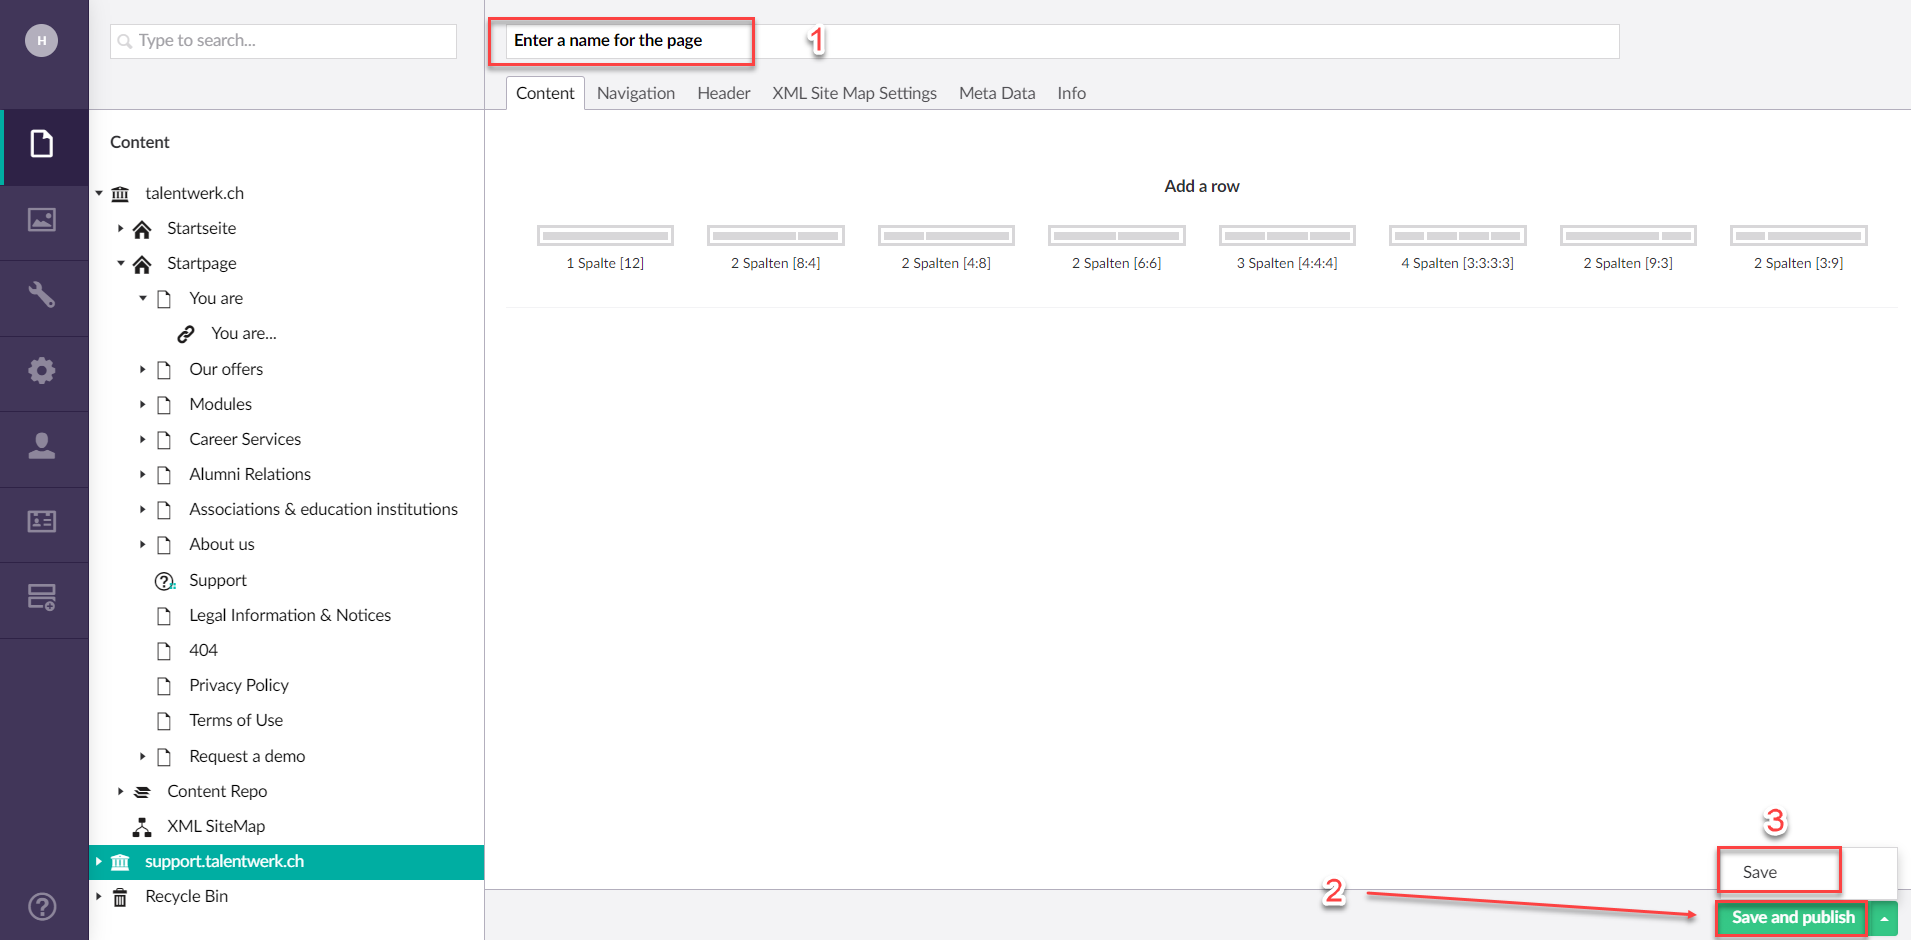
3. Preview
After saving the page, the Button "Preview" is visible.
|

4 Content area
Now you have saved the page and can start adding and editing the content.
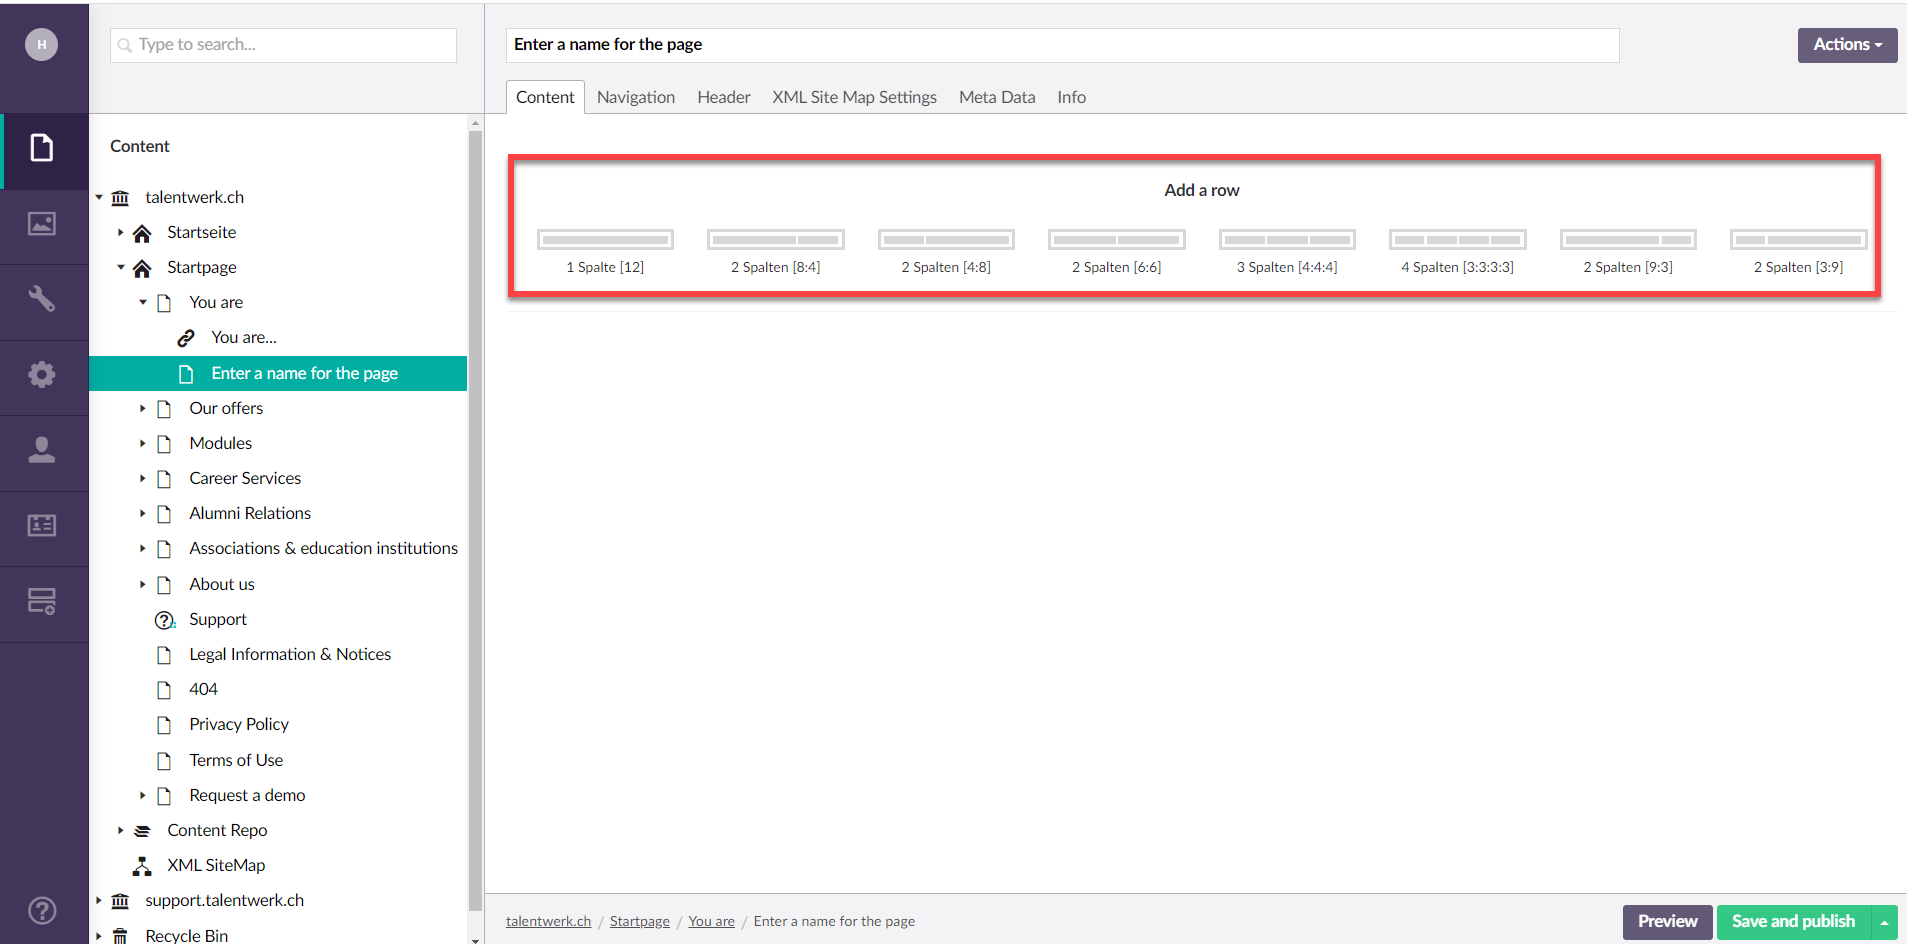
4.1 Add a row
First you must always select one of the predefined line layouts.
Choose according to how many columns you would like to have.
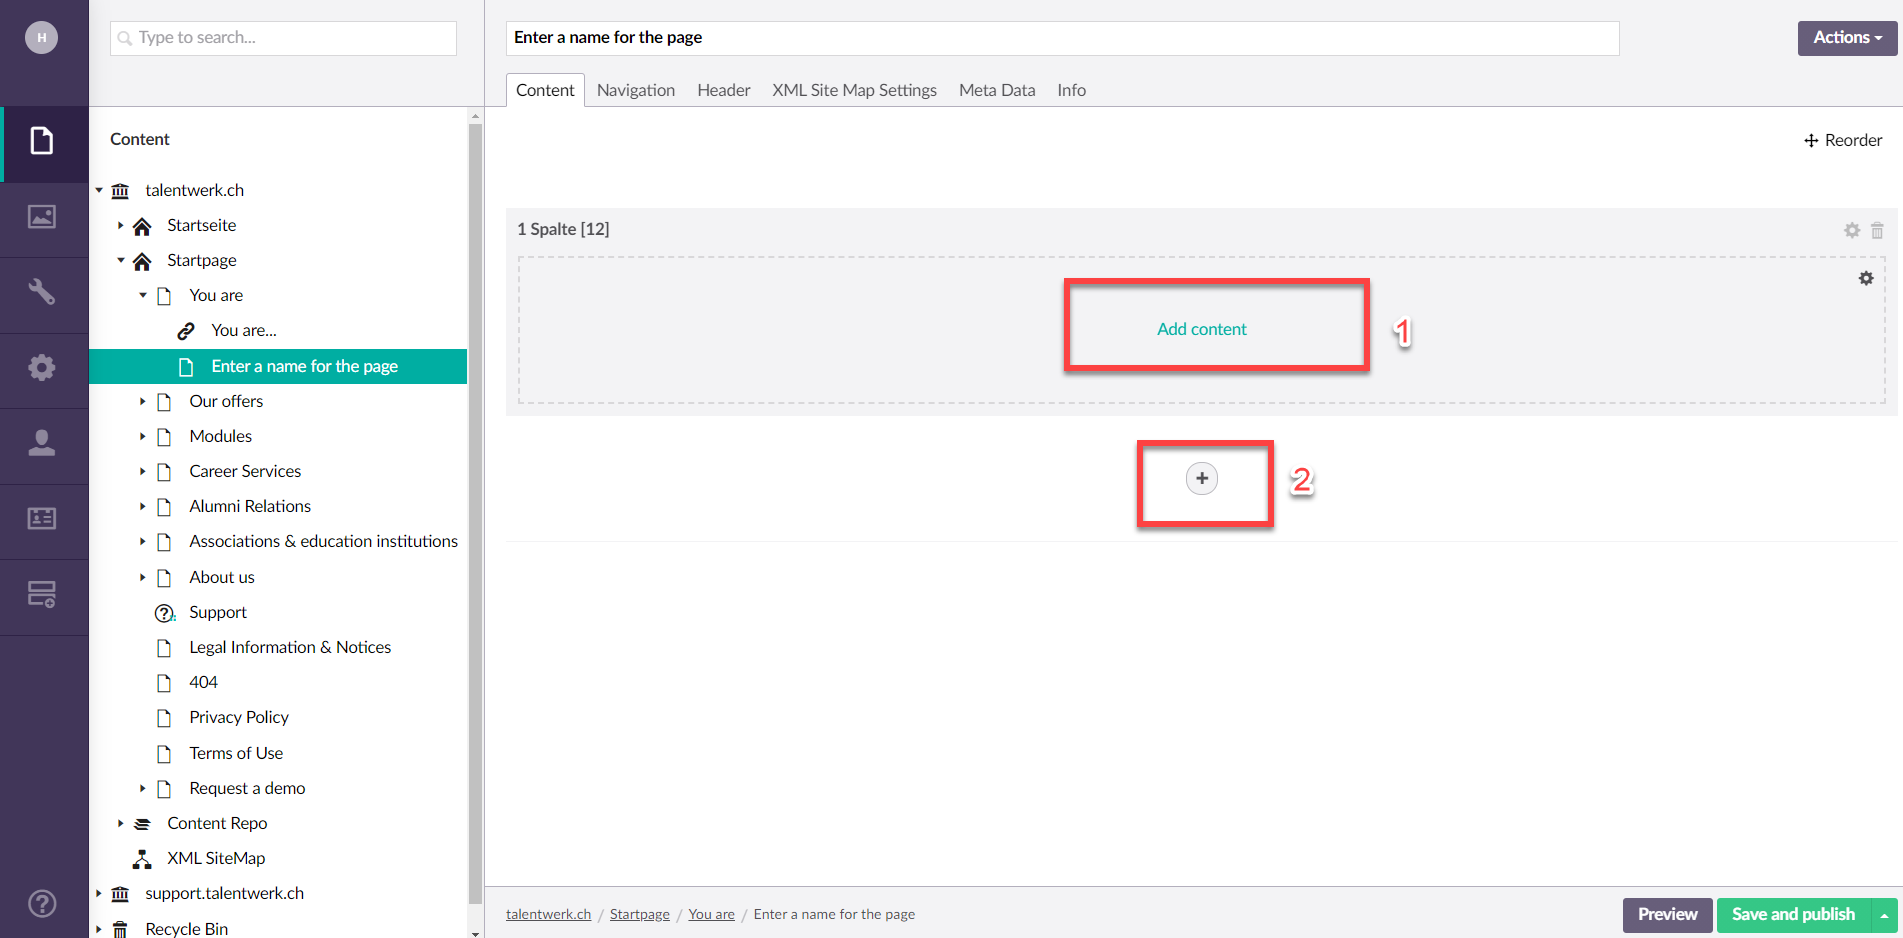
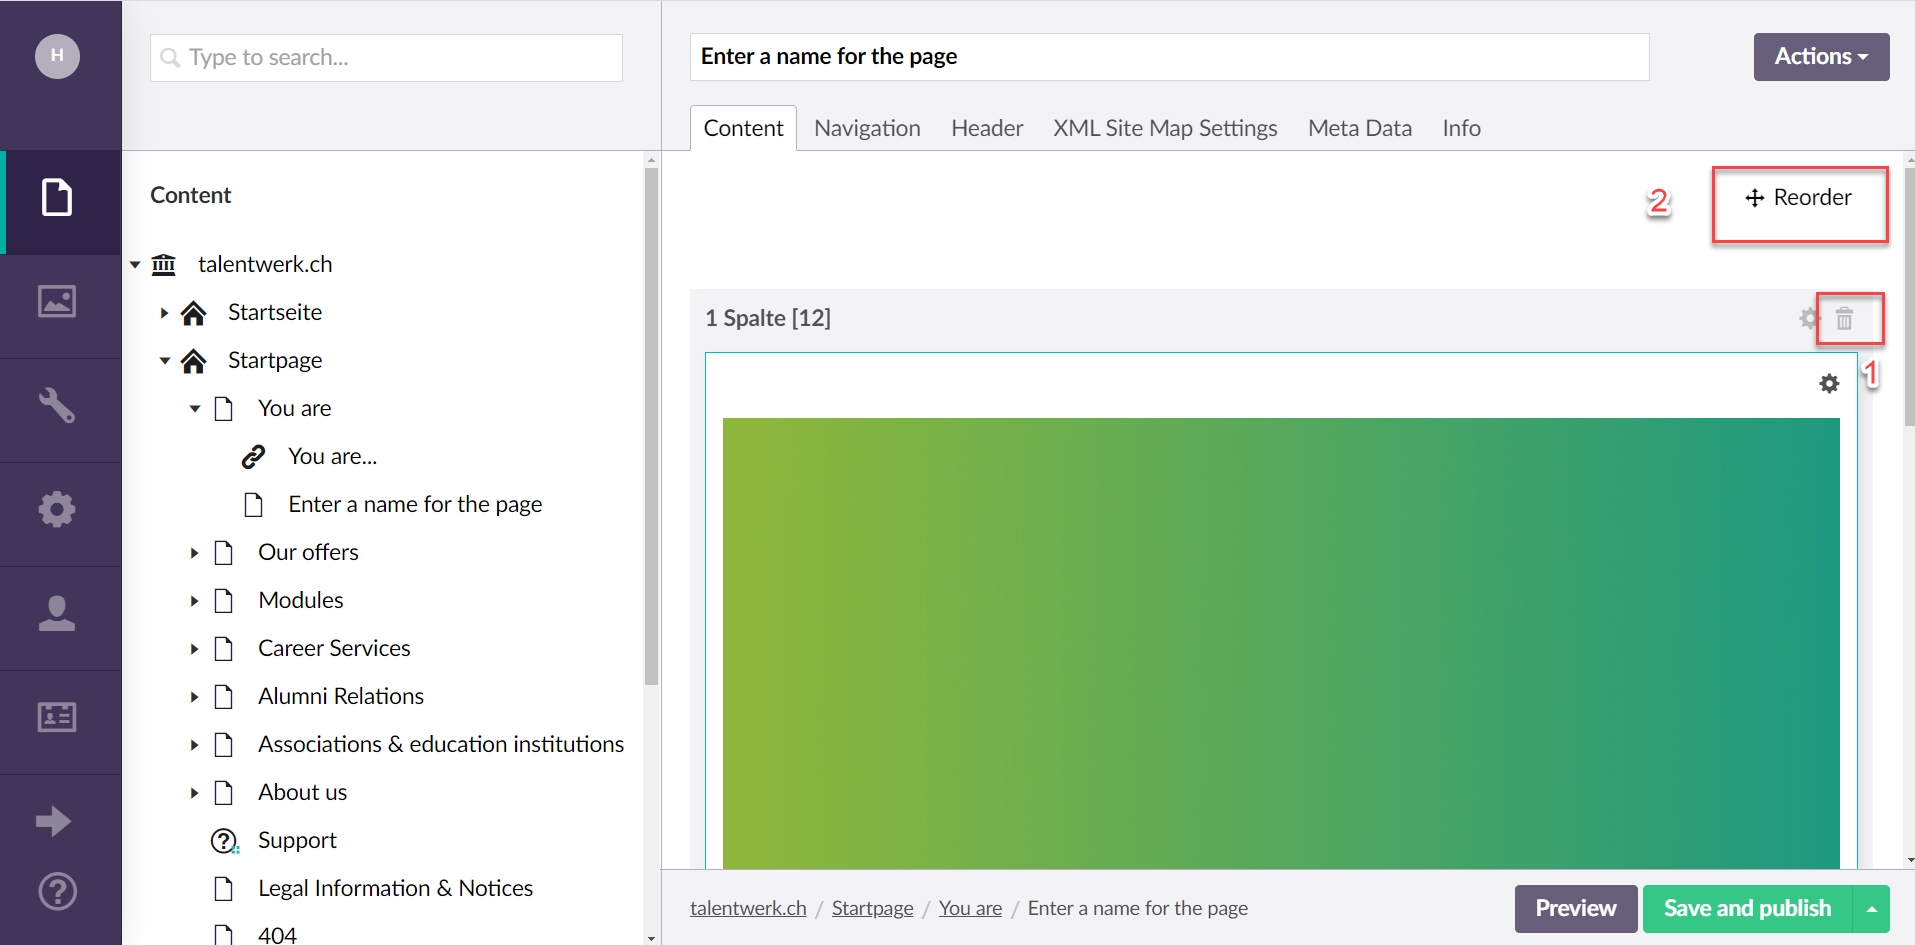
4.2 Add content or new row
1. Then you can add a new content by clicking on the field
2. And you can add a new column with the same or a different ratio by selecting the "Plus".
The creation of selected elements are explained in other instructions, which you find in the following instrcutions.
4.3 "settings" of the individual columns or elements
What is still important at this point is the function of the "Settings" of the individual columns or elements, which is located on the right above the column or element.
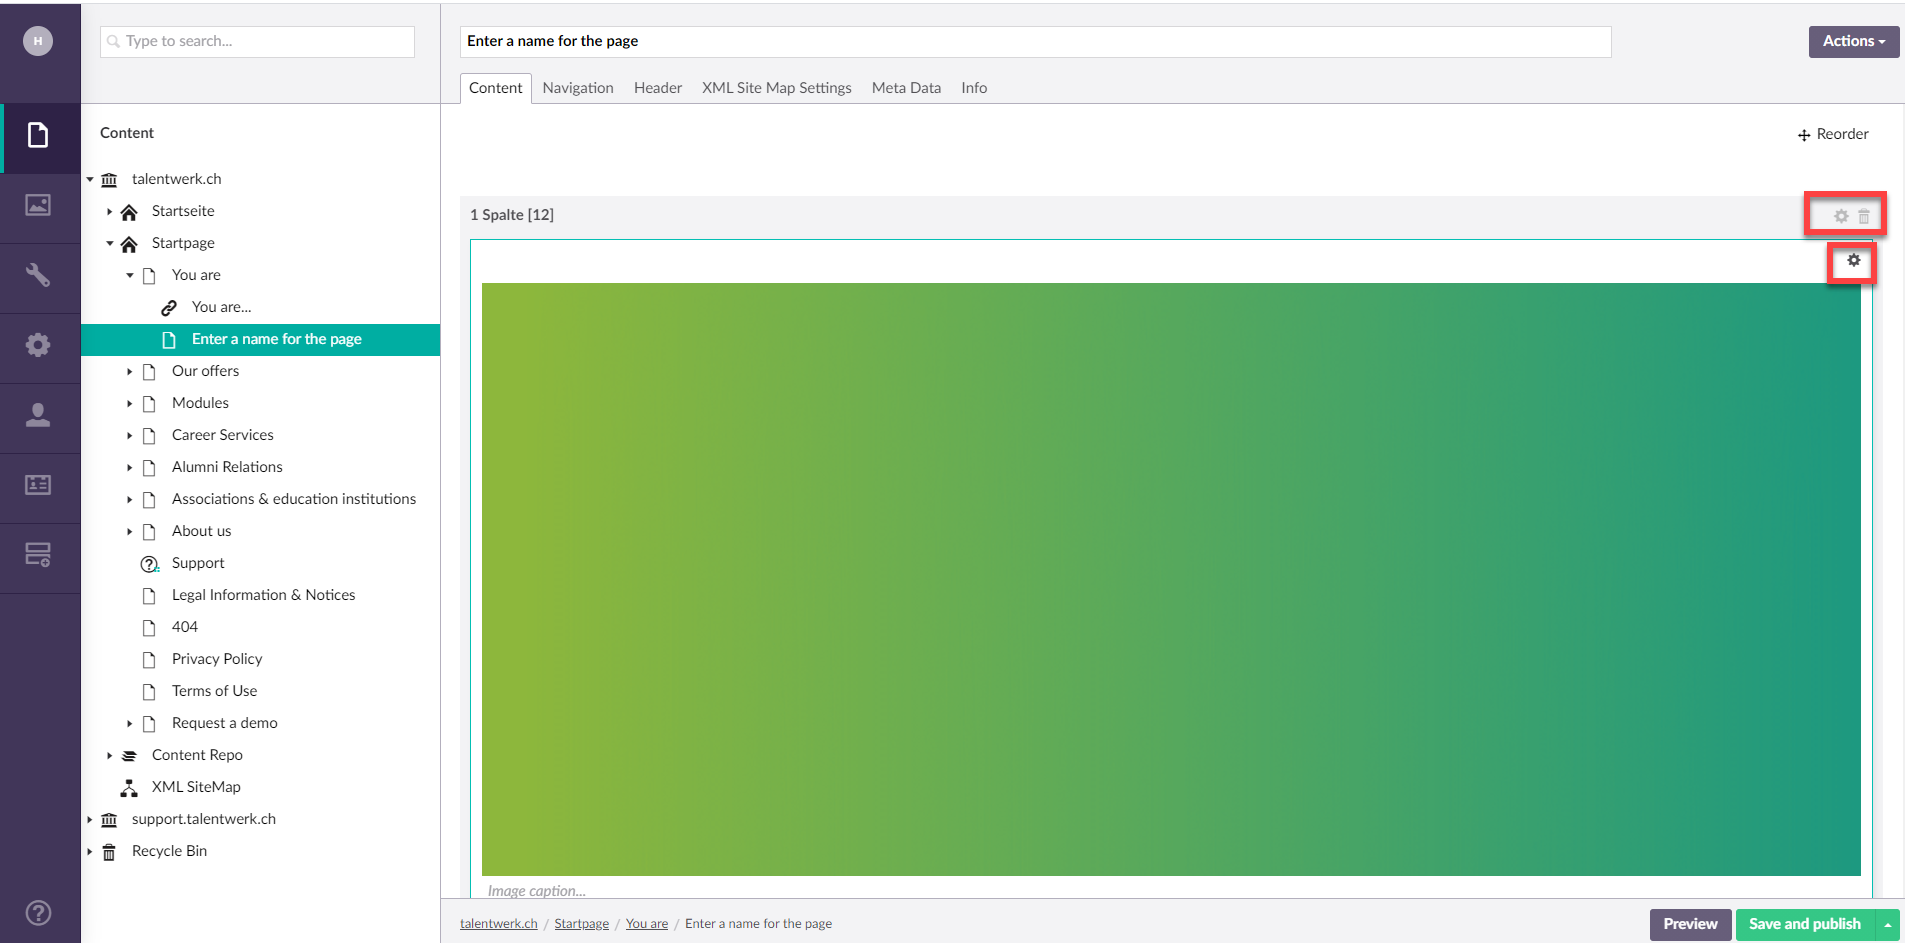
4.4 Edit columns or elements
|
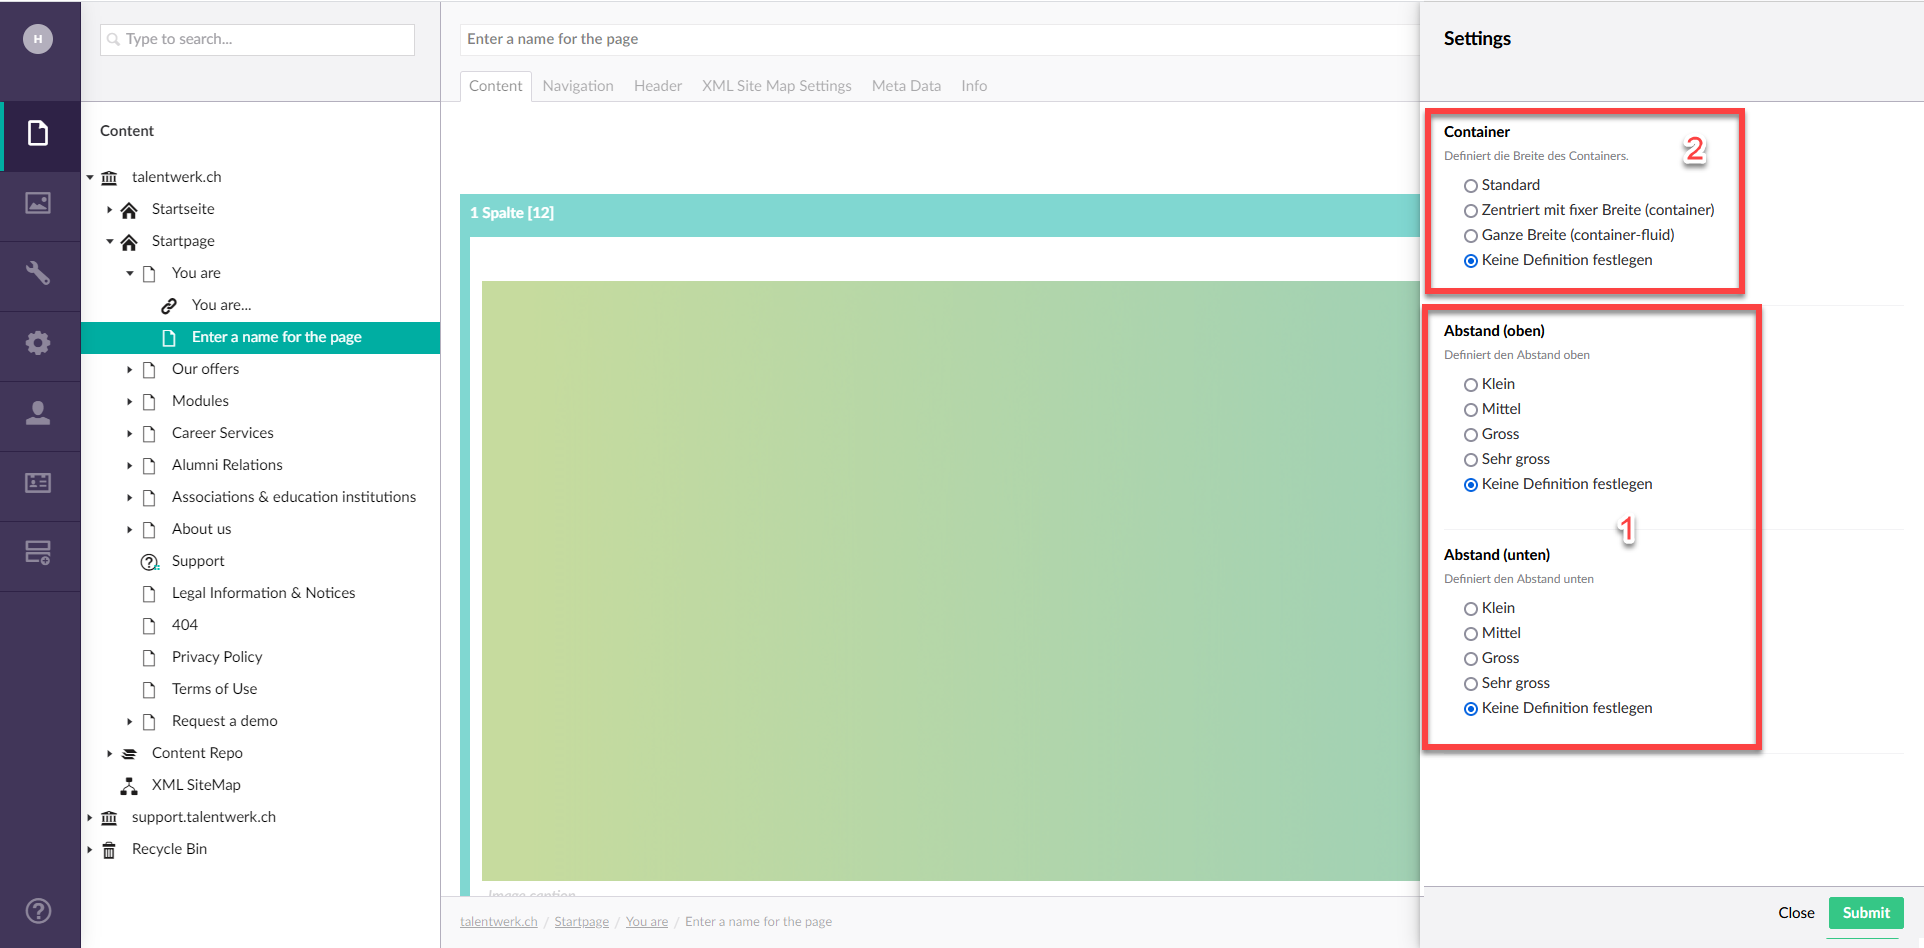
4.4 More Settings
|
Weitere Artikel
Rich text editor
In this introduction, we will explain the function of and how to use the "Rich Text Editor" element. This is a very versatile tool with which you can add texts in various formats as well as images, videos or linked words and buttons.
Read moreContent Repo (Example: Banner)
In this instruction we will explain the function of the "Page Content" area or also called Content Repo. In this area you can create certain content, which you can then insert into elements in the Content segment. This includes contact persons, key visuals, partners and banners.
Read more