 Deutsch
CARD
Here you will learn something about the function and handling of the "Card" element

1.1 Instructions for creating the card in Umbraco
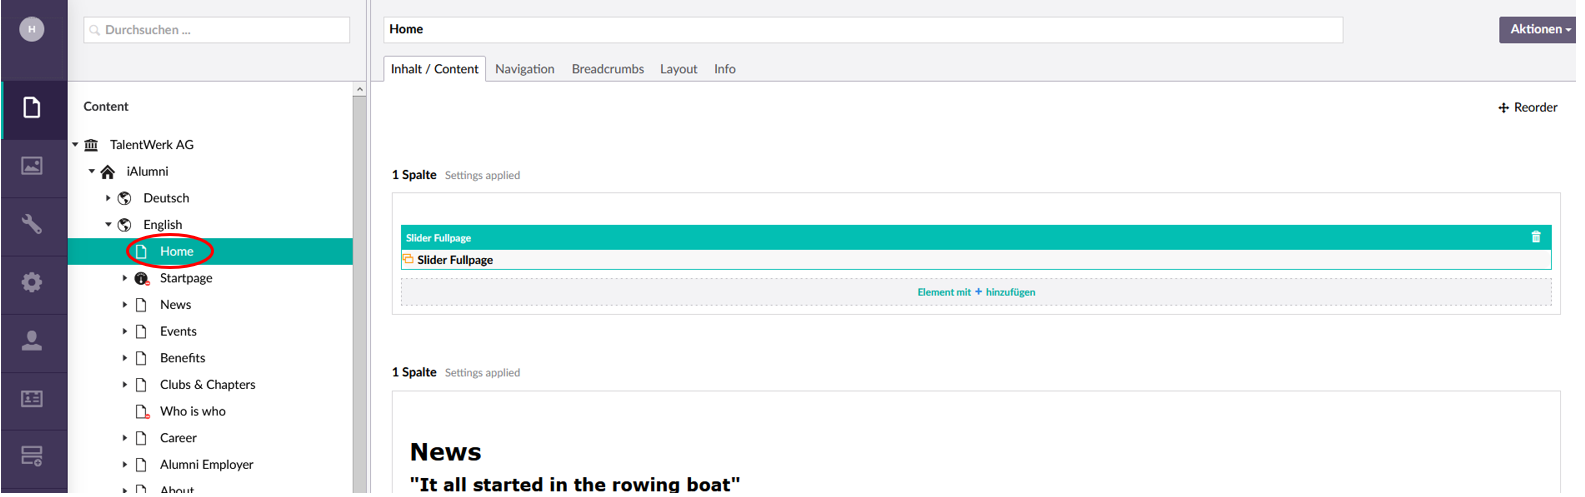
1. Open the page where the card is to be added.
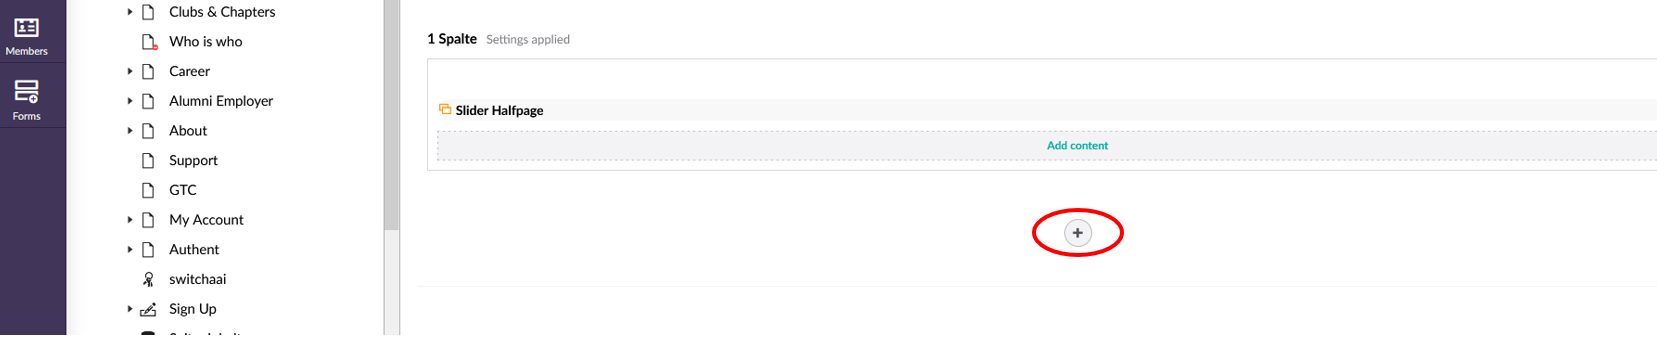
2 Insert a new line
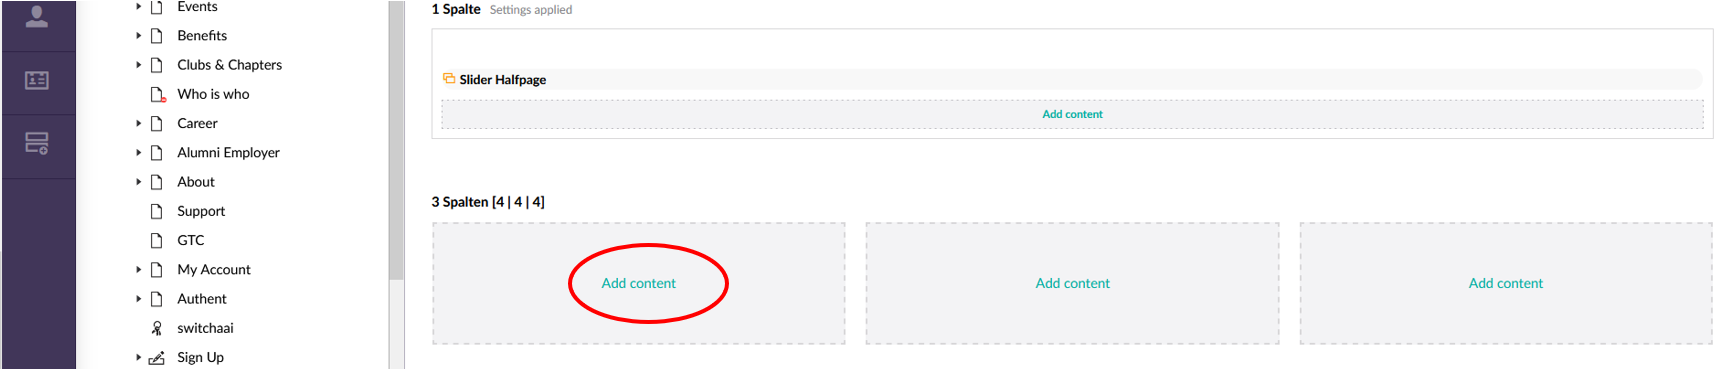
3. Select the number of columns

4. Click on "Add content" on the desired column
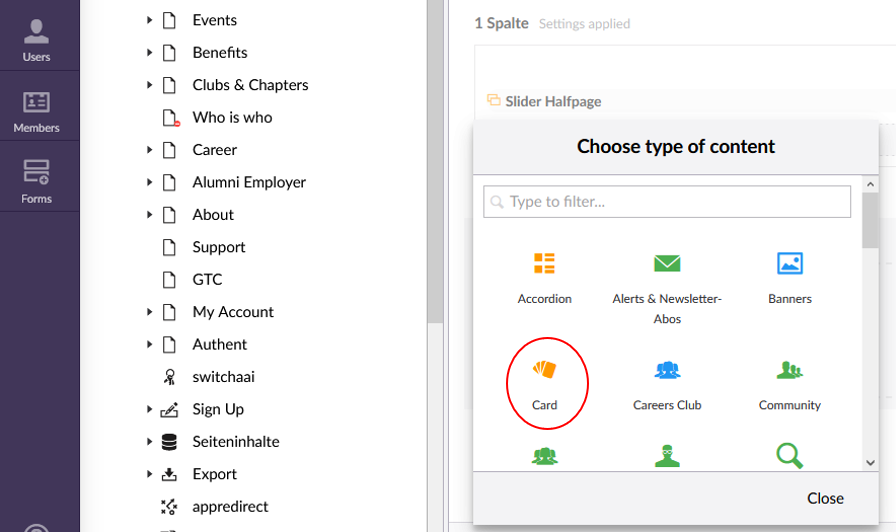
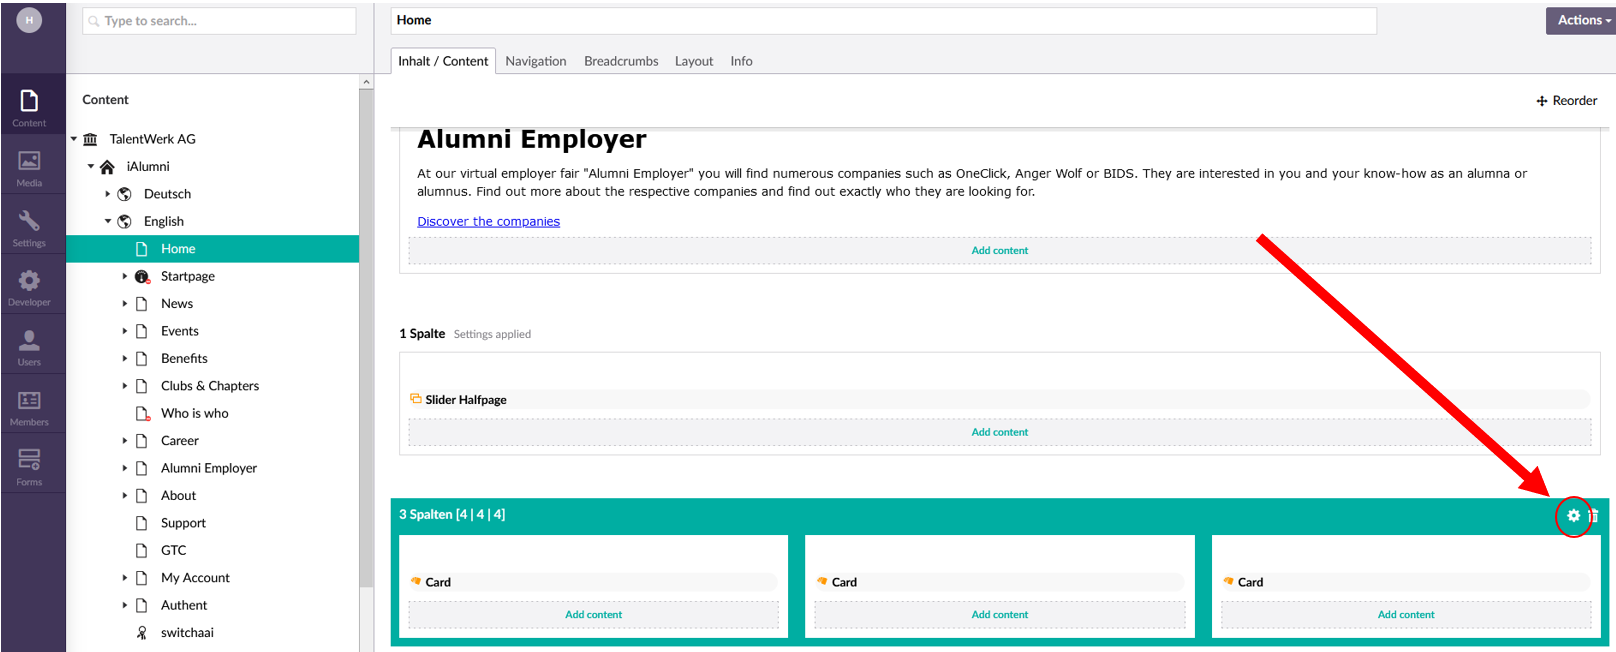
5. Choose type of contet "Card"
6.1 Edit the content of the card in the menu field
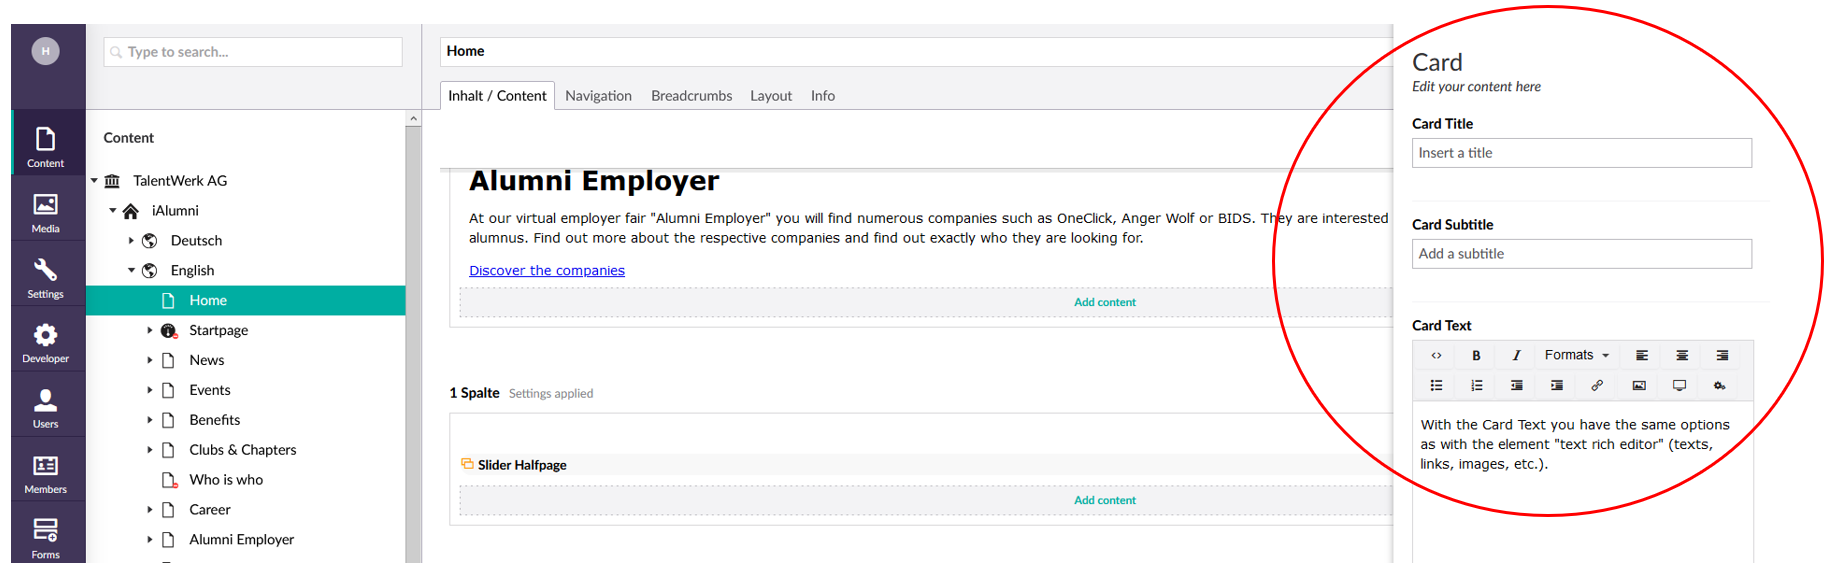
Go to the instructions for the rich text editor.
6.2 Edit the content of the card in the menu field. Add a Link
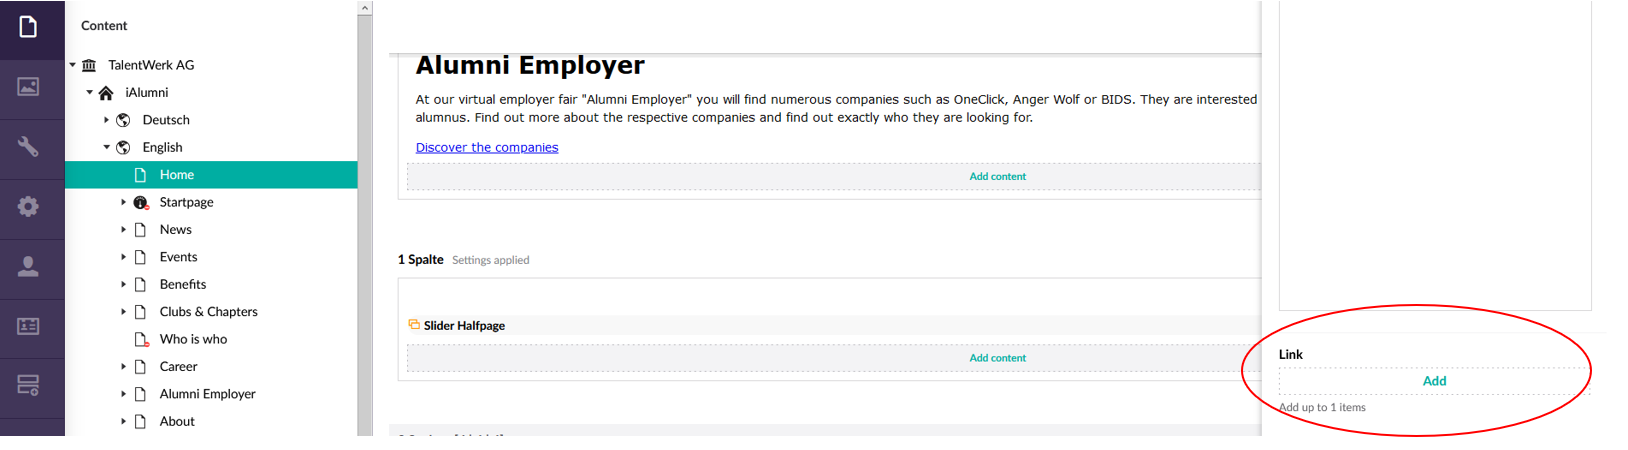
Add the address if it is an external page
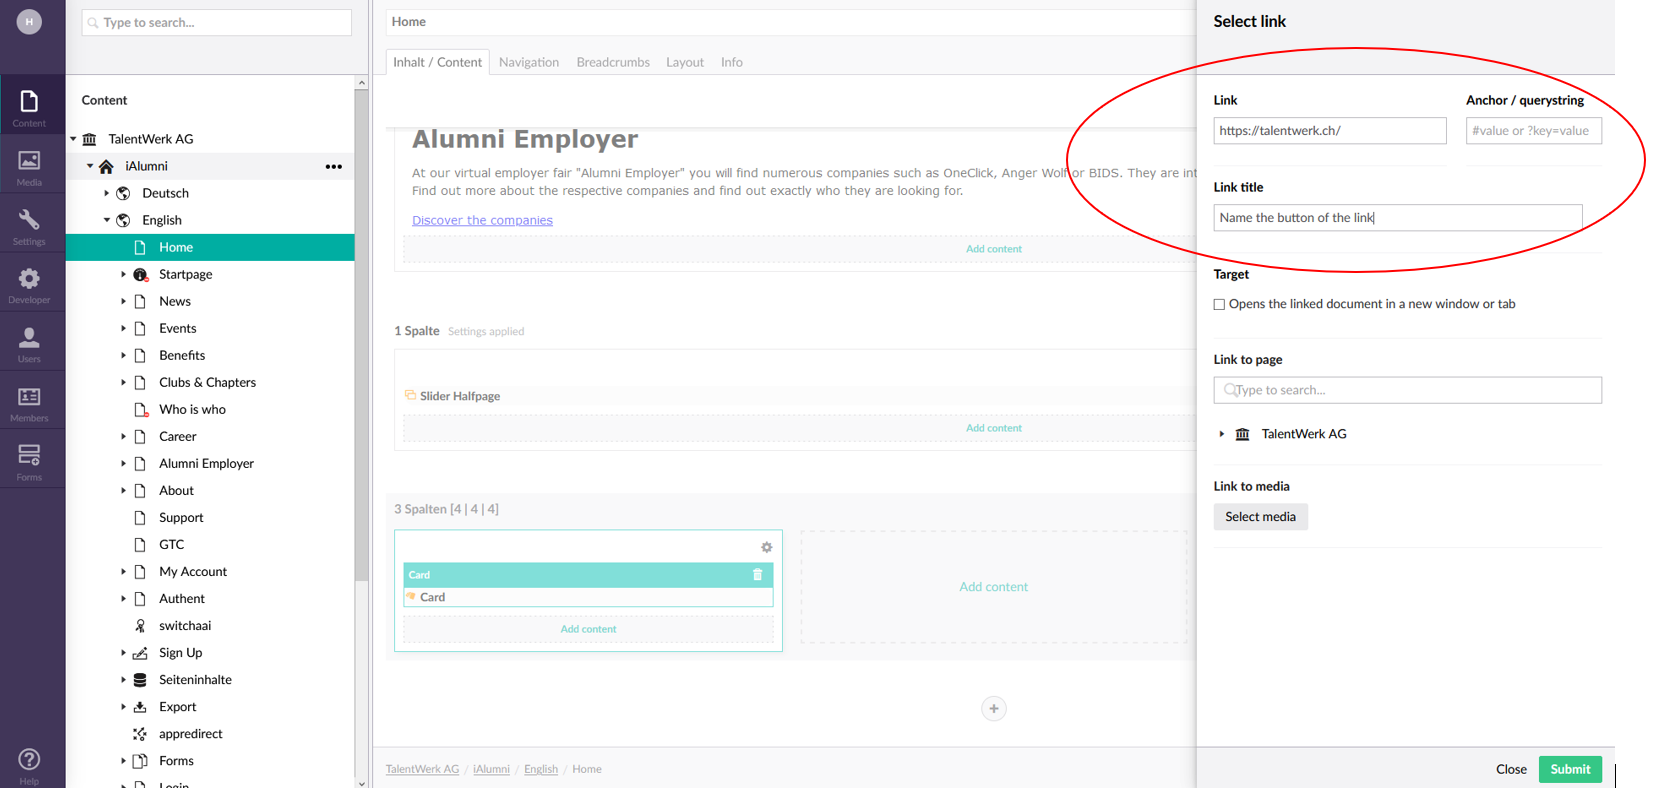
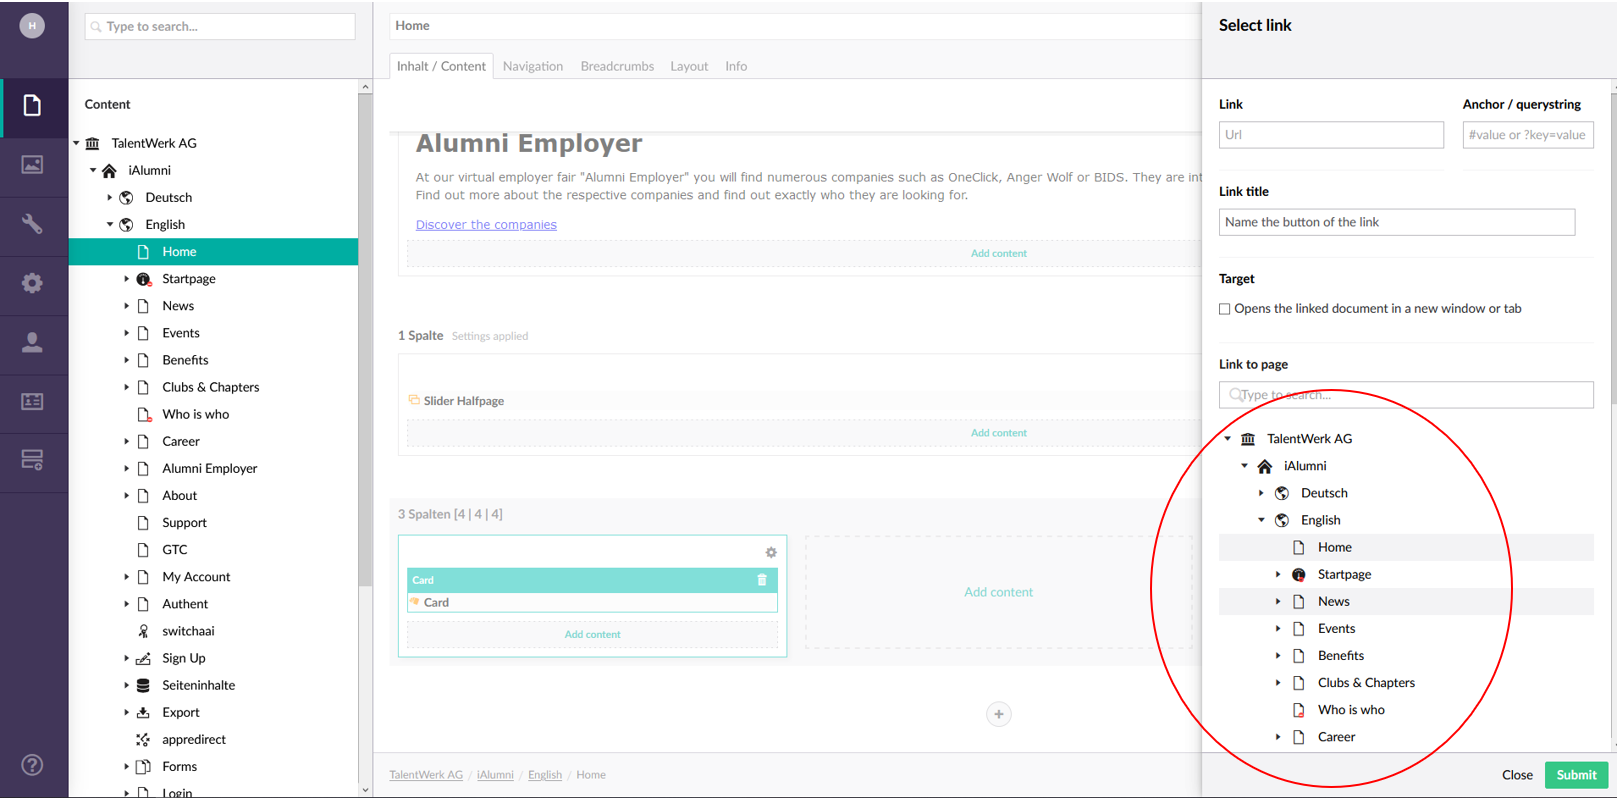
For linking on the same platform, select the desired page
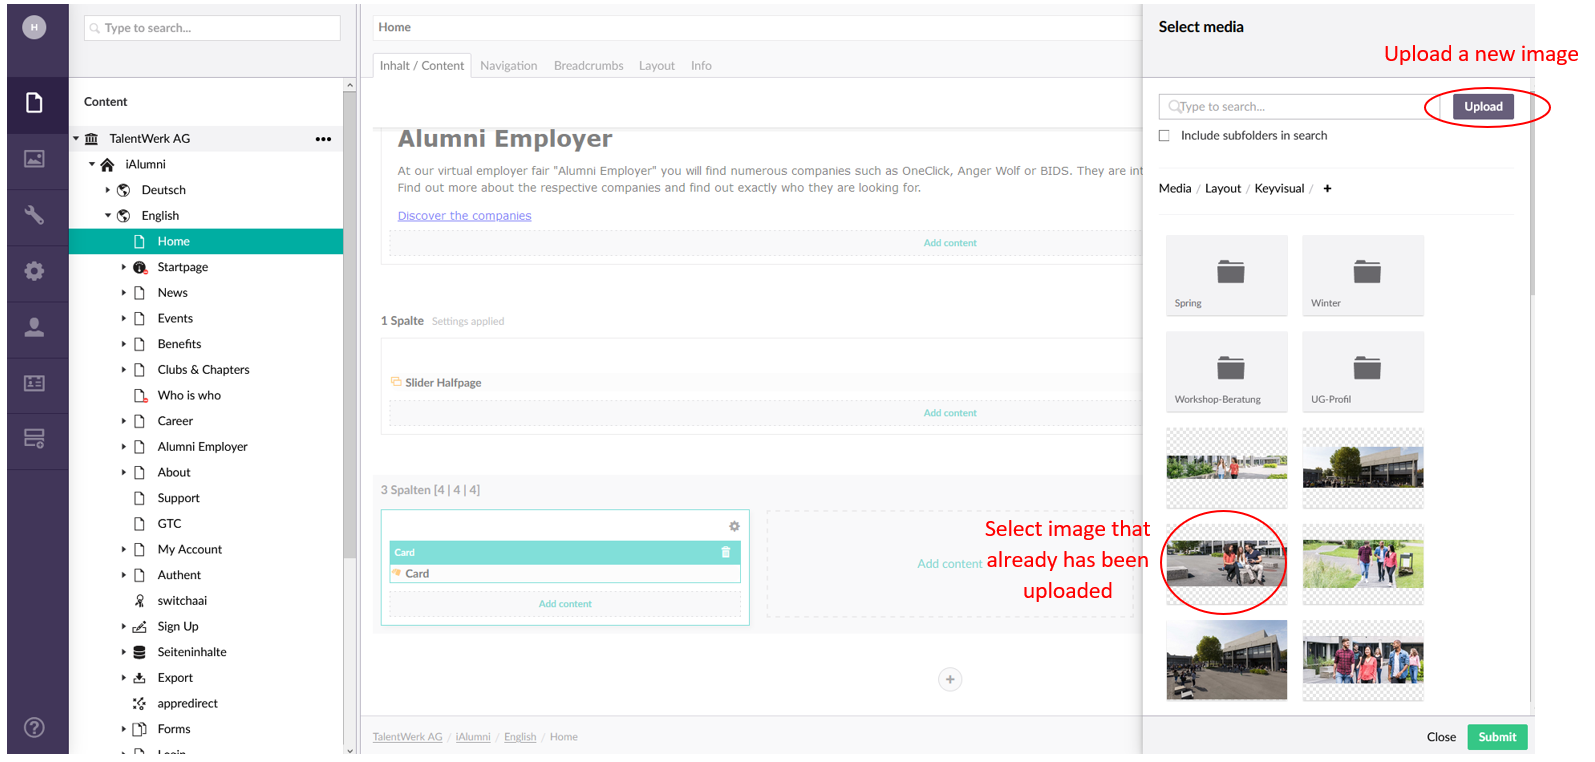
6.3 Edit the content of the card in the menu field.
Add Picture shown in the header of the card.
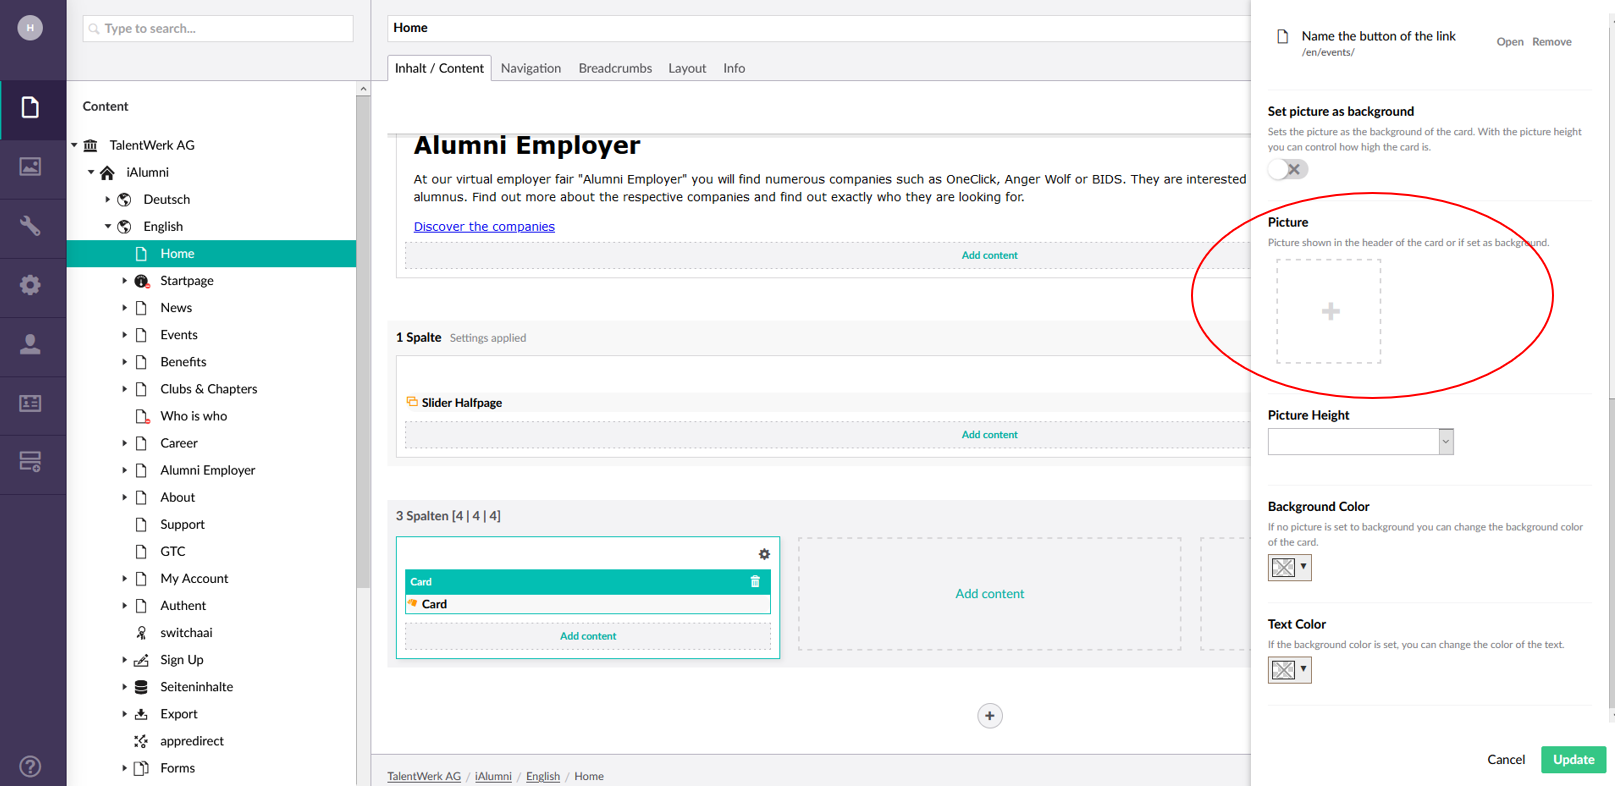
Select an image that has already been uploaded. Or upload a new image
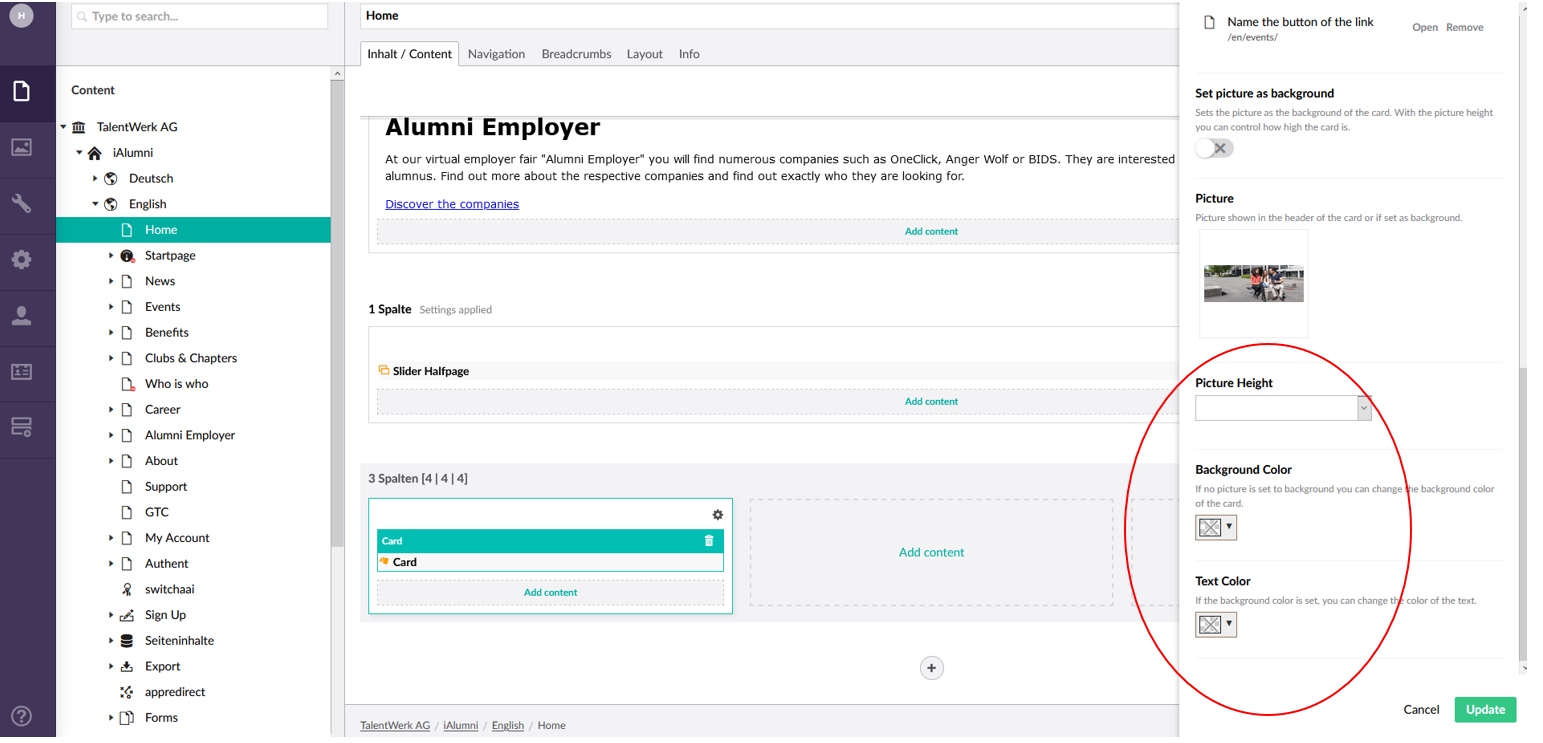
6.3 Edit the content of the card in the menu field.
You can change the size of the image and make different colour settings.
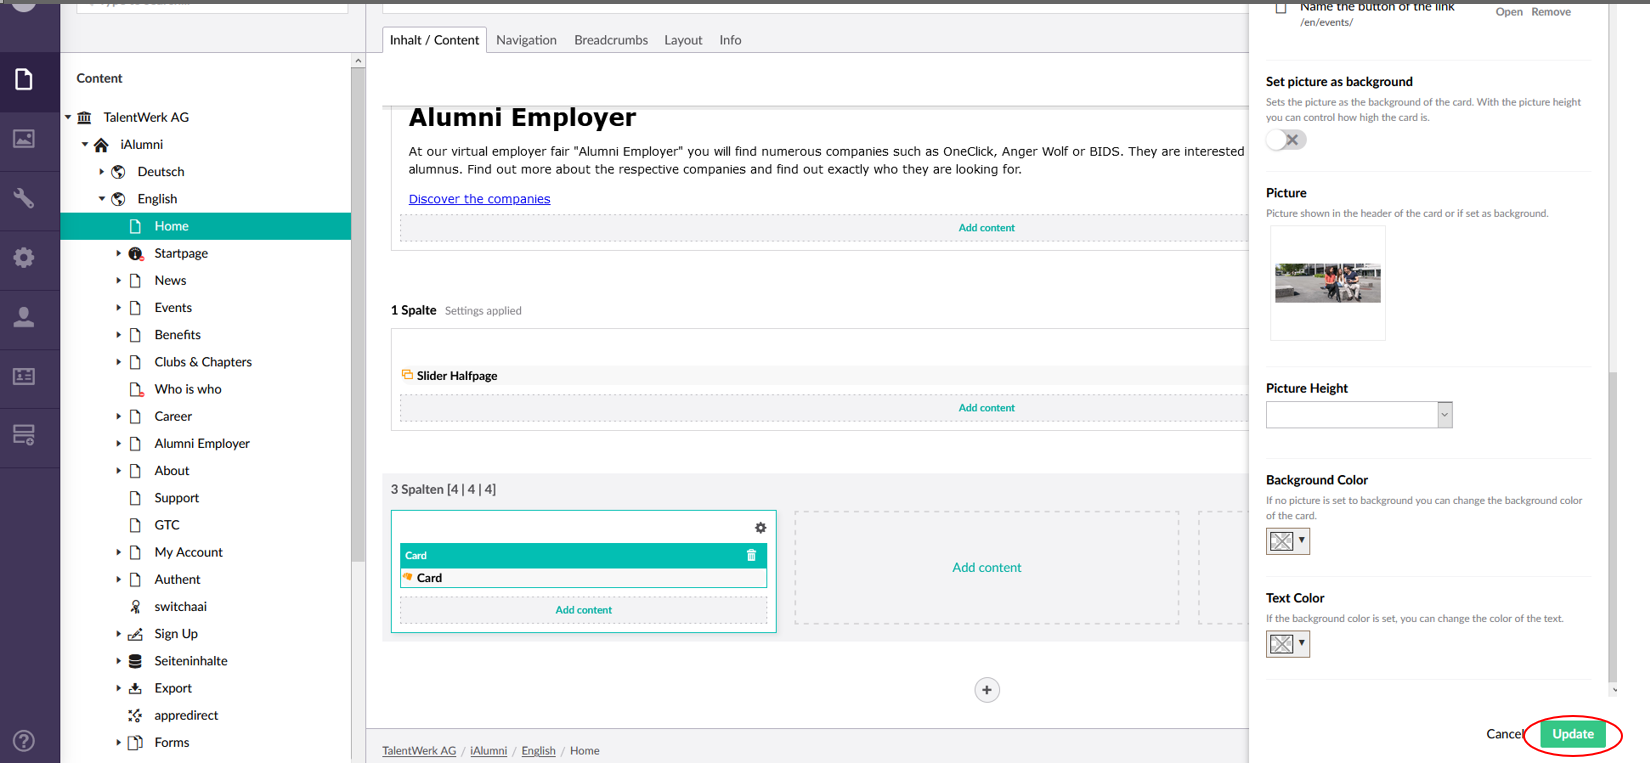
7. When all settings have been made, click on the "Update" button.
Now the card is created. You can insert further cards or other elements in the remaining columns.
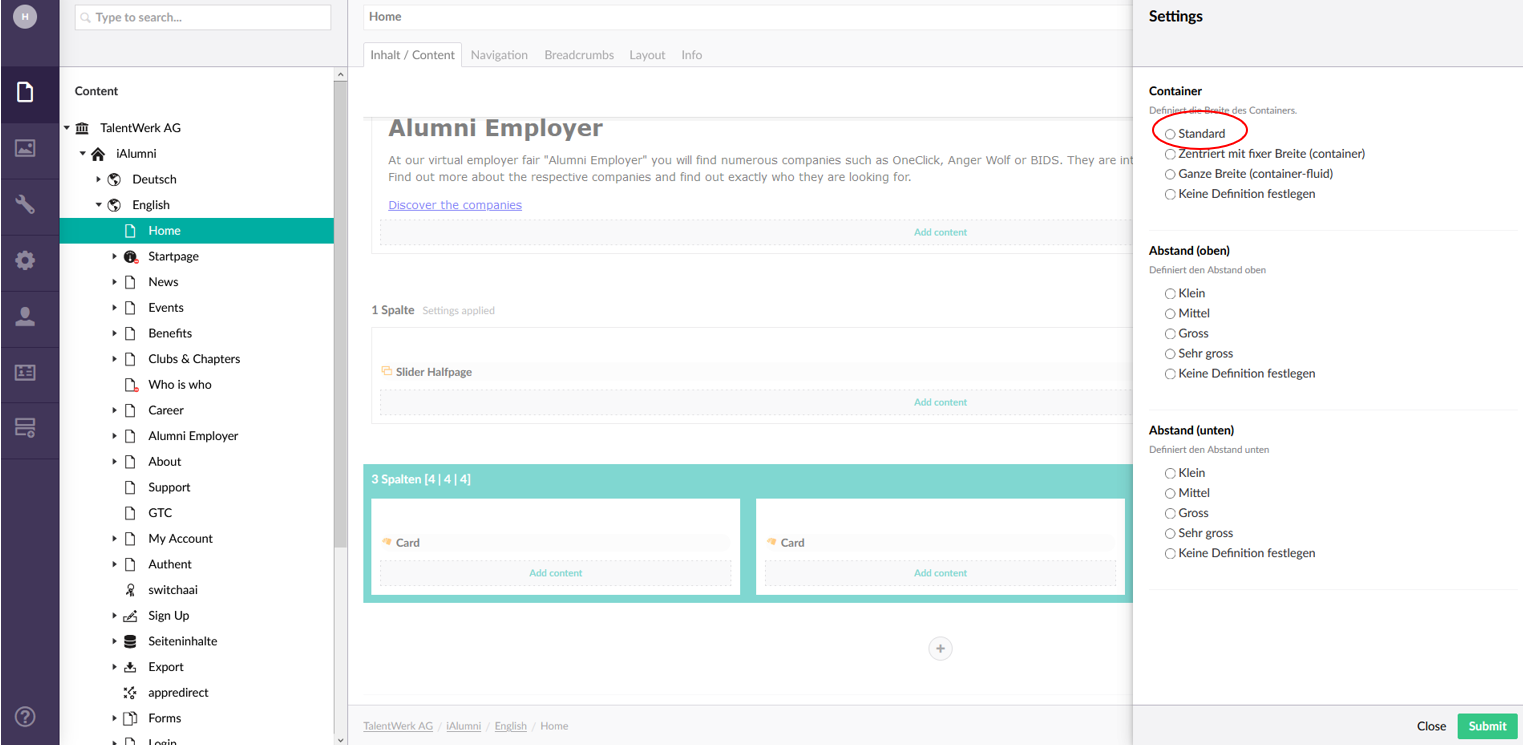
8. Finally, you can adjust the settings of the entire line.
9. Now you can save and publish the page
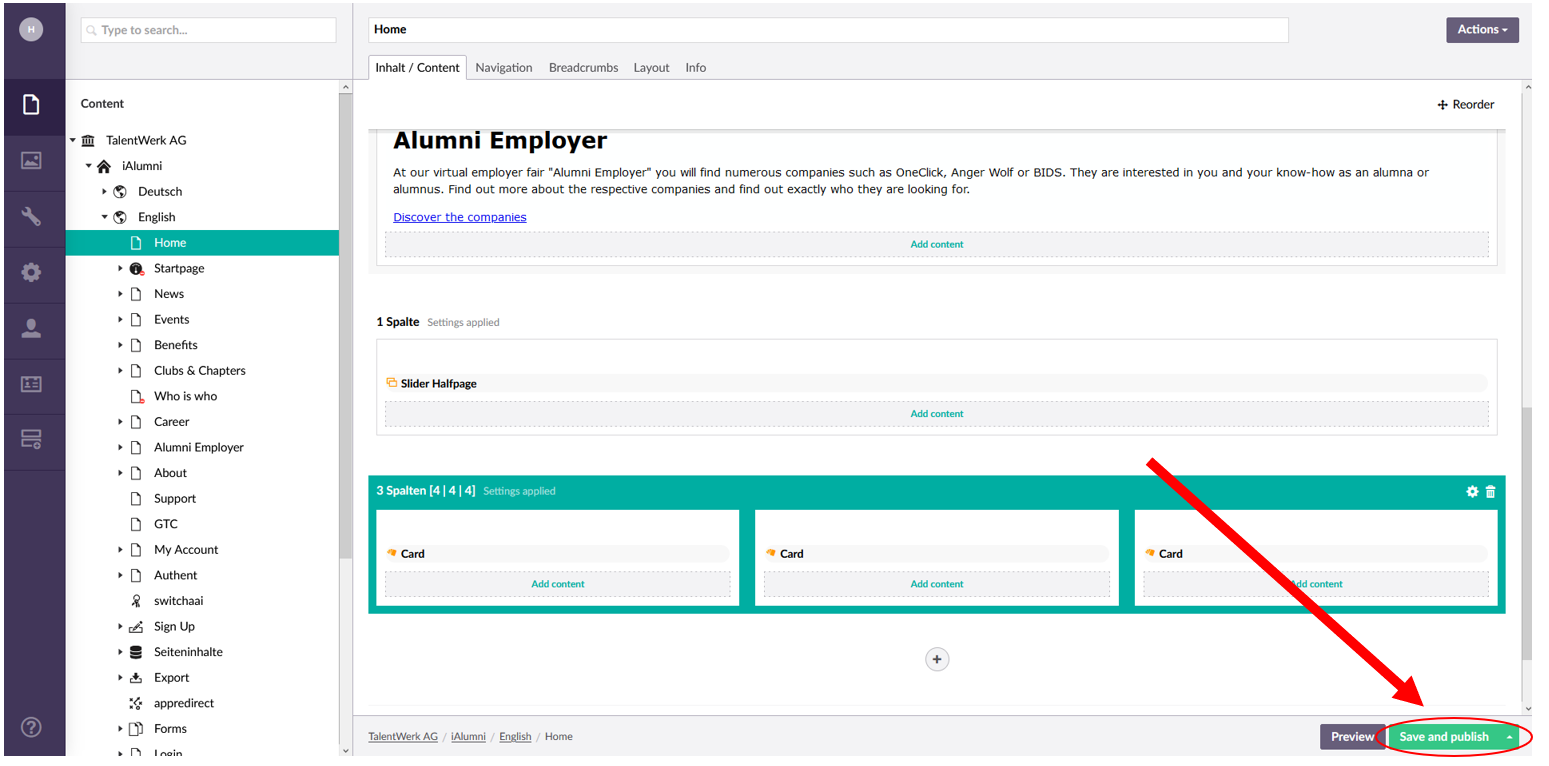
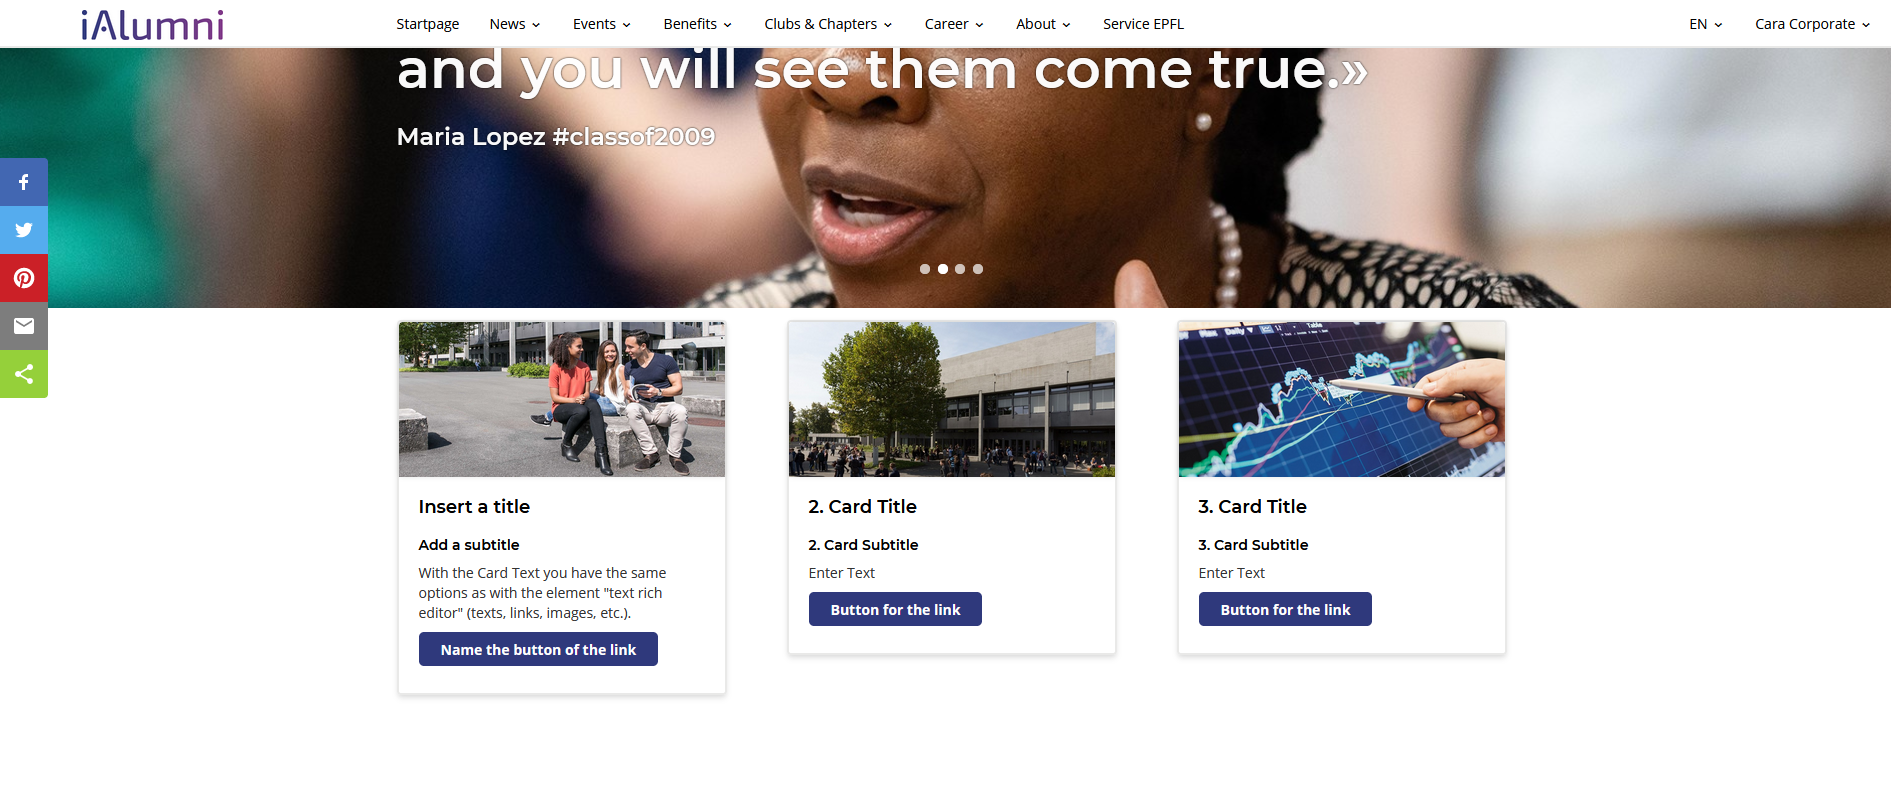
10. Now the changes are visible on your website
Weitere Artikel
Set up individualised page per app role
In this instruction we explain how you can set up individualised pages for different app roles and personalise them according to the needs of the stakeholders.
Read moreParallax
In this instruction we explain the function and the handling of the element "Parallax".
Read more