Parallax
The parallax effect is an interactive effect in web design. Different design objects are positioned in front of each other on different levels. The objects are then moved towards each other at different speeds, simulating spatiality or movement.
Parallax
1. Open the elemnt "Parallax"
|
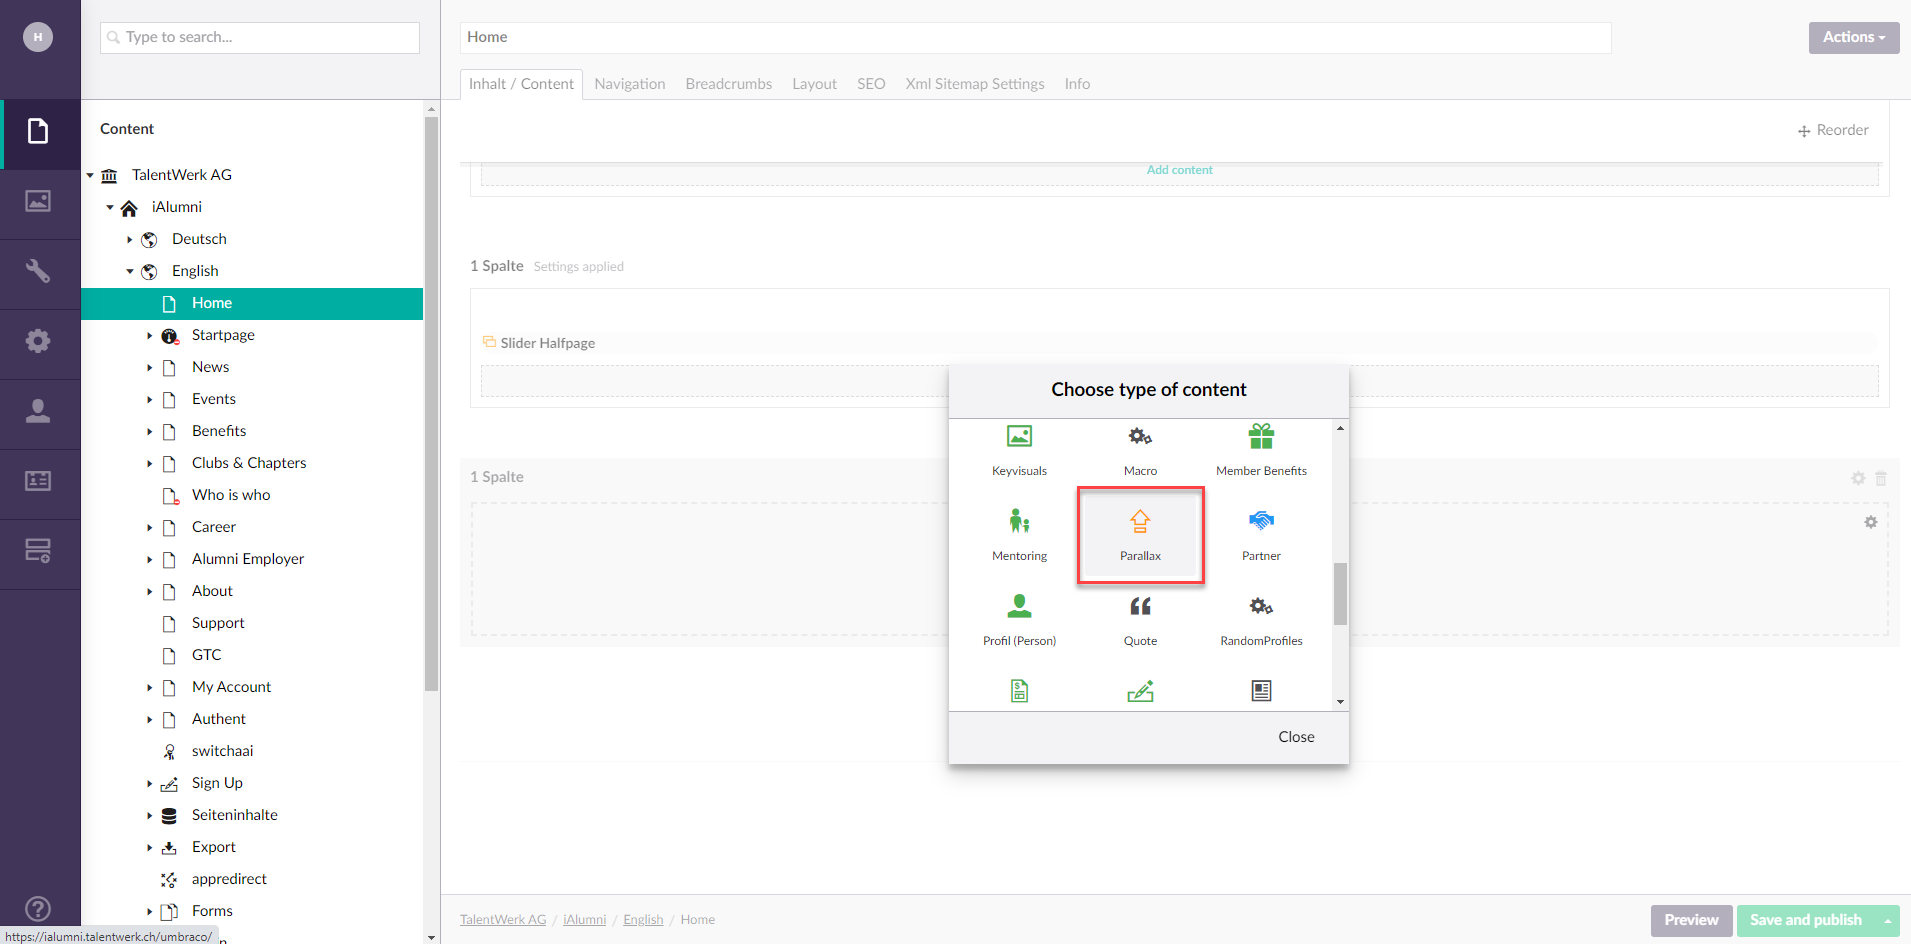
2. The Parallax
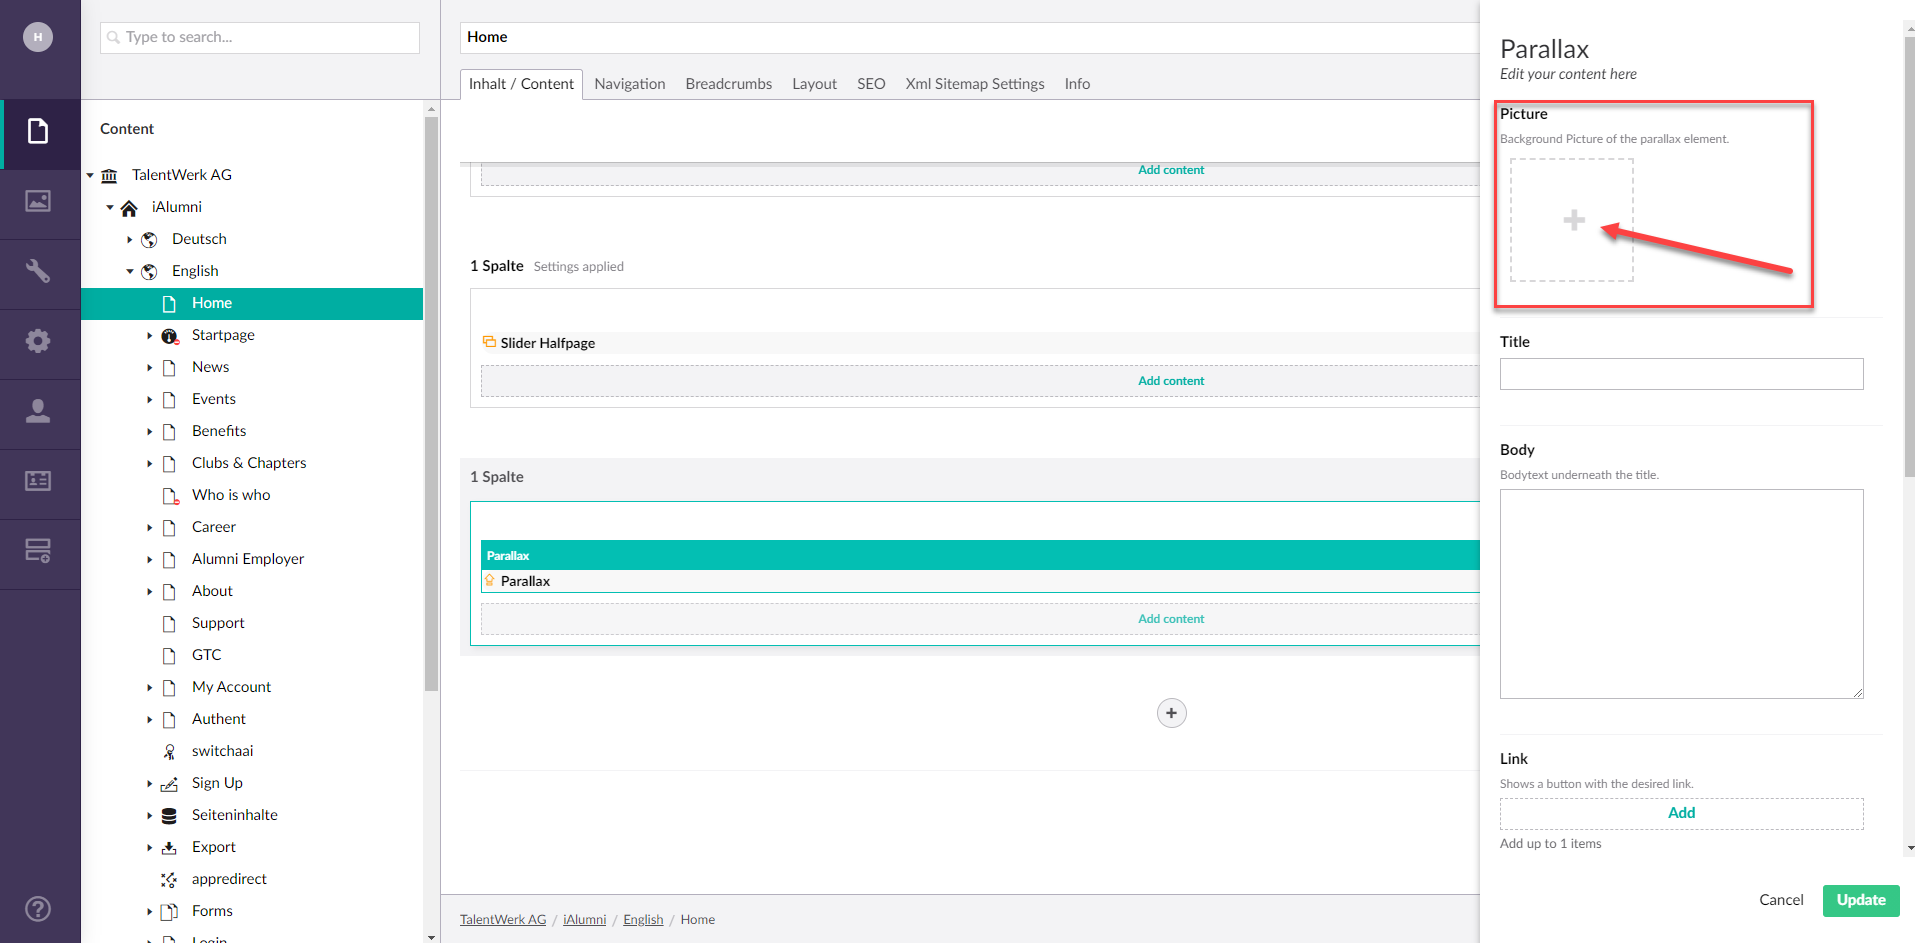
In the menu bar you will find all the functions
2.1 Picture
In the Image section, you can select the image that you want to reproduce as a parallax effect.
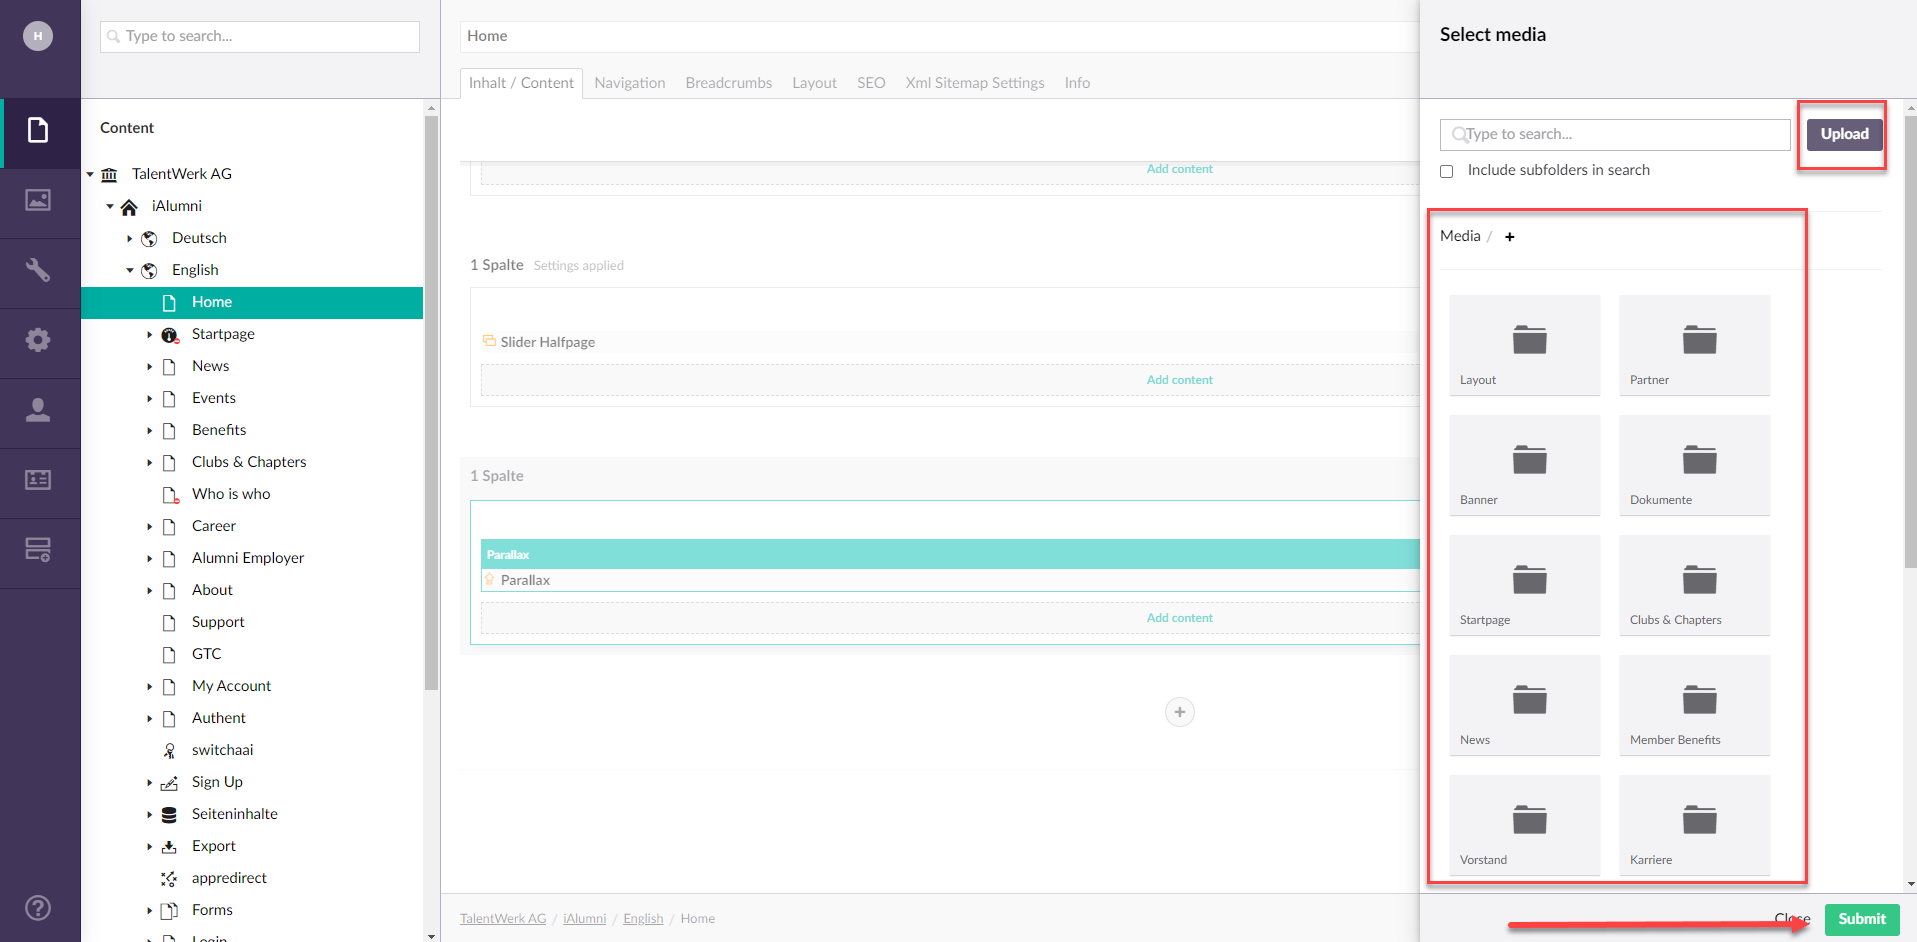
If you press the plus sign, the picture selection opens. You can select an existing image or upload a new one.
Same procedure as for the Media Picker.
2.2 Title, Body
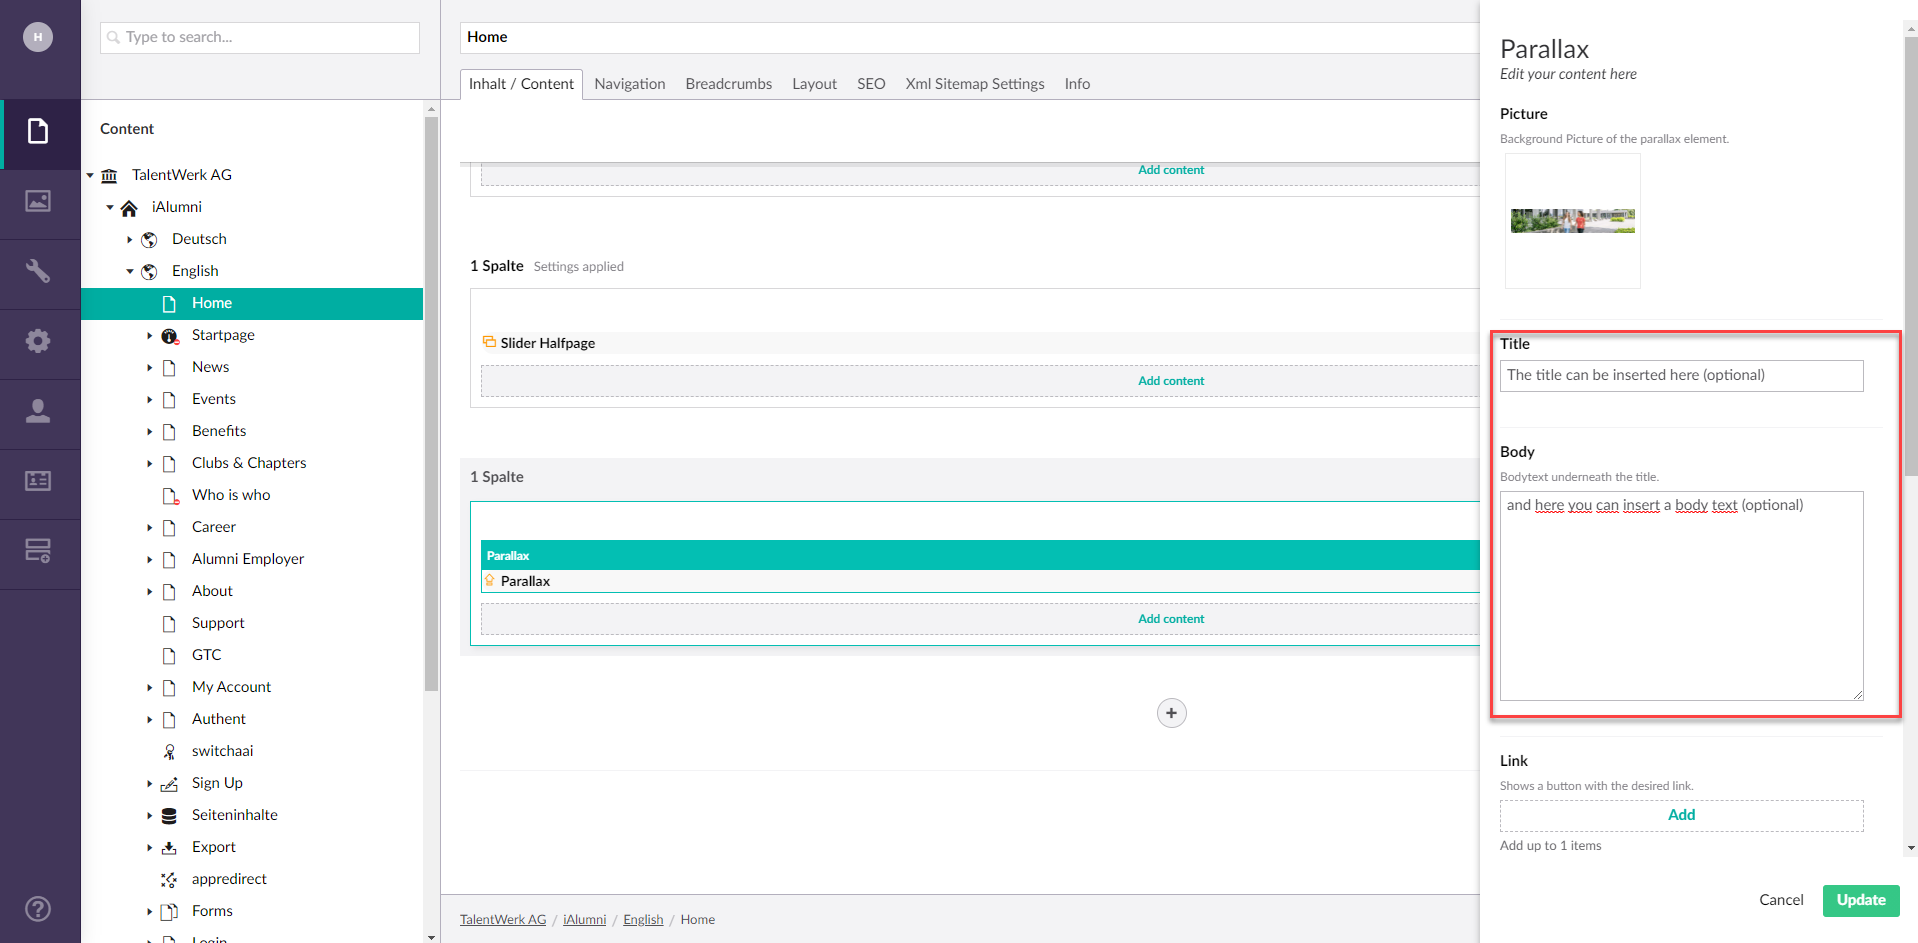
If you wish, you can insert a title and a text, although this is rather rarely used
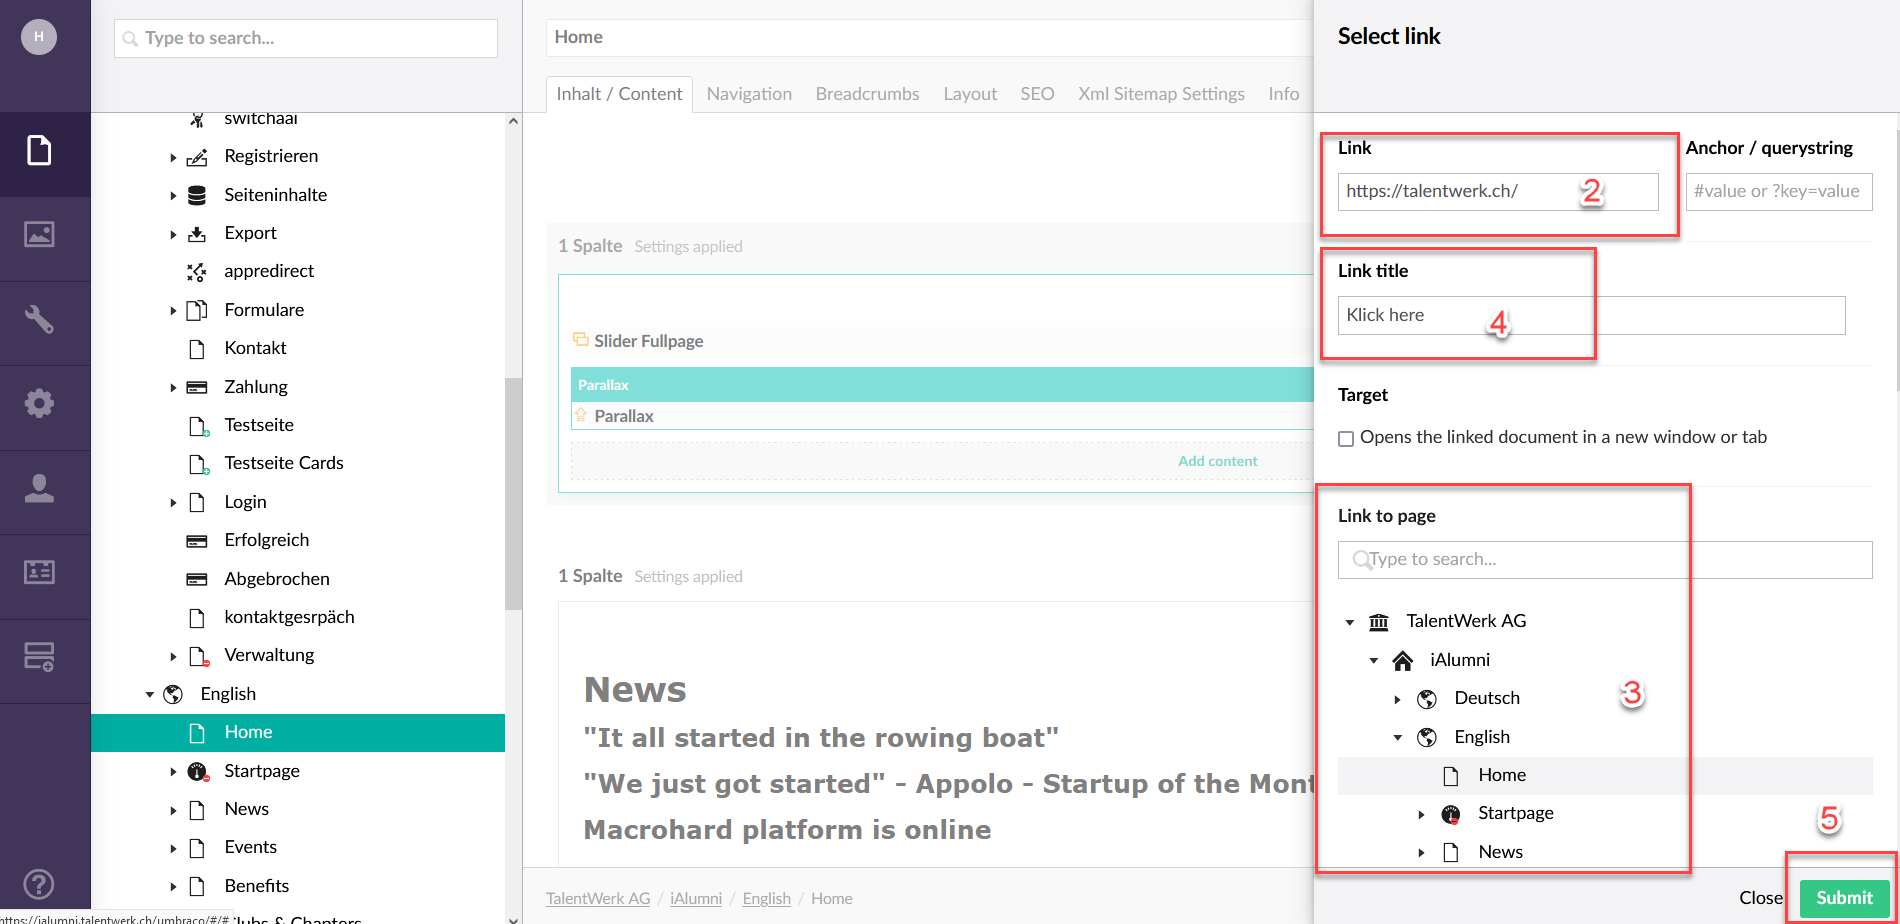
2.3 Links
You can also add a link in a button label.
|

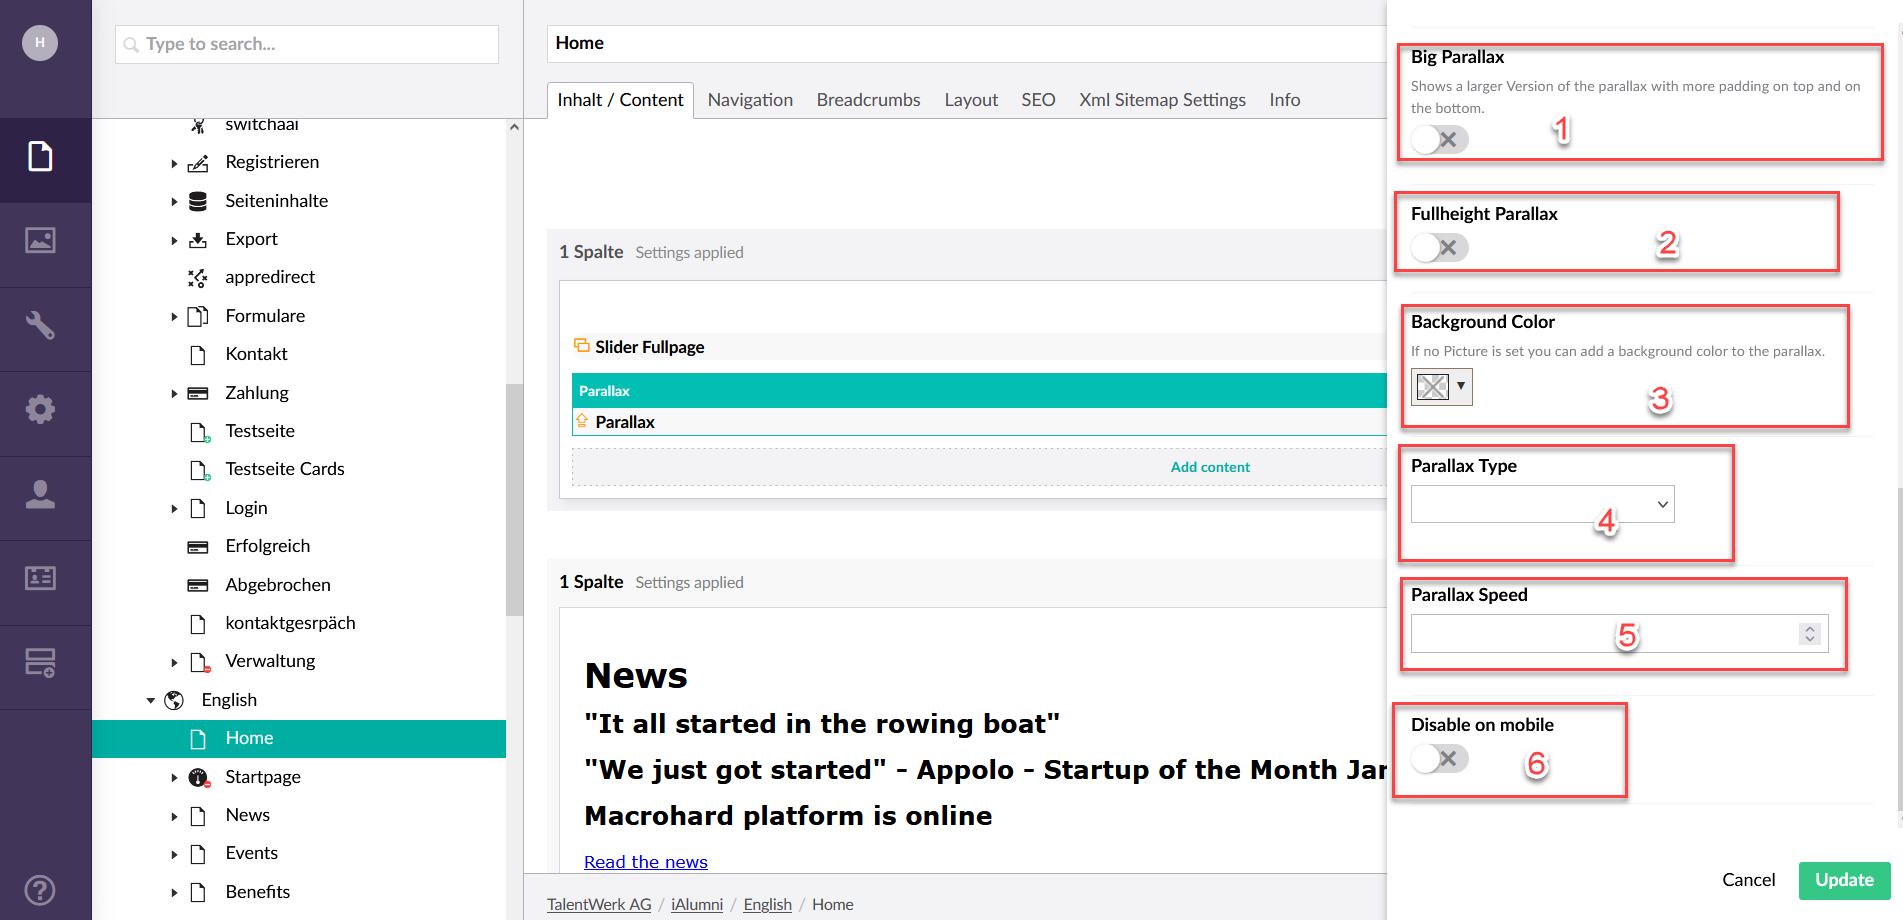
2.4 Design settings
In addition, you can also integrate YouTube videos directly via the Rich Text Editor by copying the URL of the desired video and pasting it into the field of the embed function. This has the advantage that the video is streamed on your website with the YouTube player and thus the loading time of your website is not extended by a heavy video.
|
Weitere Artikel
Content Repo (Example: Partner)
In this instruction we will explain the function of the "Page Content" area or also called Content Repo. In this area you can create certain content, which you can then insert into elements in the Content segment. This includes contact persons, key visuals, partners and banners.
Read moreStructure of a page
In this instruction we will explain the structure of an umbraco page and give you some basic tips on how to work with an umbraco page.
Read moreSet up individualised page per app role
In this instruction we explain how you can set up individualised pages for different app roles and personalise them according to the needs of the stakeholders.
Read more Deutsch