 Deutsch
Set up individualised page per app role
In this instruction we explain how you can set up individualised pages for different app roles and personalise them according to the needs of the stakeholders.
Set up individualised page per app role
Different visibilities of the website per app role
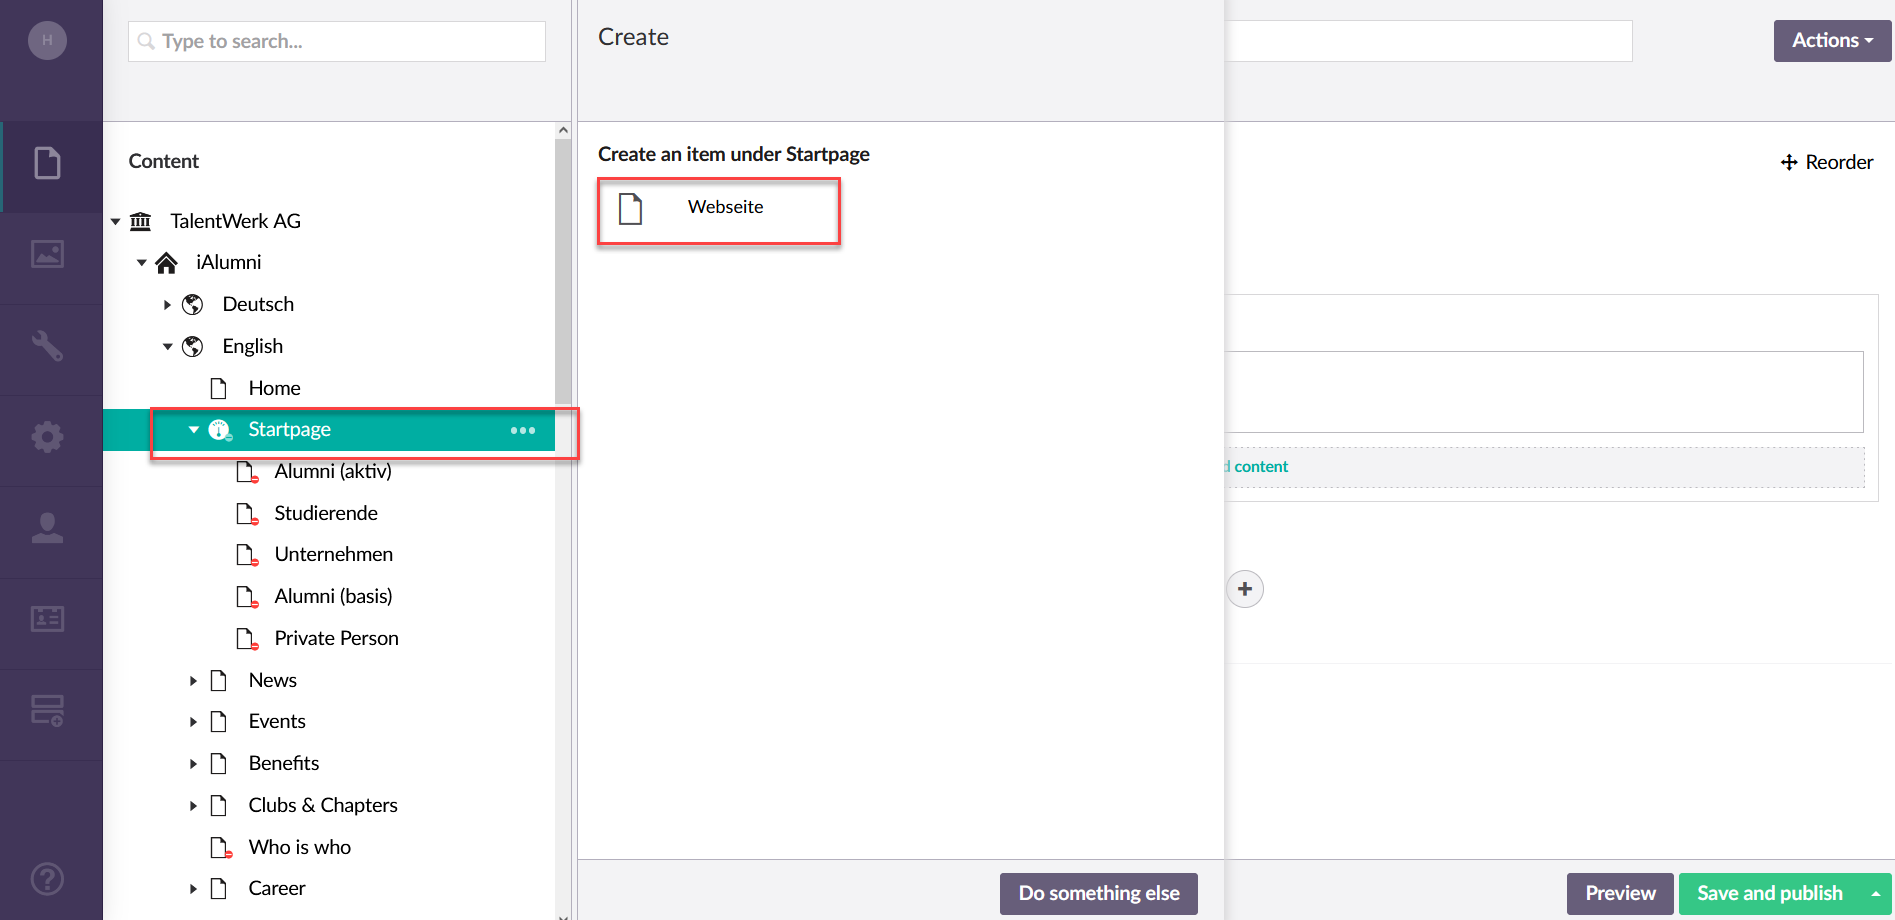
1. Create a new web page under the desired area
Normally, the start page Area is already set up. In this example we add a new start page for a new app role (This works for all websites).
You can do this by clicking on the three dots with the left mouse button (as shown in the picture).
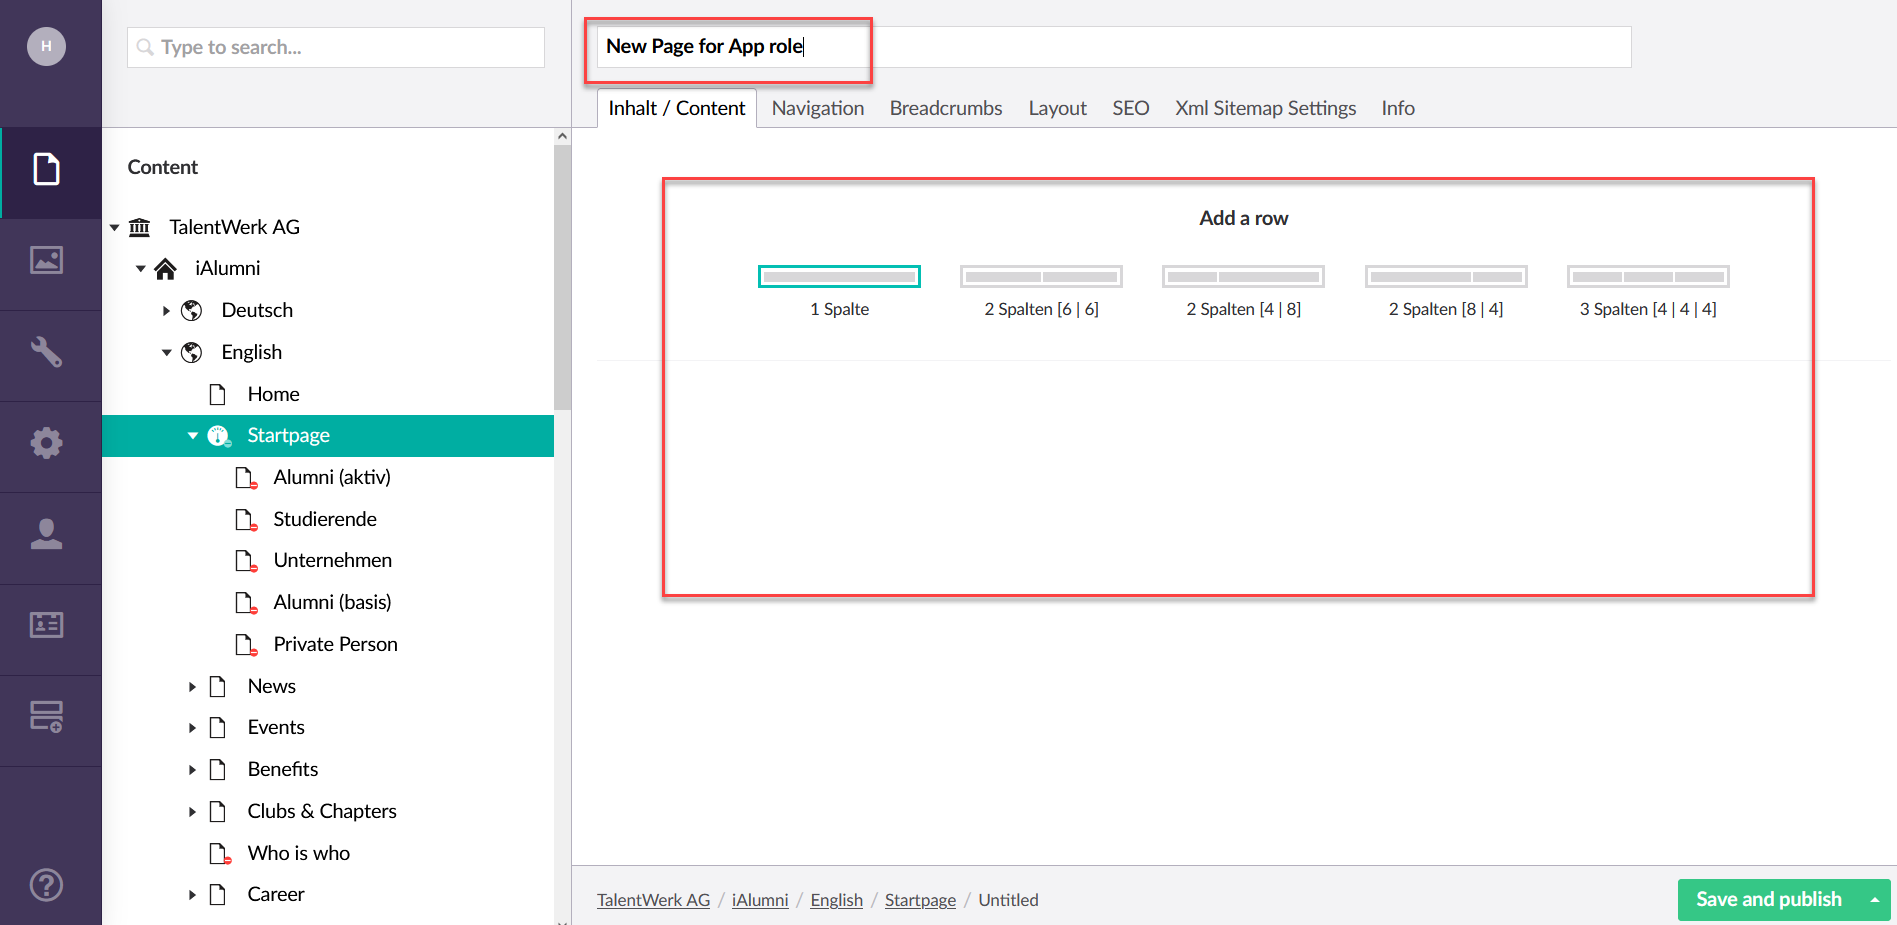
2. Name and fill in content
Now you can name the new web page and insert the desired content.
Afterwards, do not forget to save and publish.
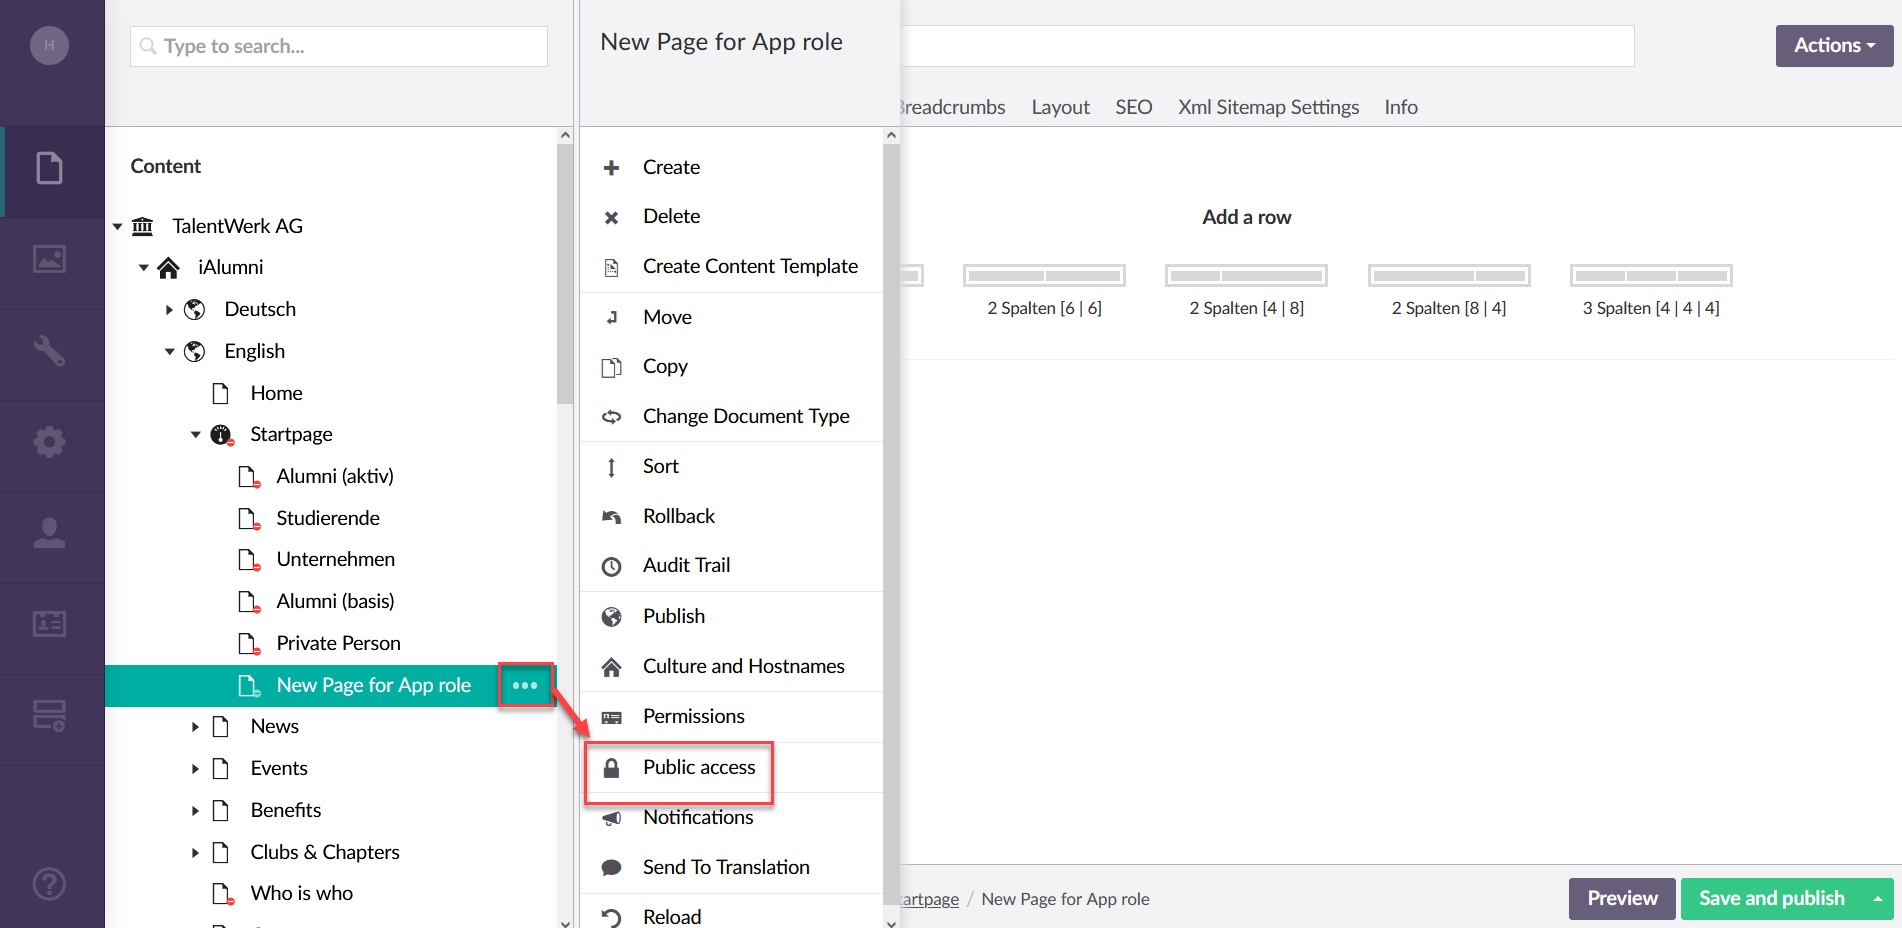
3. Release the page only for the respective role
3.1 You can do this by clicking on the three dots with the right mouse button (as shown in the picture).
Than you can click on "public access"
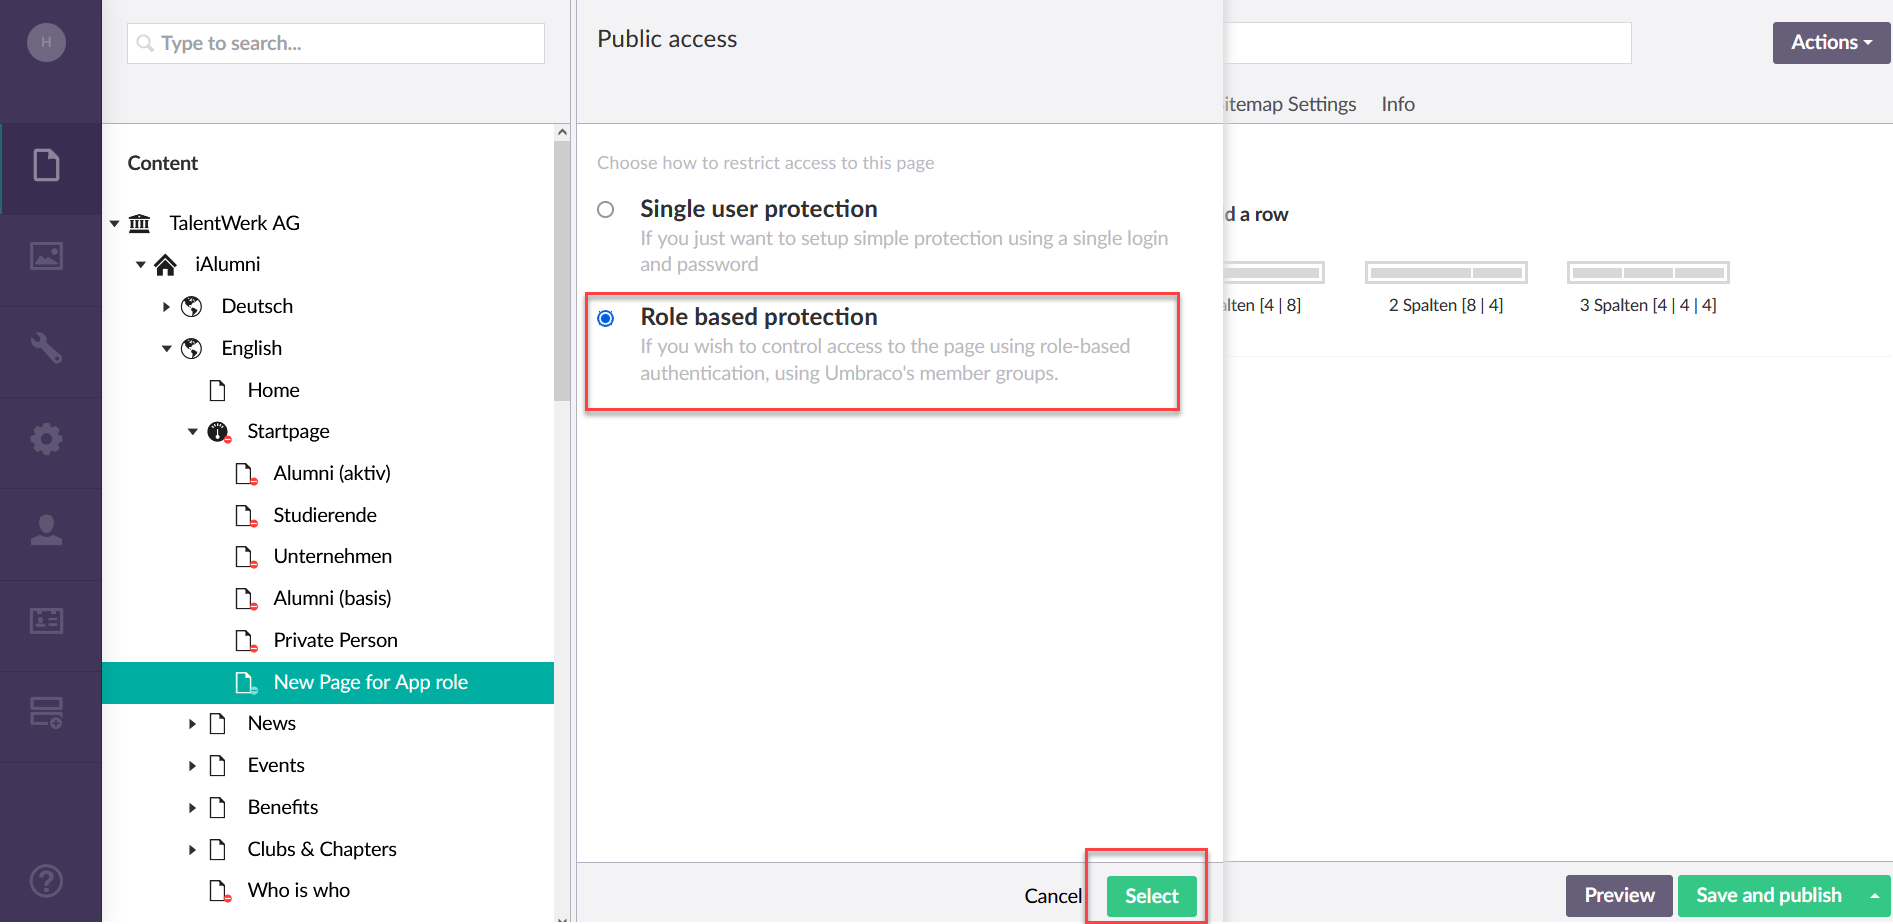
3.2 Click on role based protection
And than click on select
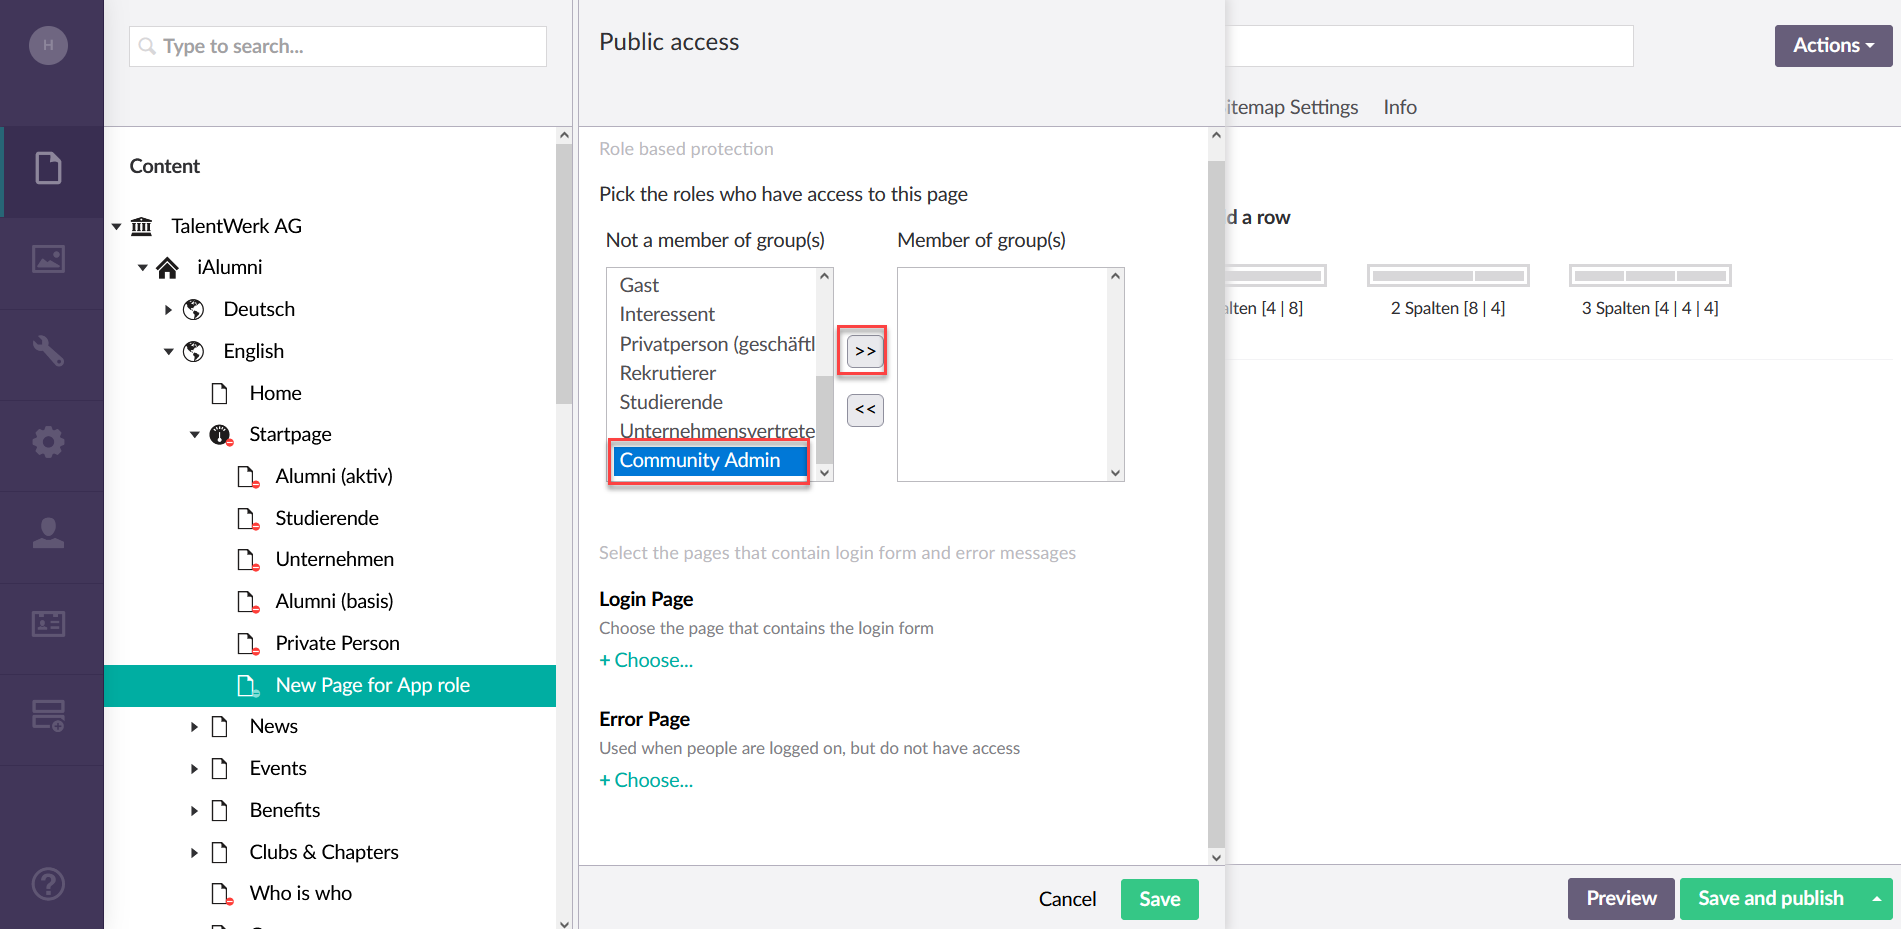
4. Chose the app role
Select the app role and click on the button that points to the right field.
Access can also be activated for more than one app roll.
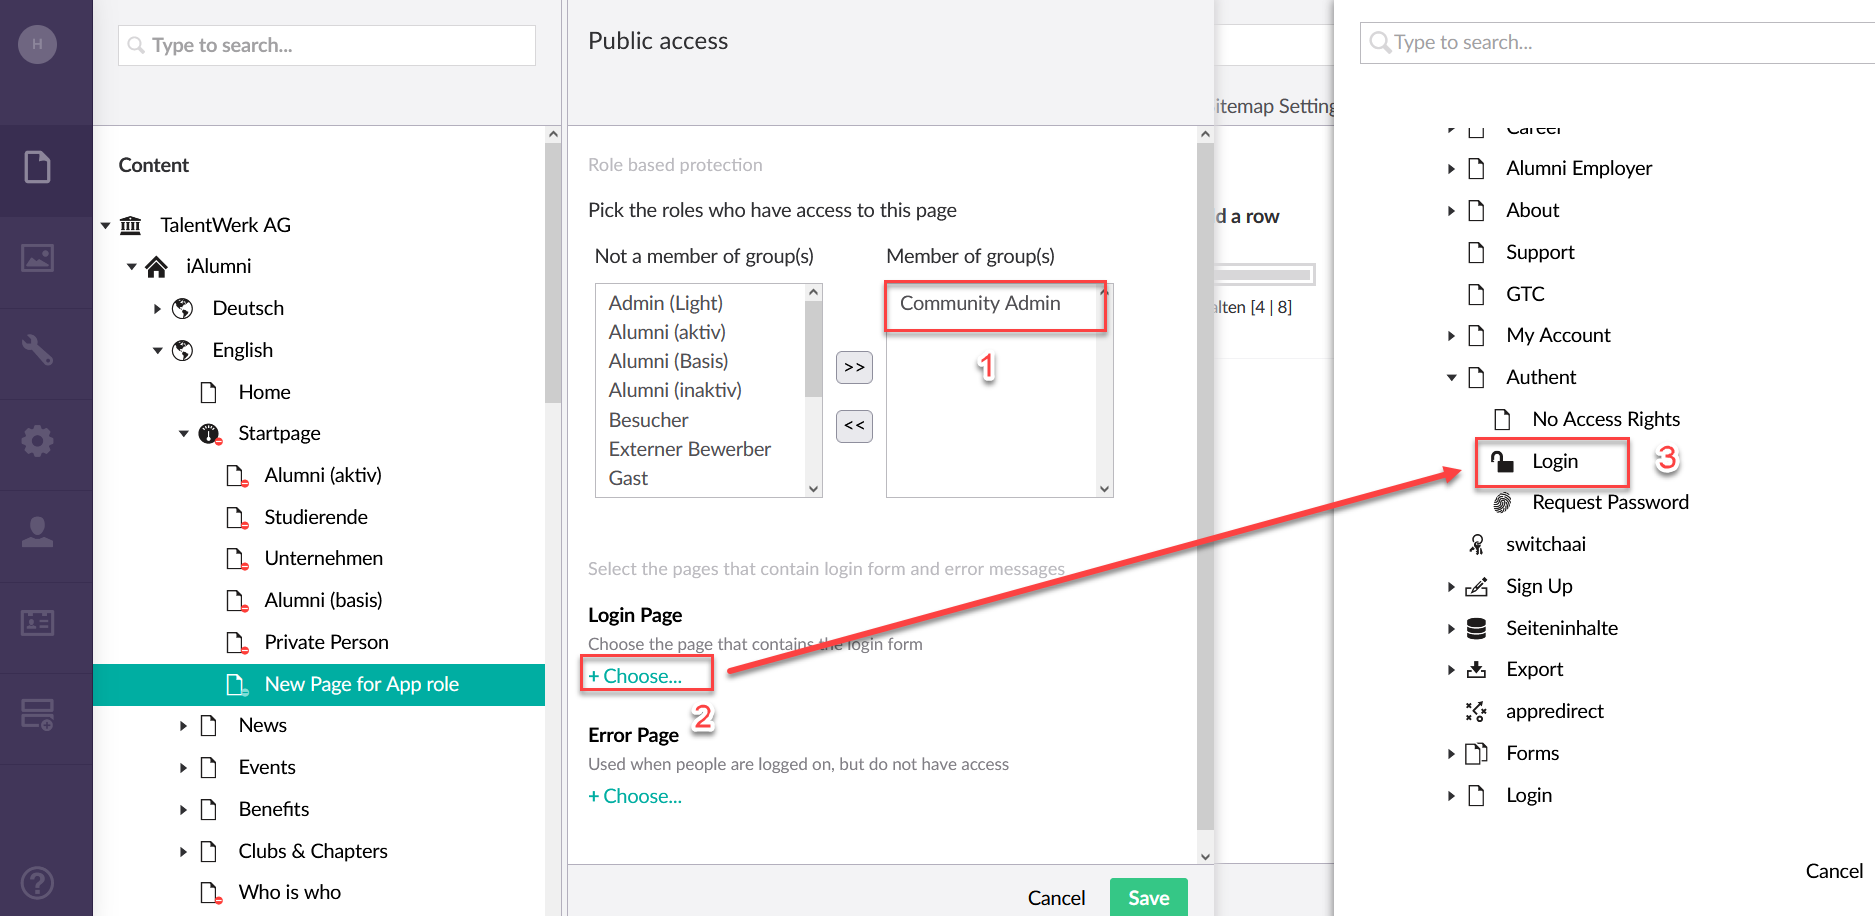
5. Login Page
|
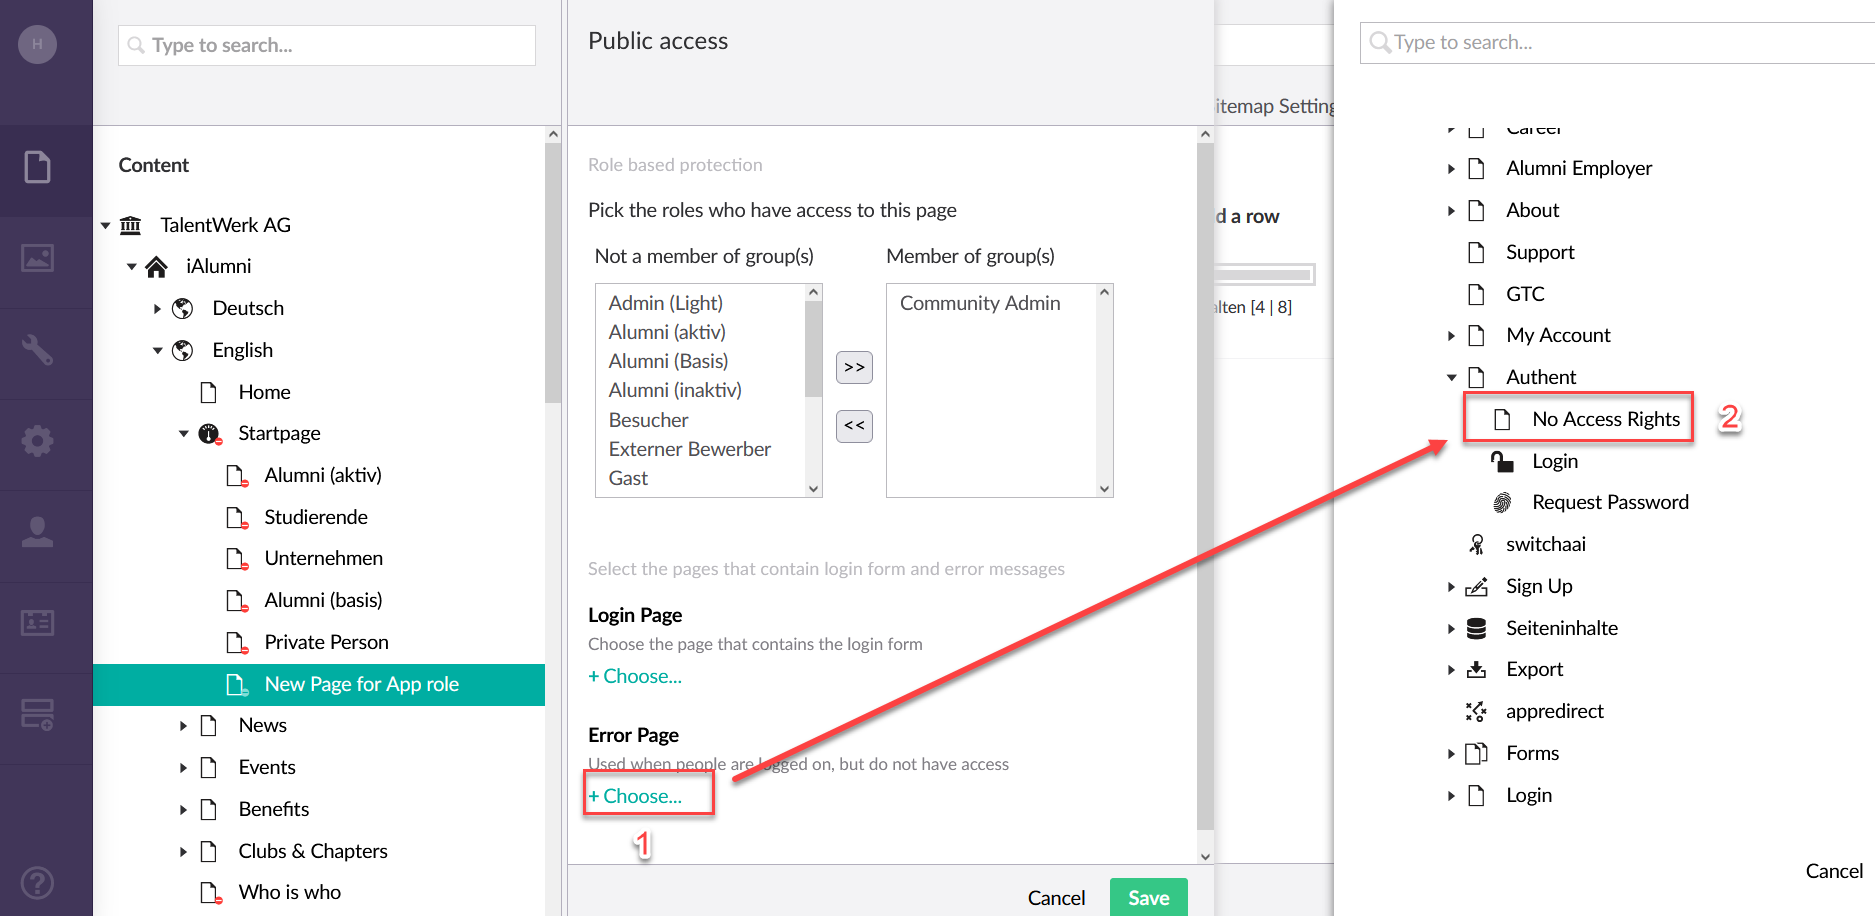
6. Error Page
|
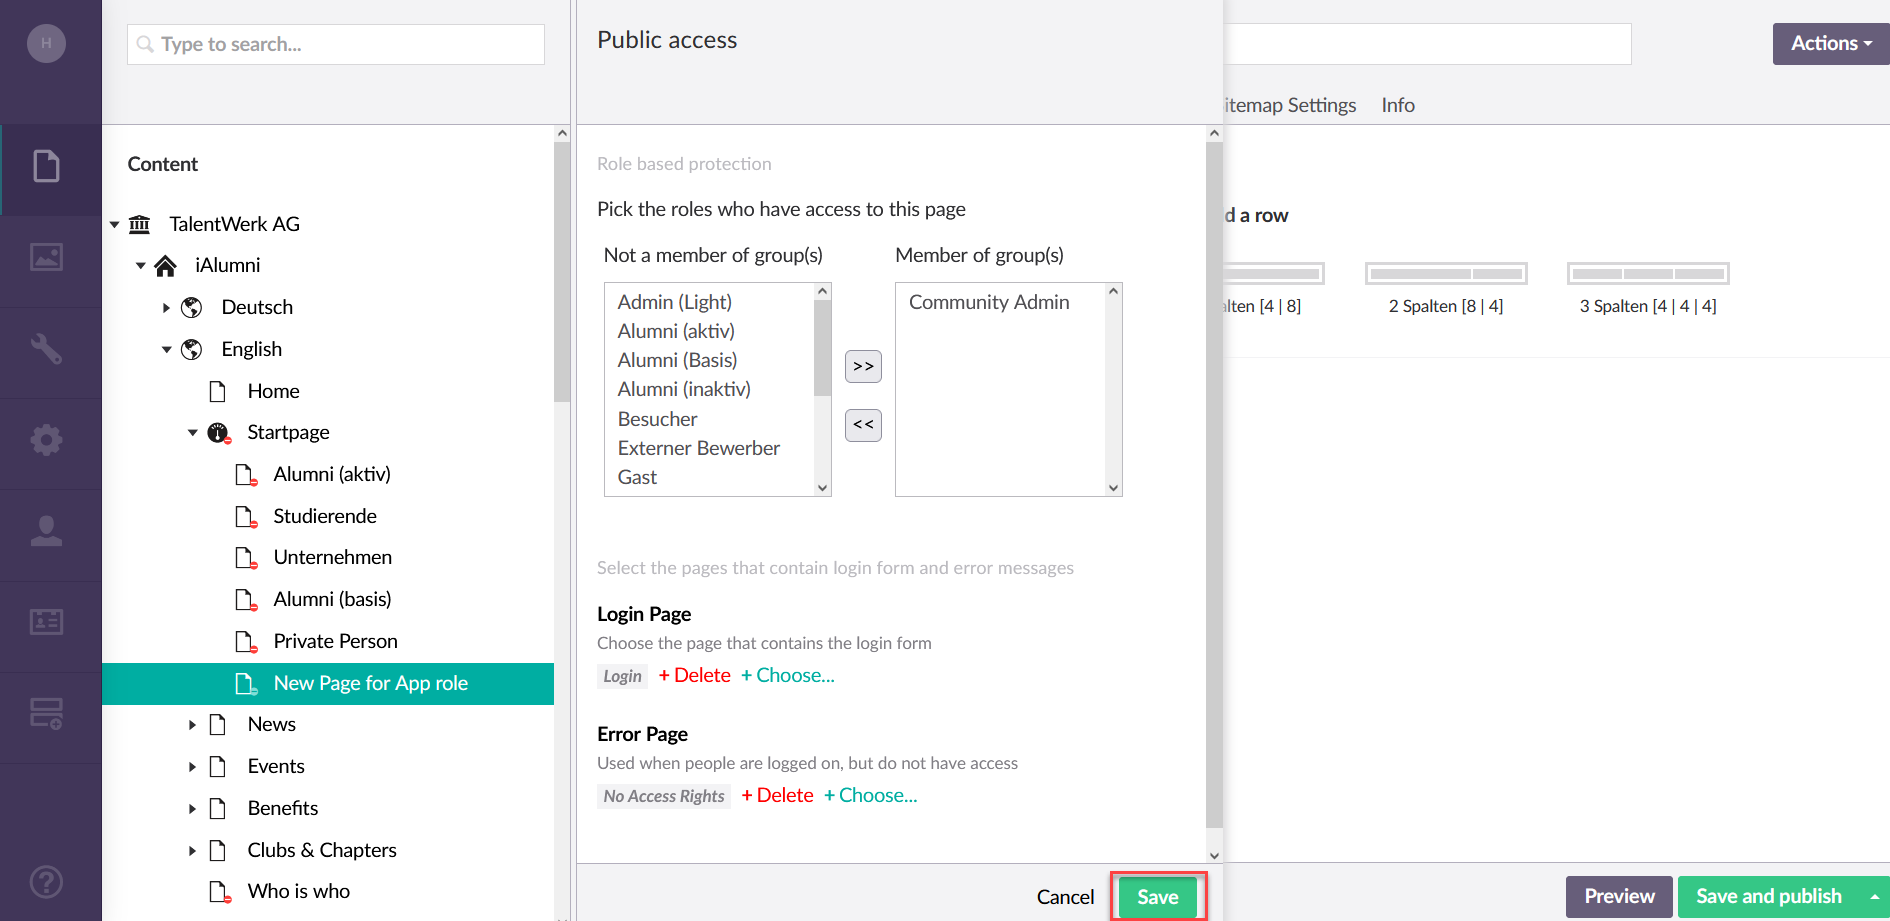
7. Save
Now you can save the settings.
In this example, only the Community Admin now has access to this page.
Weitere Artikel
"Media" section
In this instruction, we will show you the most important tips and tricks for working with the "Media" area.
Read moreParallax
In this instruction we explain the function and the handling of the element "Parallax".
Read moreReplace partner logo
In this instruction we explain how you can add a new partner or exchange parts of the information of an existing partner.
Read more