 Deutsch
Content Repo (Example: Partner)
In this instruction we will explain the function of the "Page Content" area or also called Content Repo. In this area you can create certain content, which you can then insert into elements in the Content segment. This includes contact persons, key visuals, partners and banners.
Content Repo (Example: Partner)
Contacts, key visuals, partners and banners.
1. Create a content repo
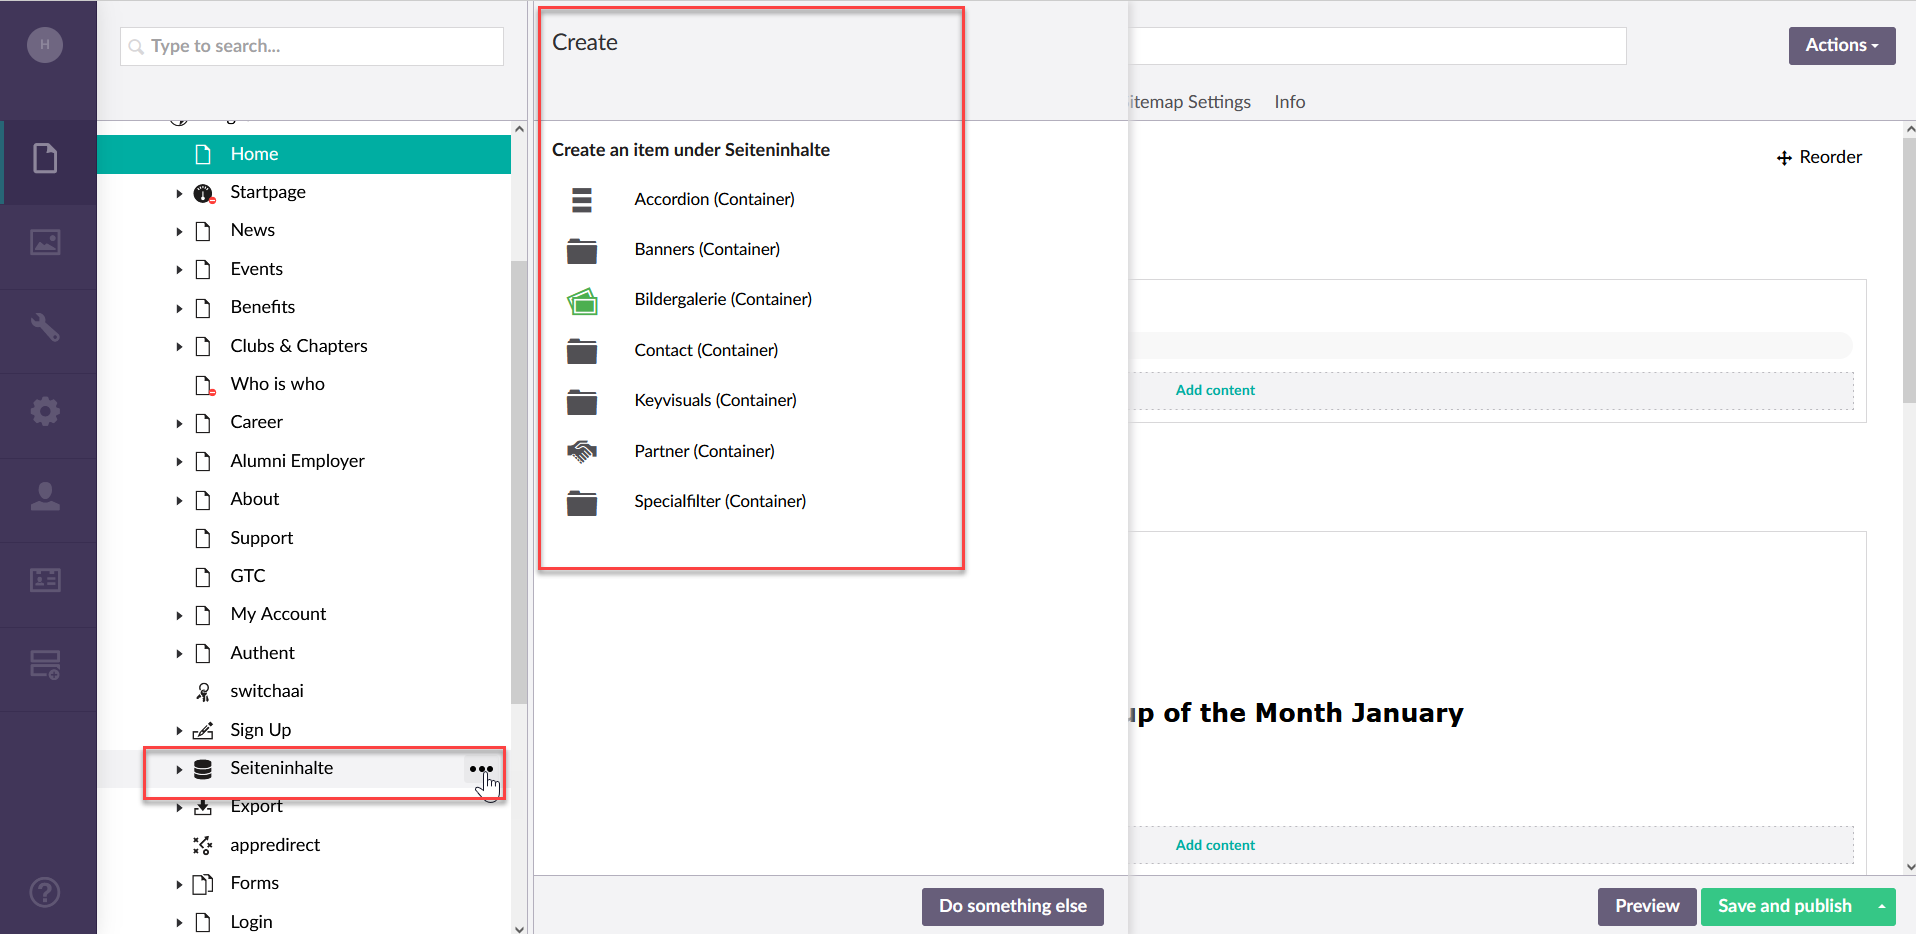
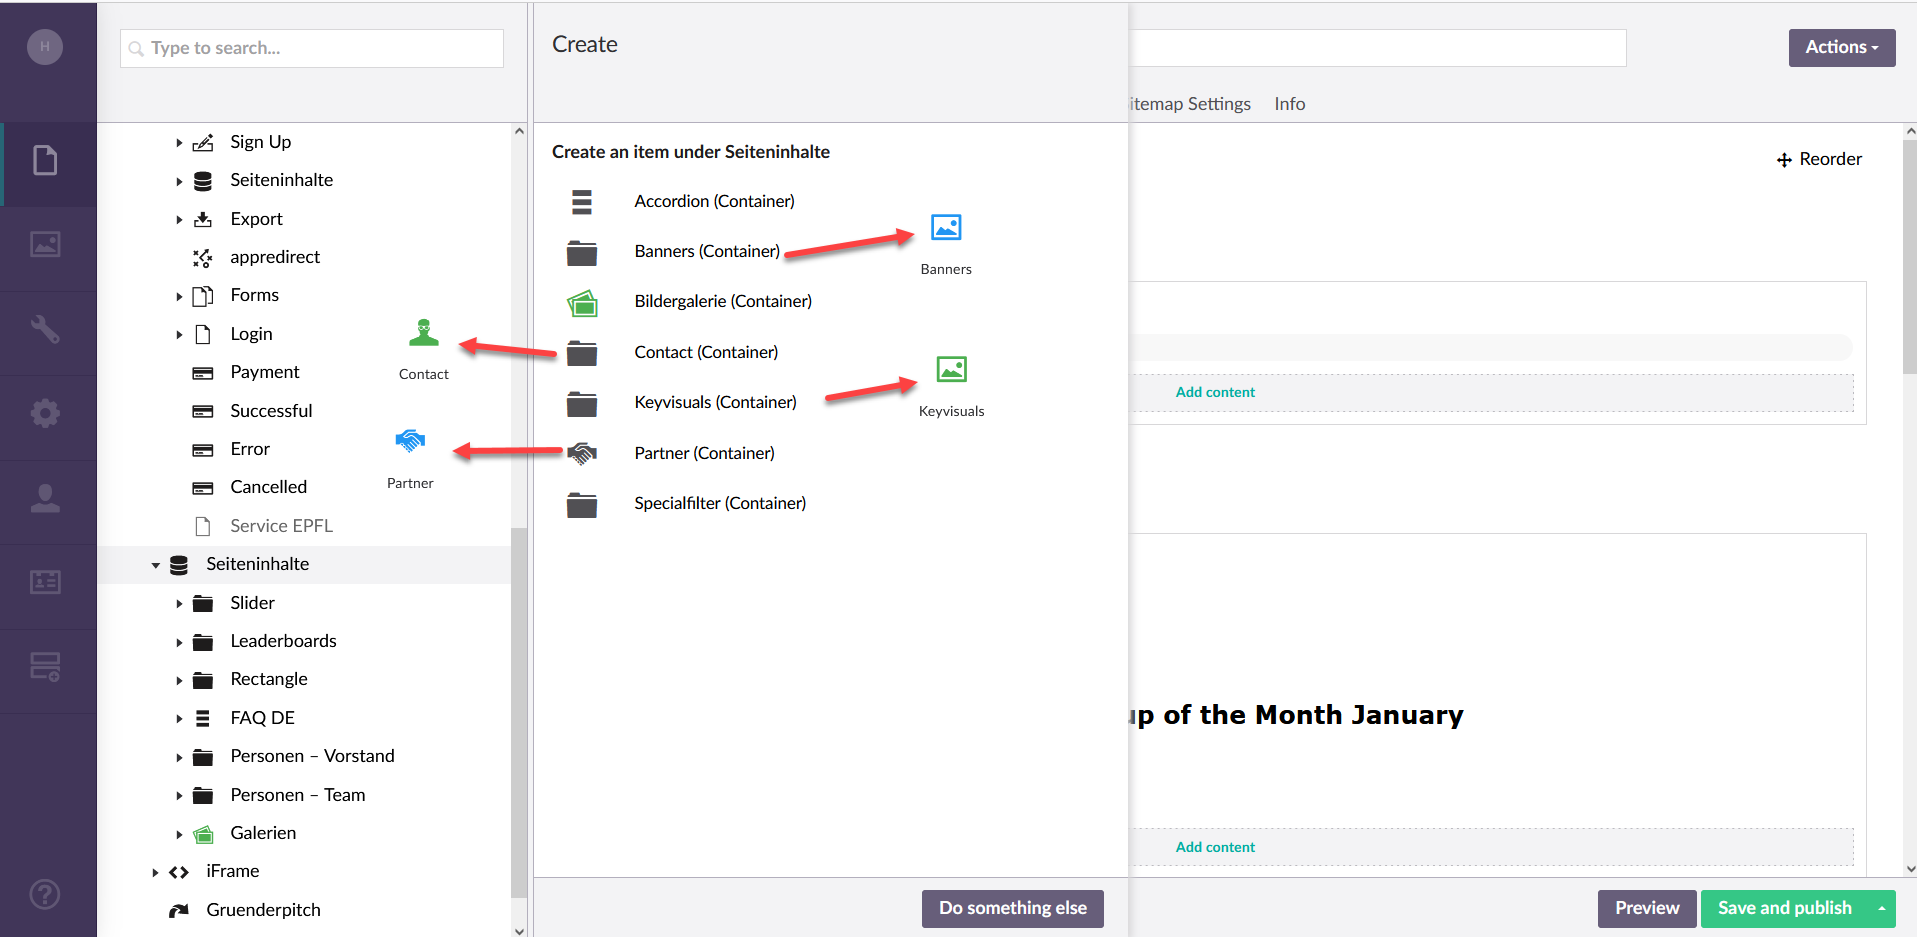
To select one of the four categories above and create one, select the Create action in "Seiteninhalte" (or Content Repo).
You can do this by clicking on the three dots with the left mouse button (as shown in the picture).
Now you can choose which content you want to create. Here we show you the example "Partner". With contact, key visuals and banners, it works the same way.
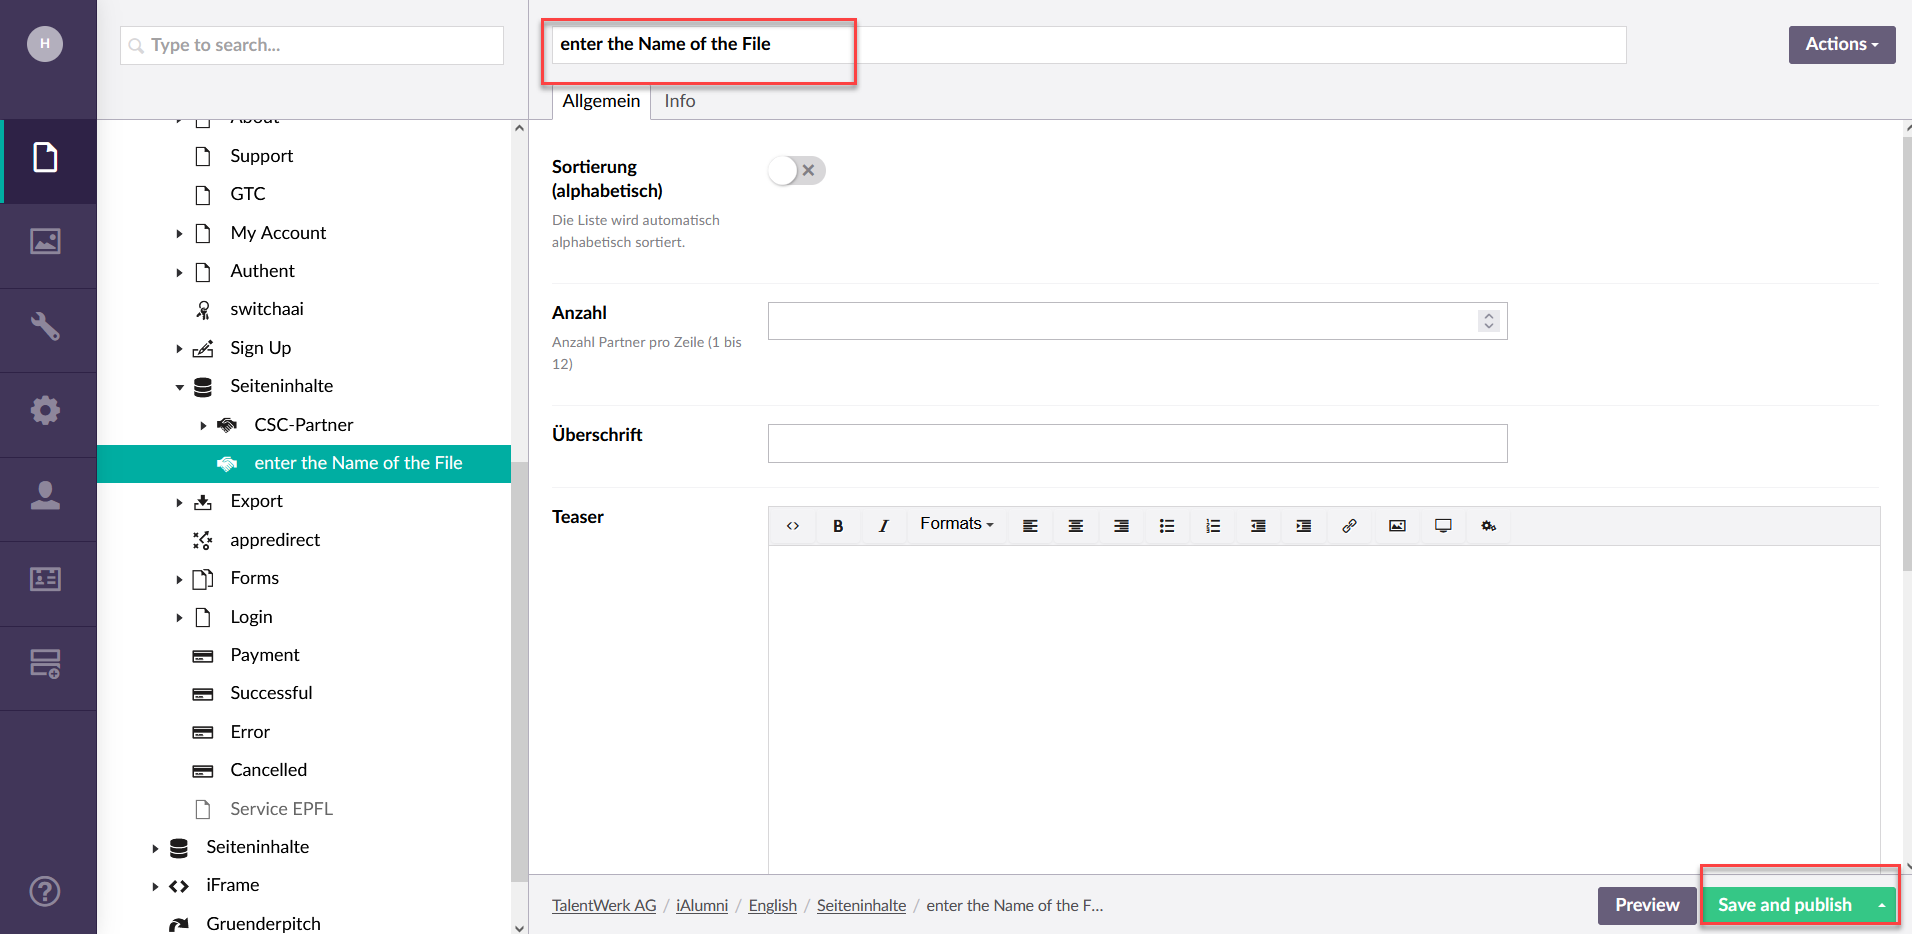
2. Name and Publish
Now name and publish this folder.
This will be the folder where the partner group can be published
3. Subitem
3.1 Create a new folder
You can now create several subordinate elements through the Create action and design them according to your wishes.
in this example, I will insert a new company partner.
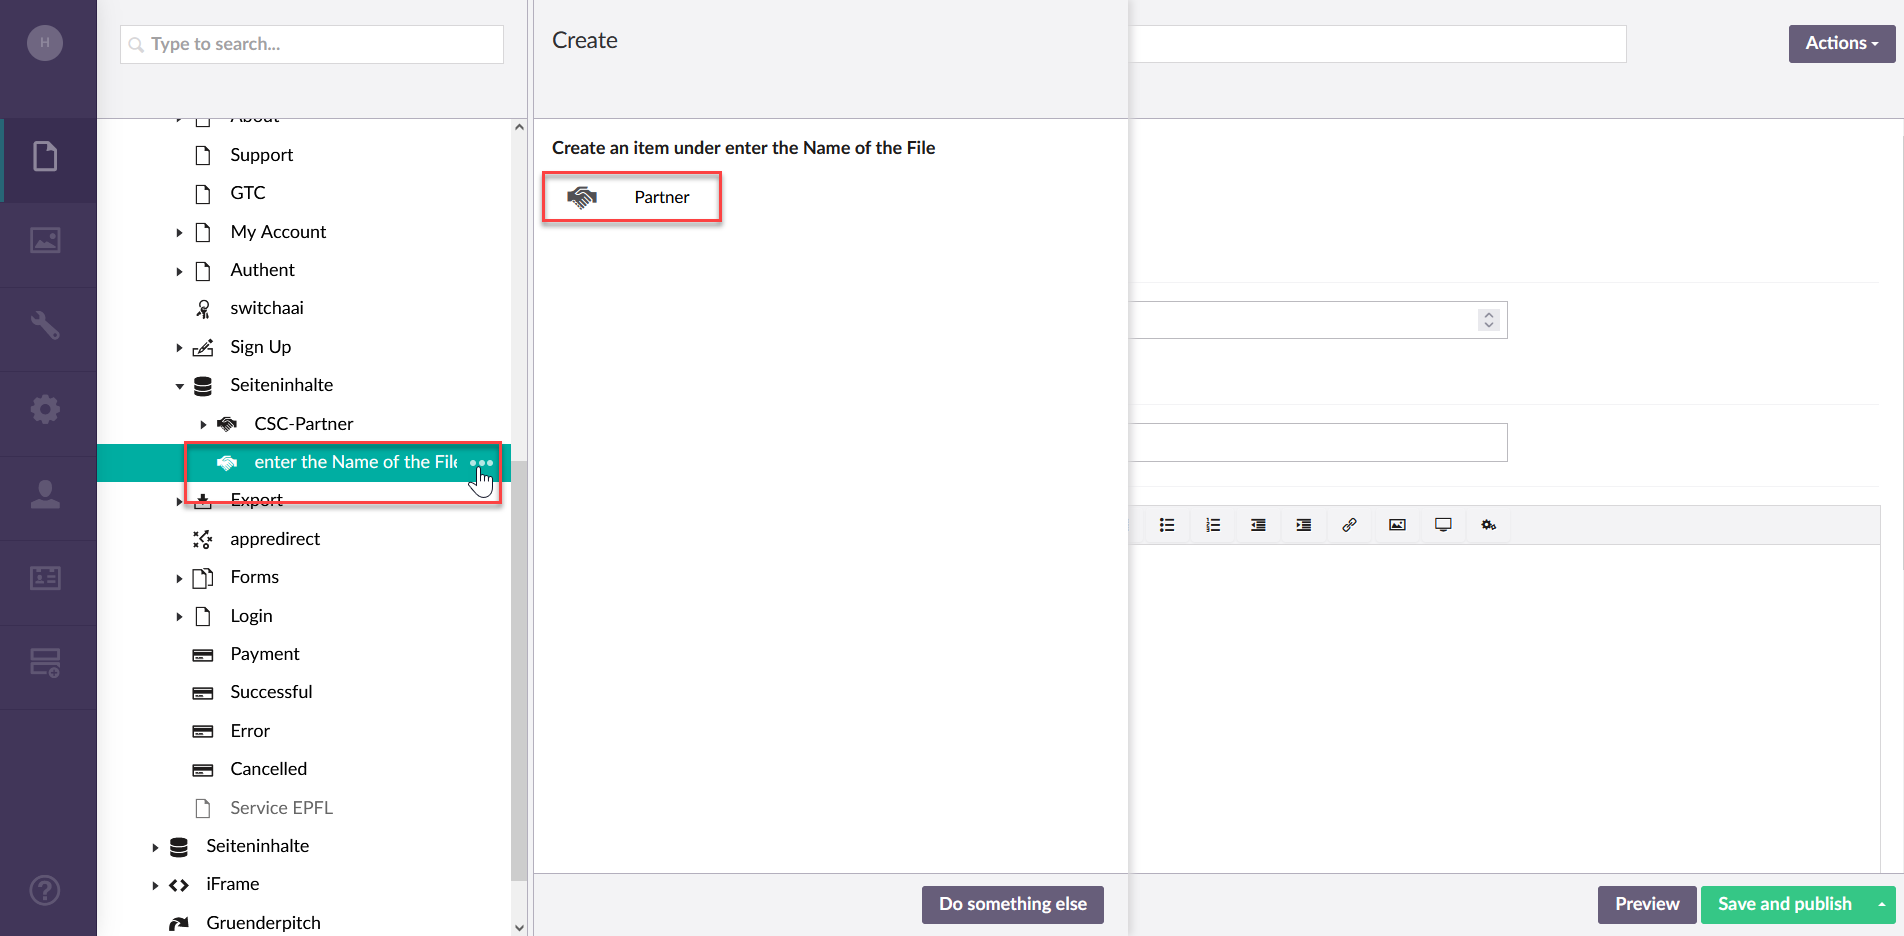
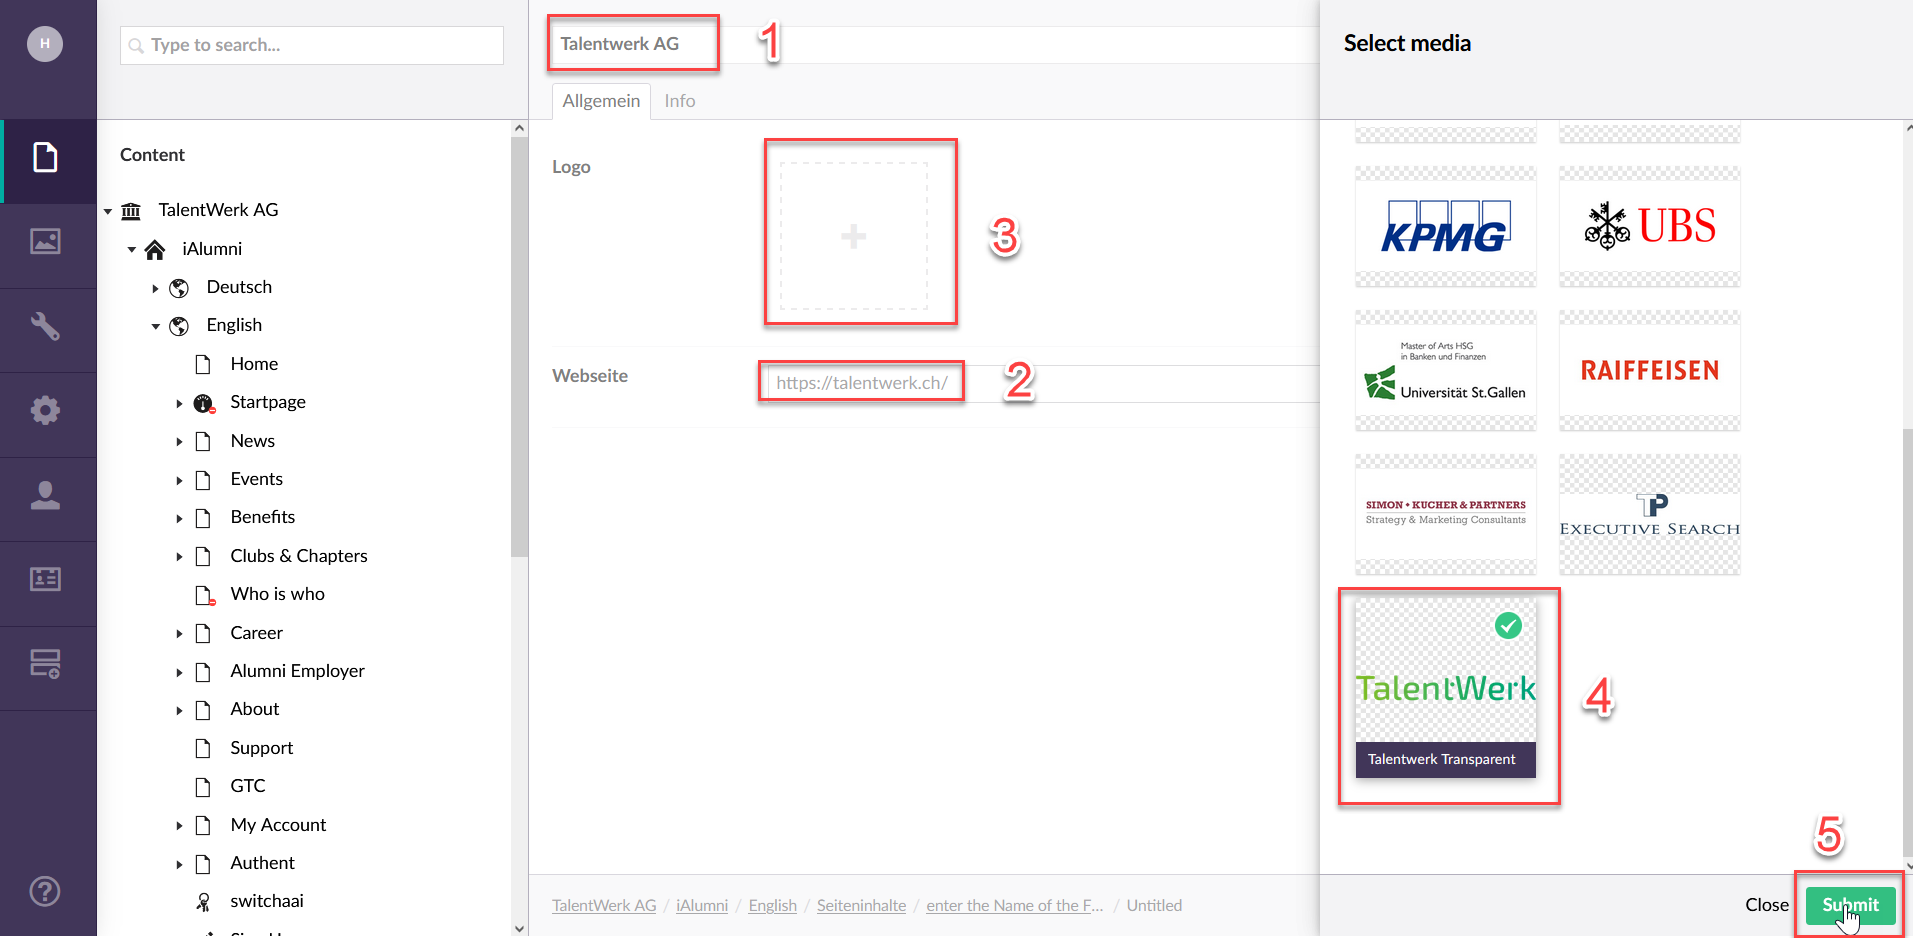
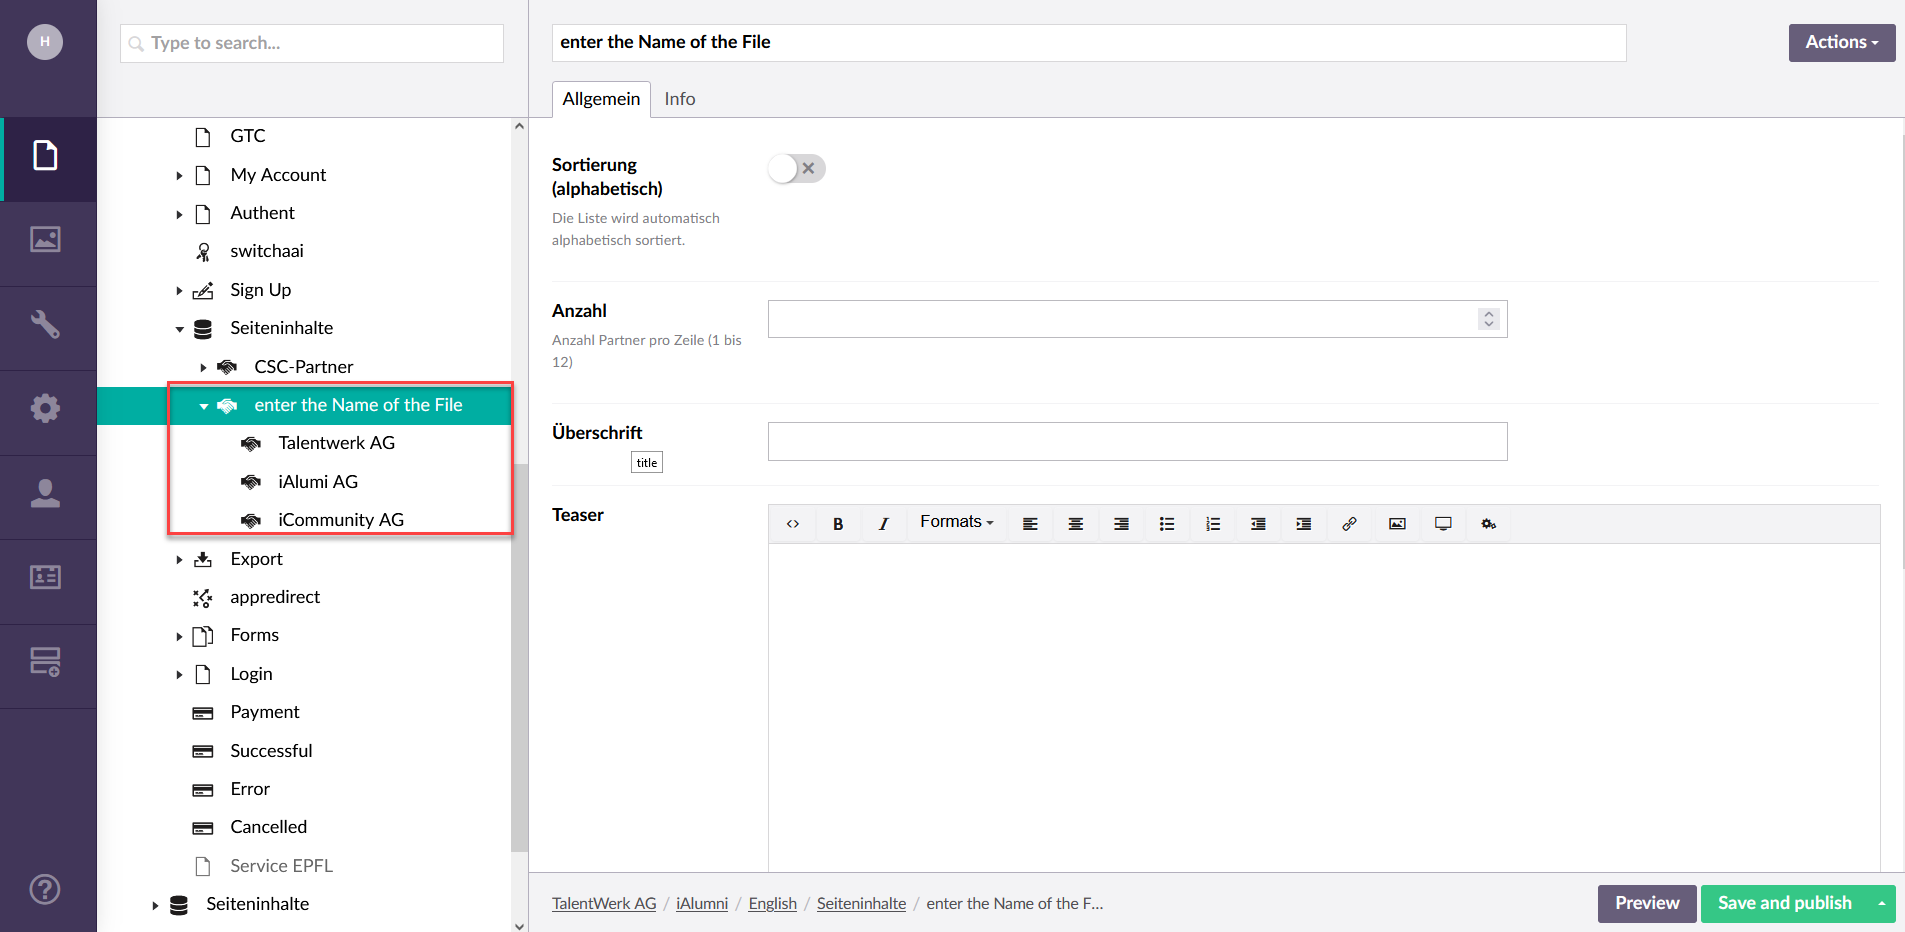
3.2 Create a Partner
Now you can insert details and the logo of your company partner.
|
4. Create more Partner if desired
If desired, you can now create additional partners under the Partner file. After that you can insert the Partner to the Website you want.
You can now find them in the Content Repo section (Seiteninhalt).
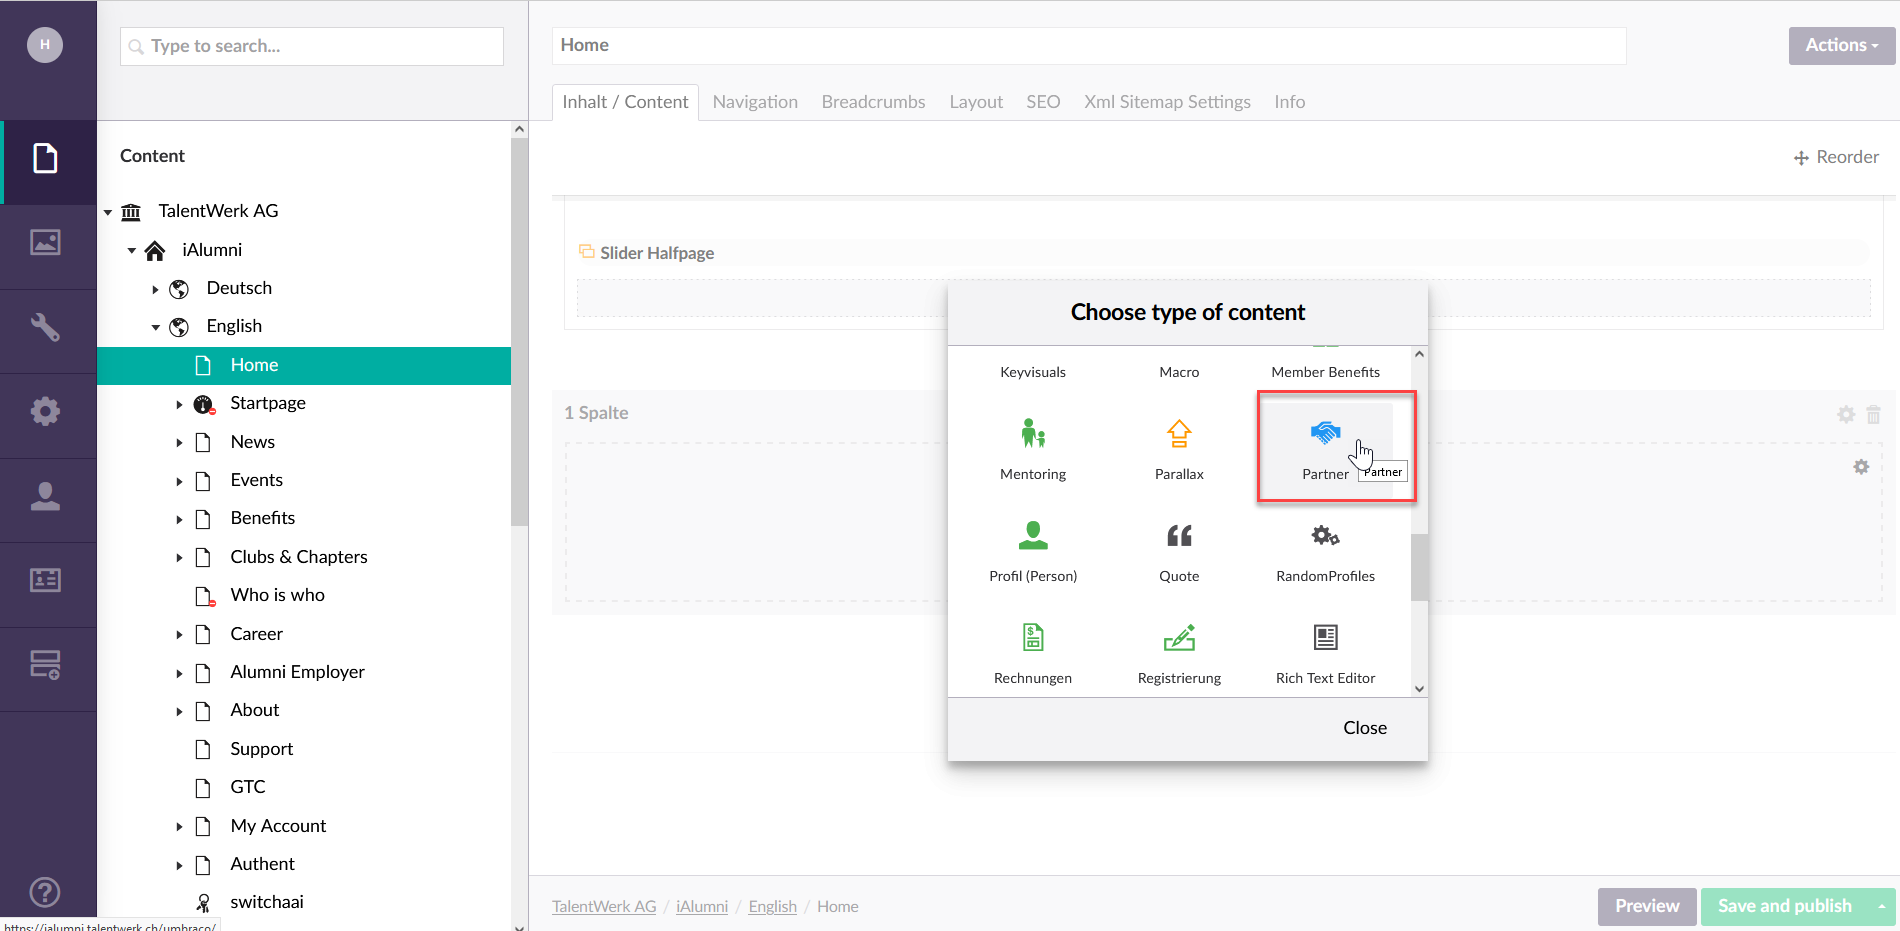
5. Add the element "Partner"
|
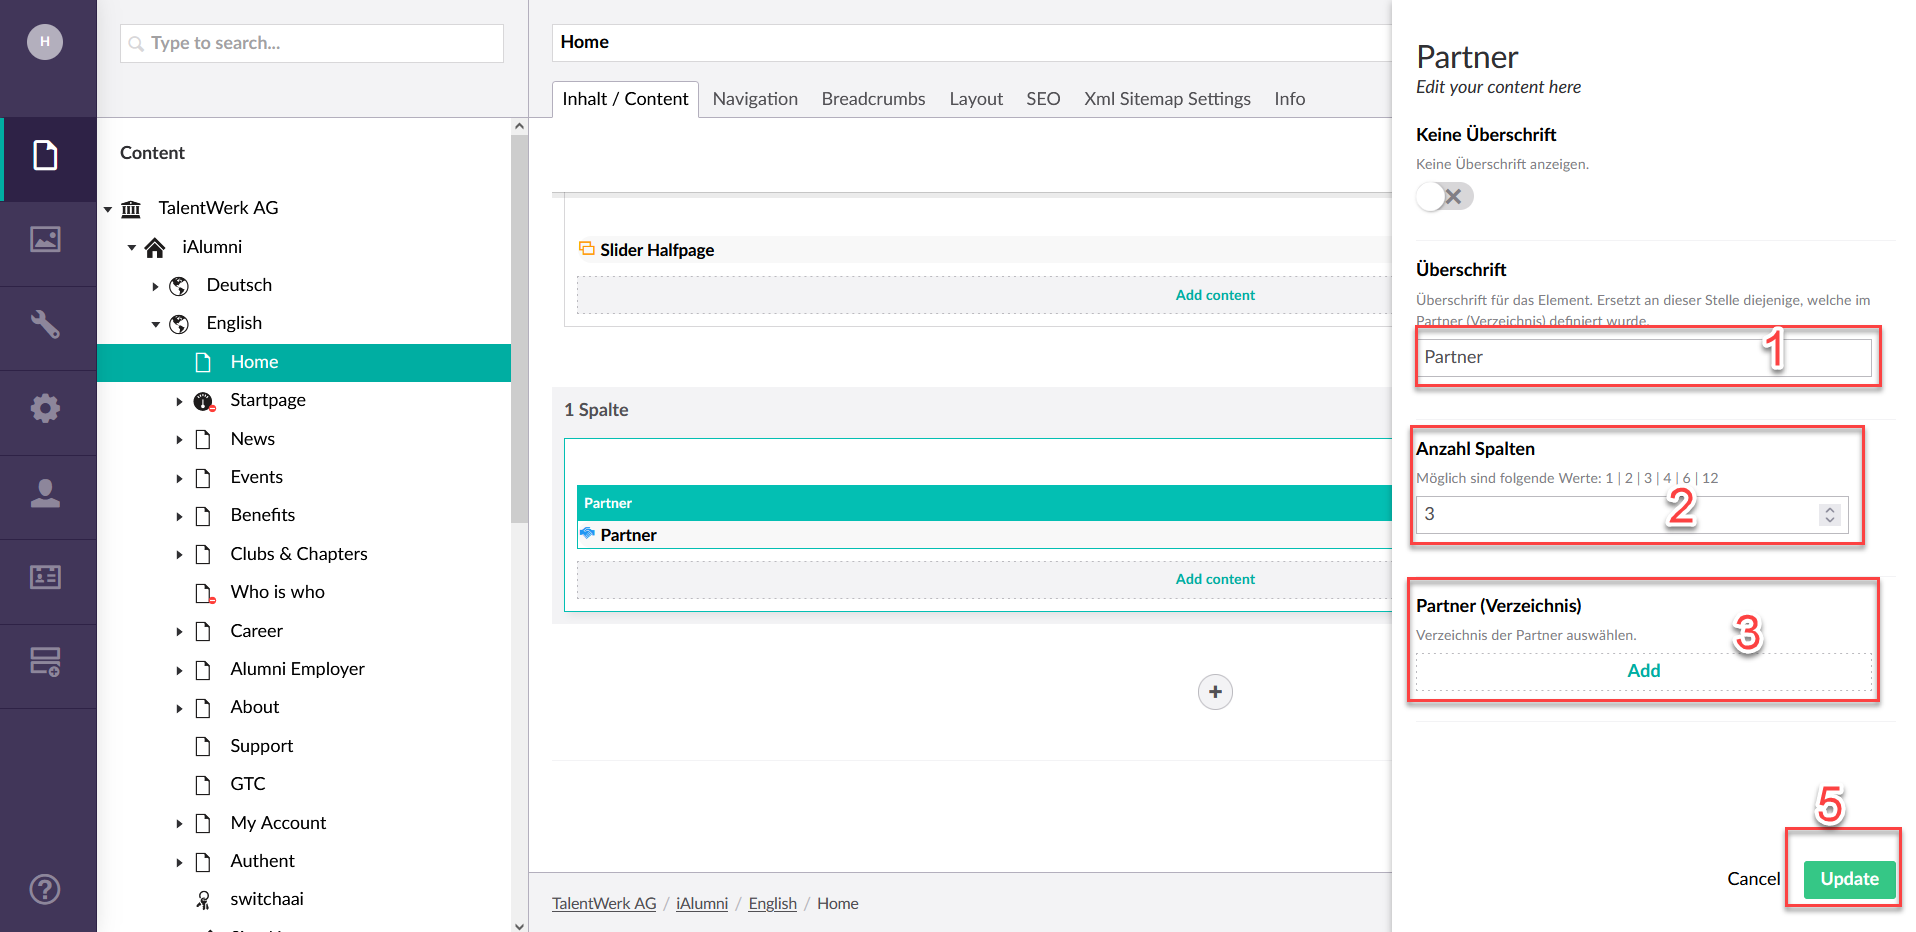
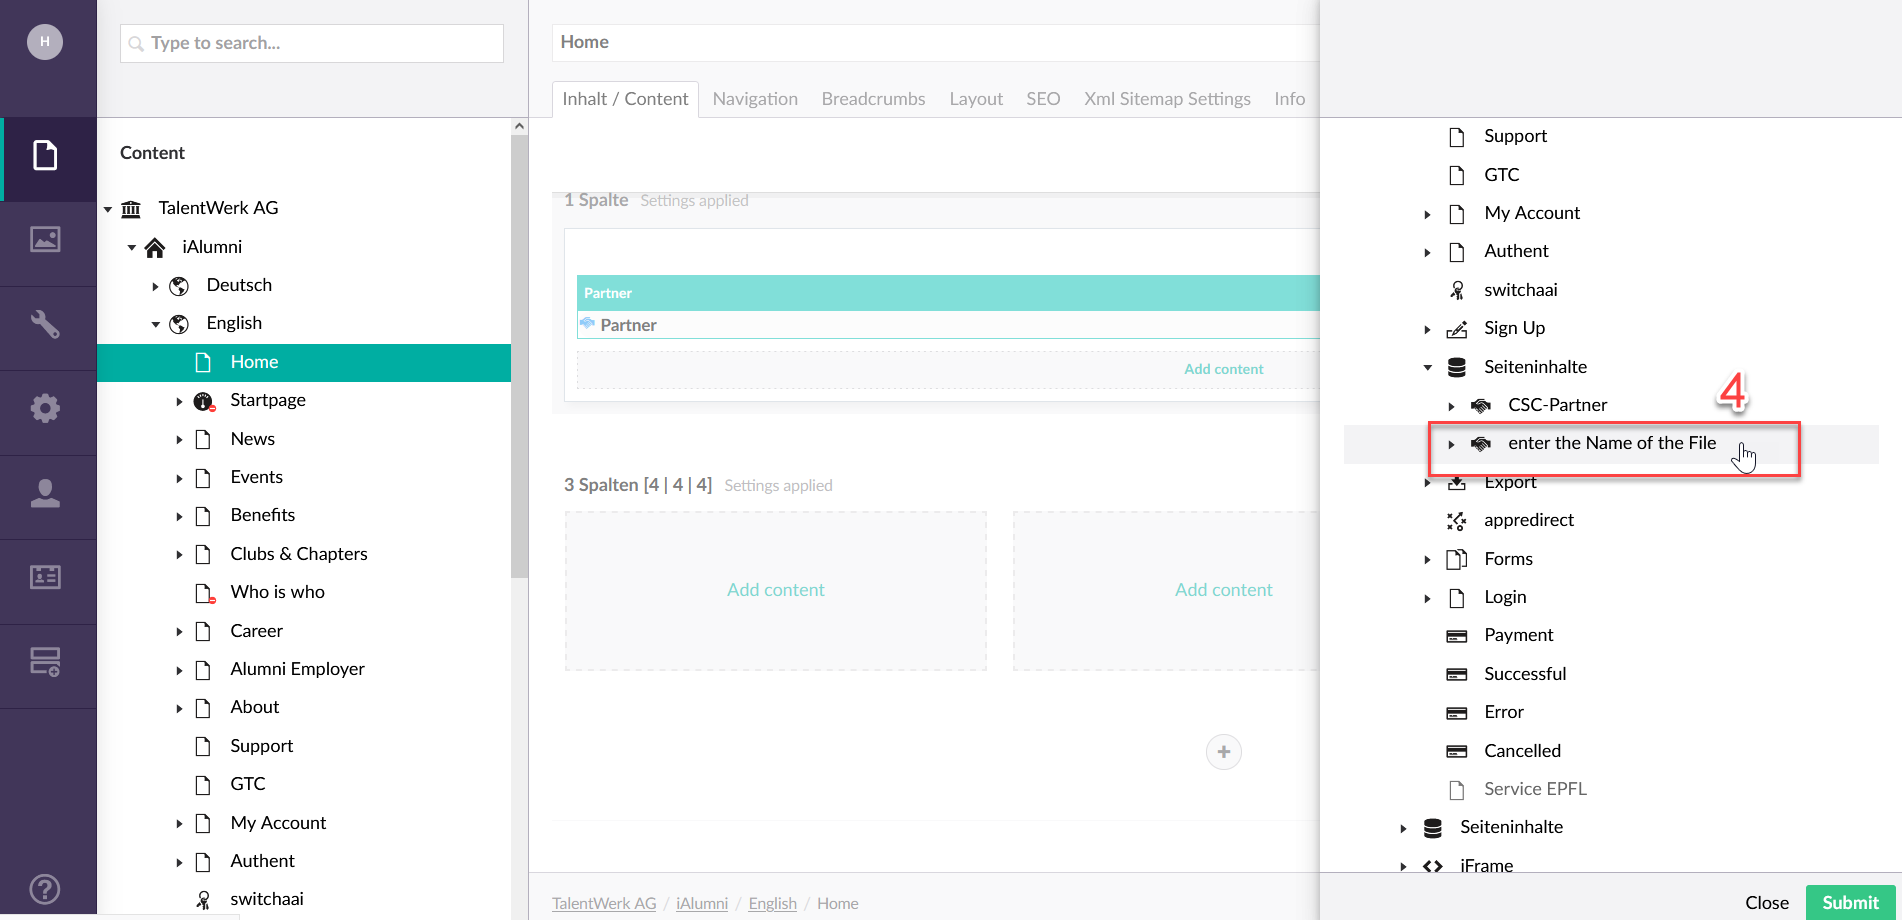
6. Add the necessary information for the element
|
7. Check the result
Now you can view the result via the preview button and make any changes in the content repo.

8. Final tip
As a final tip, it is important to know that the possible categories in the Content Repo are named exactly the same as the elements in which the created content is inserted. For example, the category in the content repo is called "Contacts" and the element in the content area is called "Contact", etc.
Weitere Artikel
"Media" section
In this instruction, we will show you the most important tips and tricks for working with the "Media" area.
Read moreStructure of a page
In this instruction we will explain the structure of an umbraco page and give you some basic tips on how to work with an umbraco page.
Read moreBasic functions
In this instruction we will explain how to create, delete, move, copy, sort and more pages and subpages in your Umbraco.
Read more