 Deutsch
Create a new event
In this instruction we explain how to create an new event in the platform
1. You are a Administrator
Here you can see how to get to the area where you can create a new event as an admin.
1. Go to the "Events" section
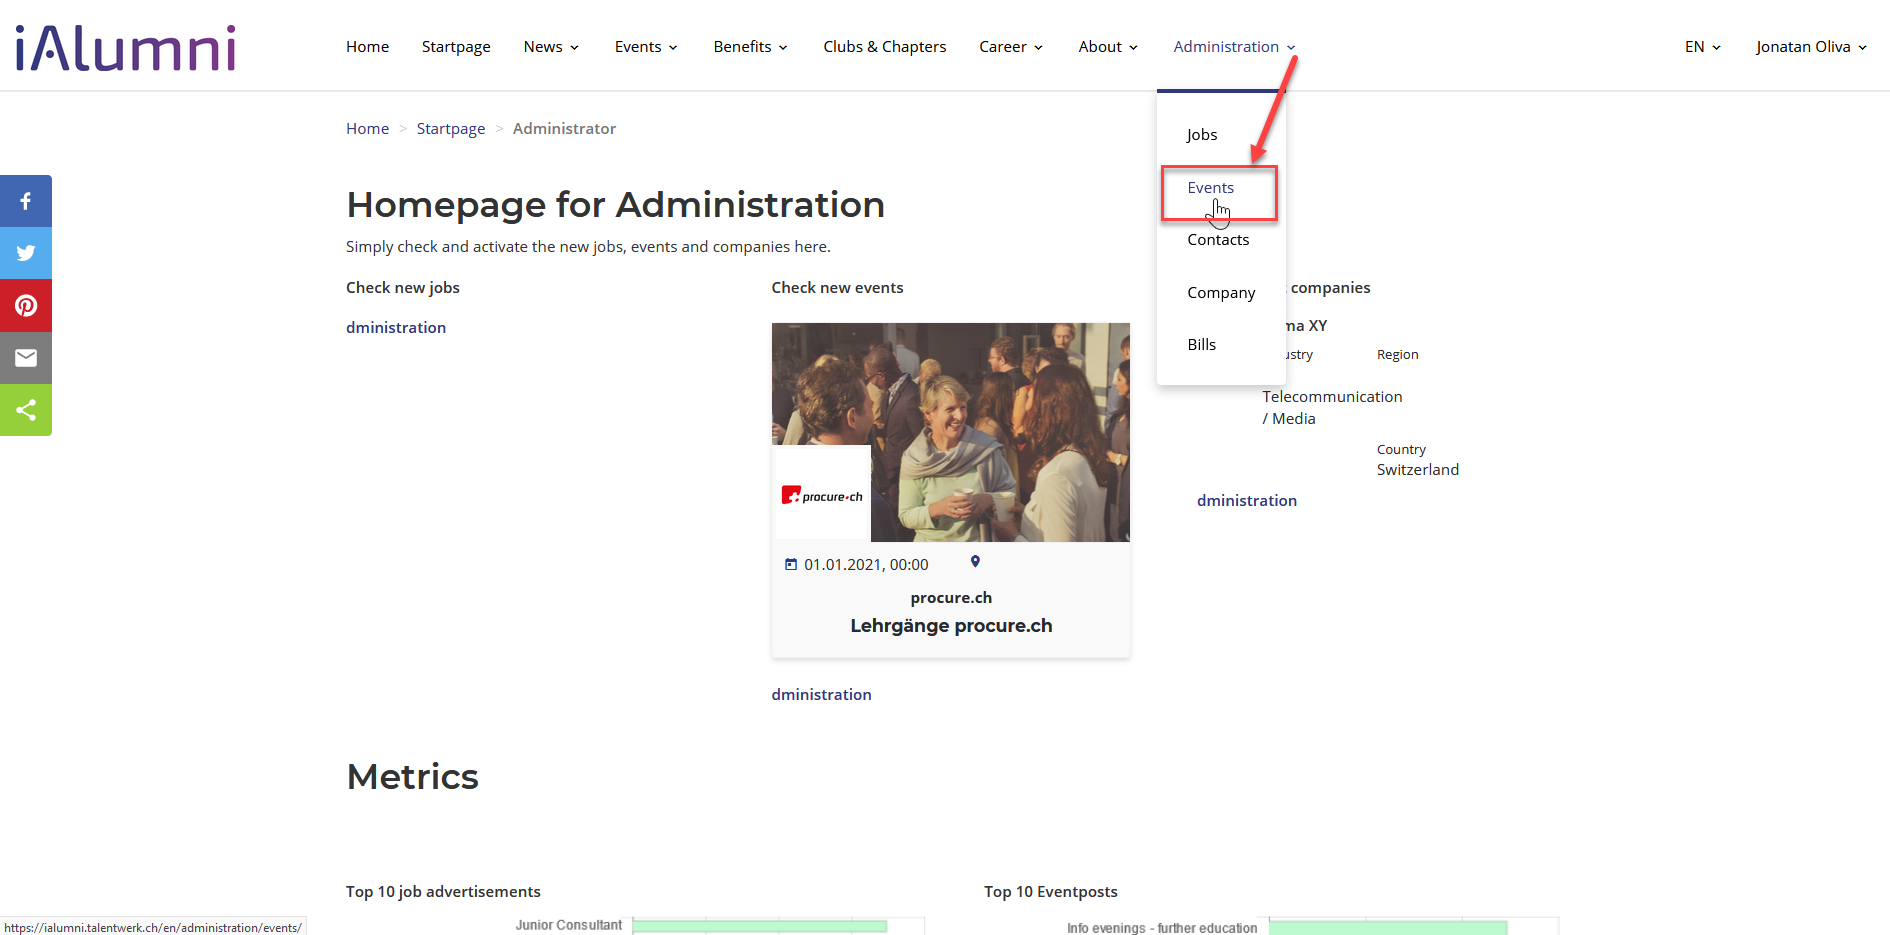
2. Go to "Create a new event"
2.1 Here you learn how to Create a new event
2. You are a Company
Here you can see how to get to the area where you can create a new event as an company.
1. Go to "Create a new event"

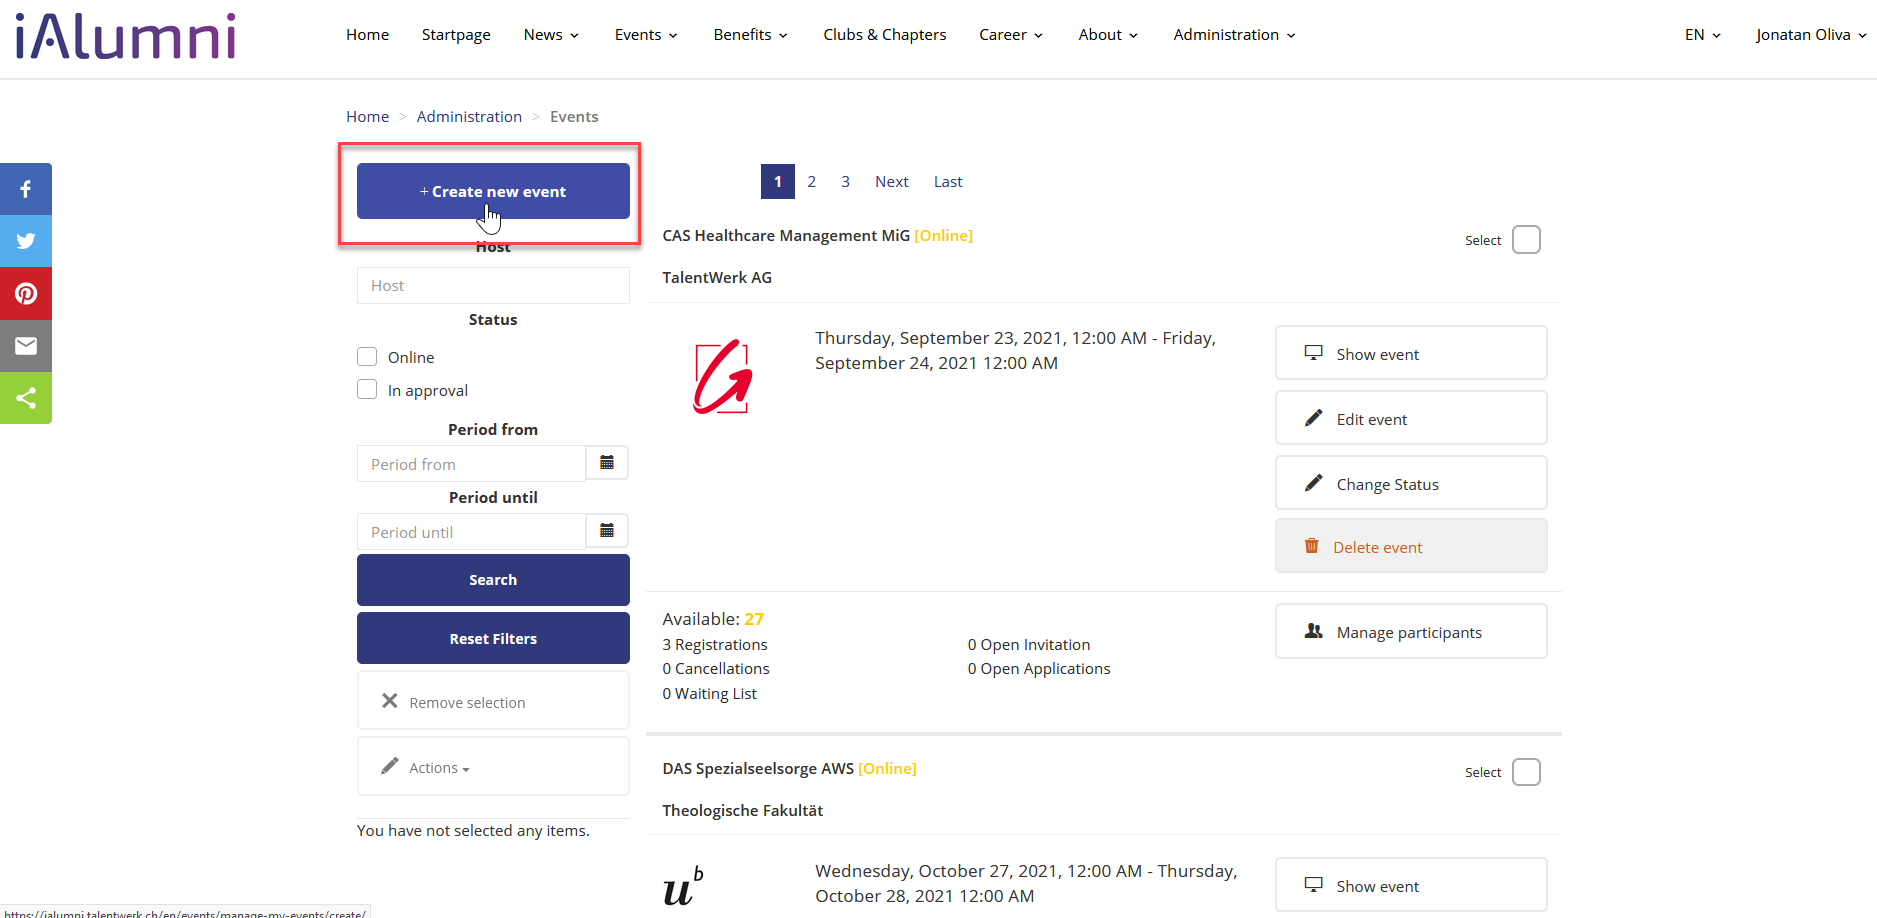
3. Create a new event
Here we show you how to create a new event
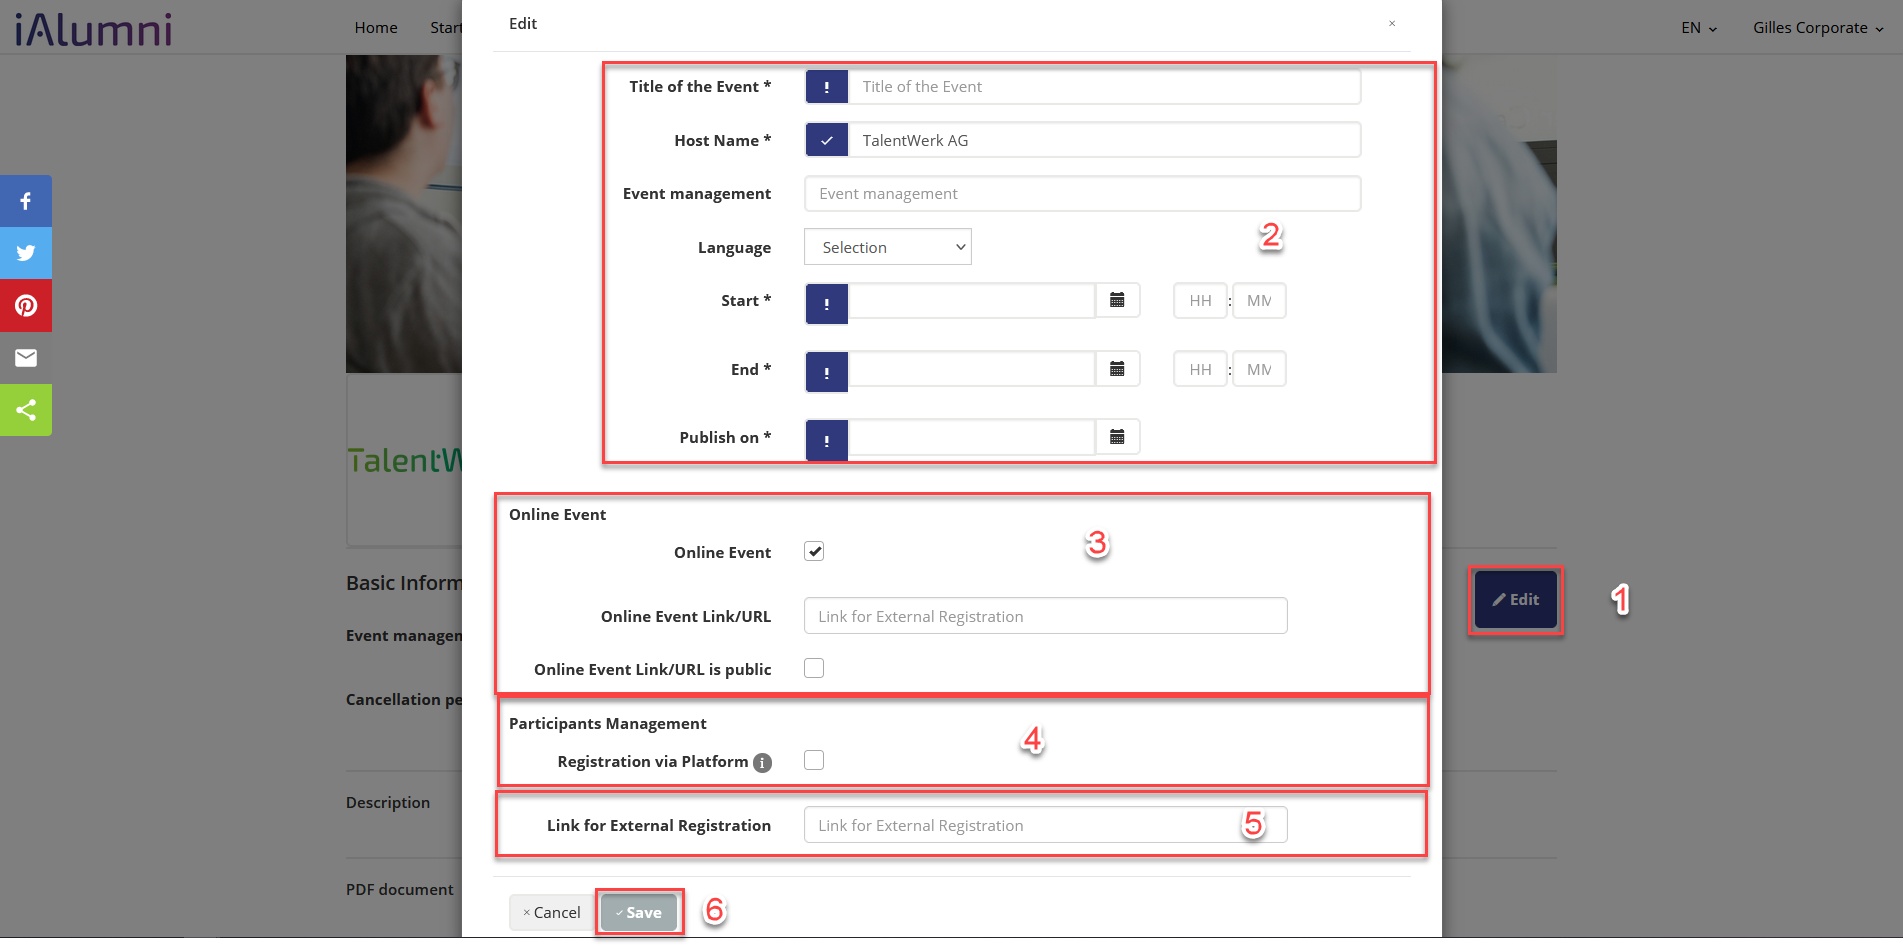
1. Logo/Background Image
Here you can upload a logo and a background image directly from your PC. We recommend a size of 1200x330 pixels for the background image.

2. Basic Information
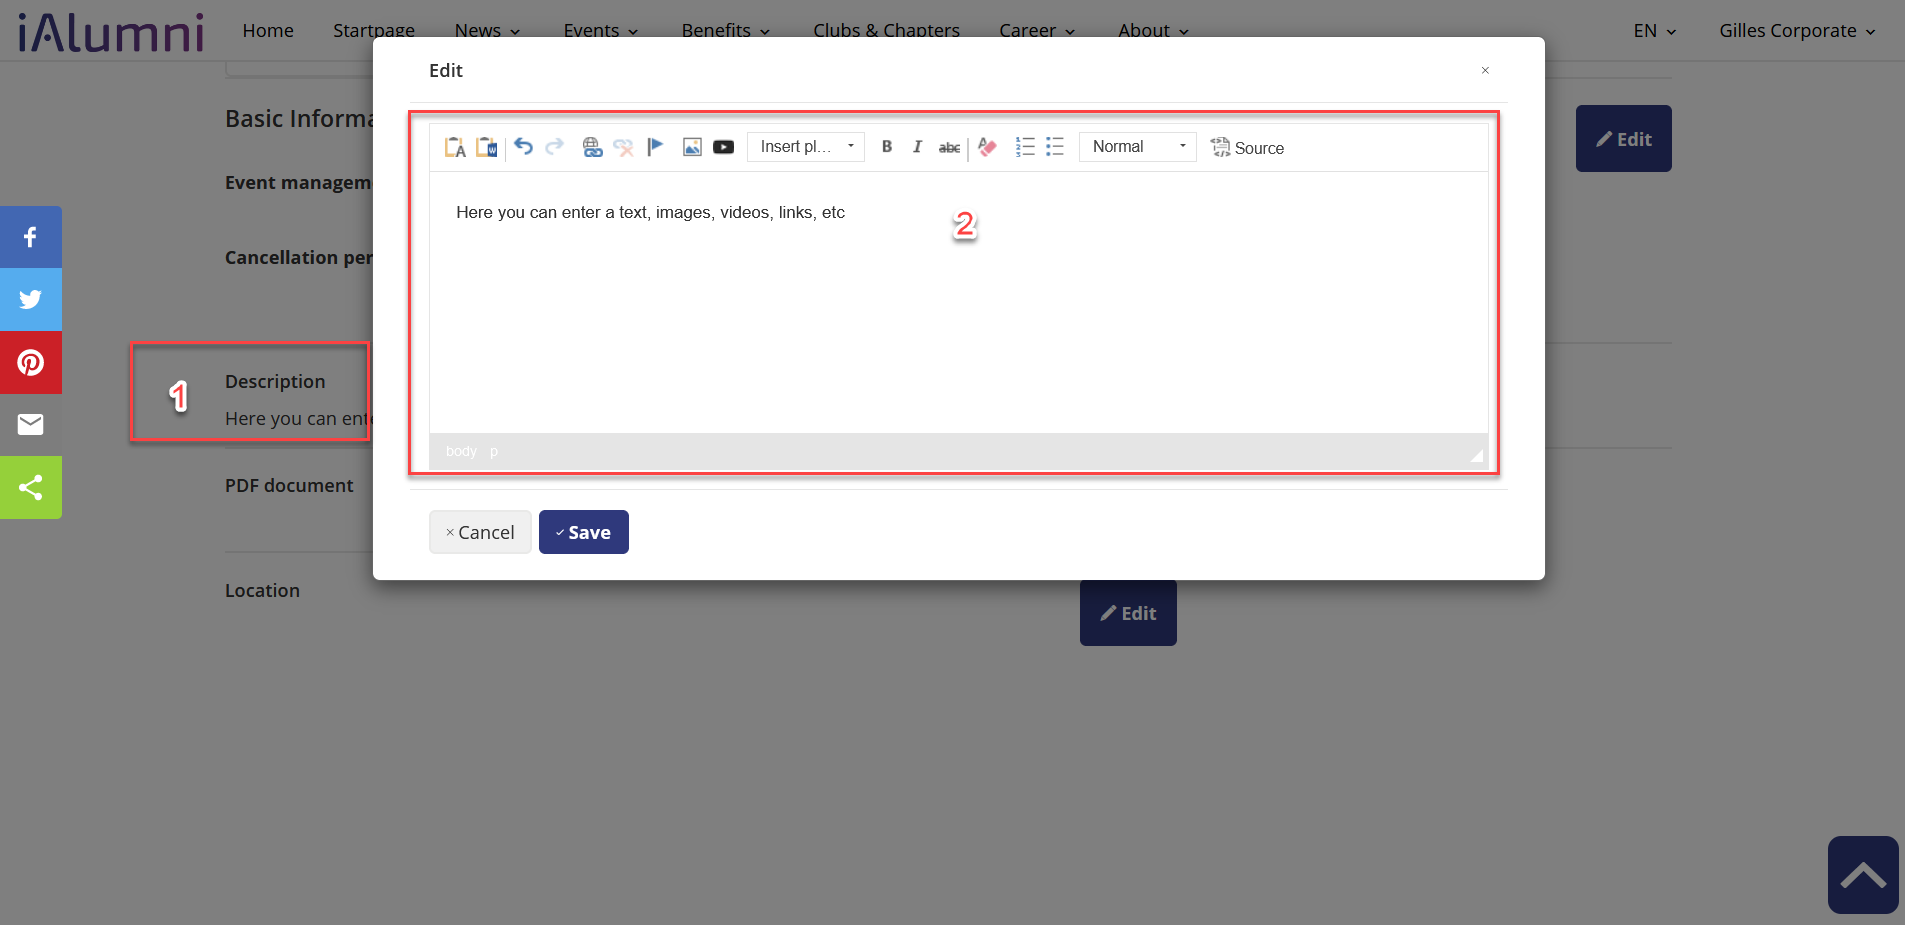
3. Description section
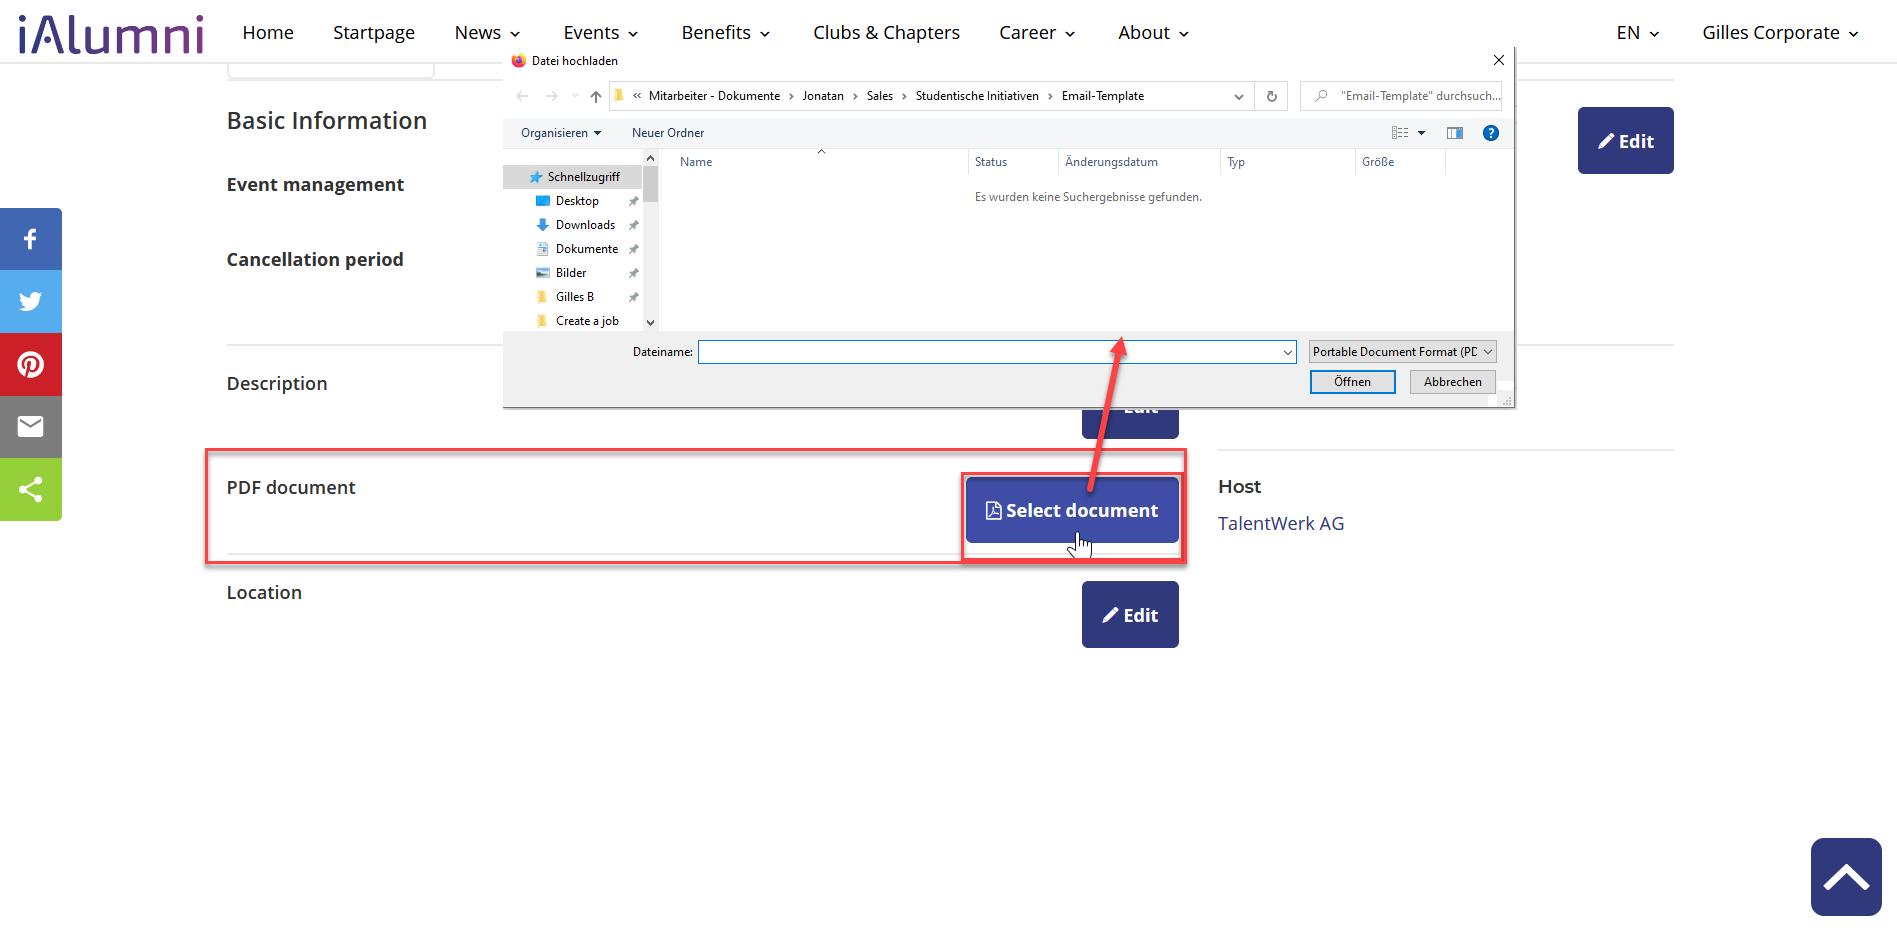
4. PDF document (optional)
If you click on the "PDF document" button, you can upload existing documents directly from your computer to the platform (uploading a PDF document is optional).
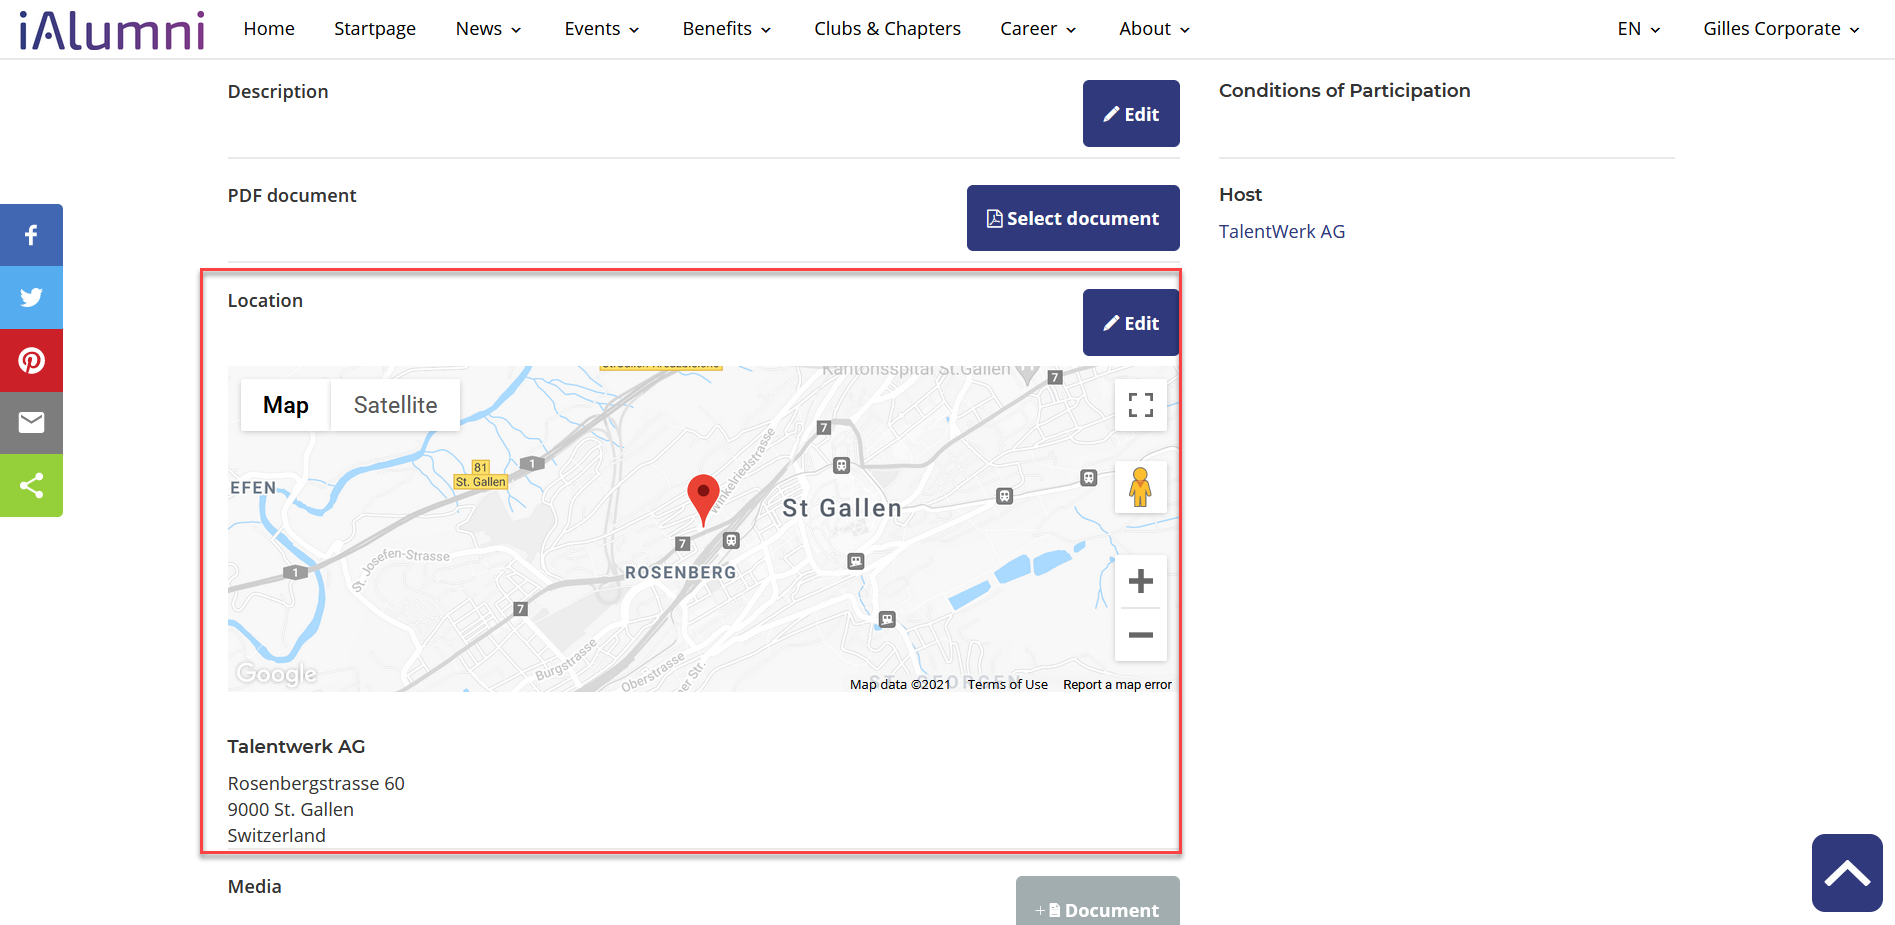
5. Location (optional)
If you enter the address under edit, the location appears on the platform
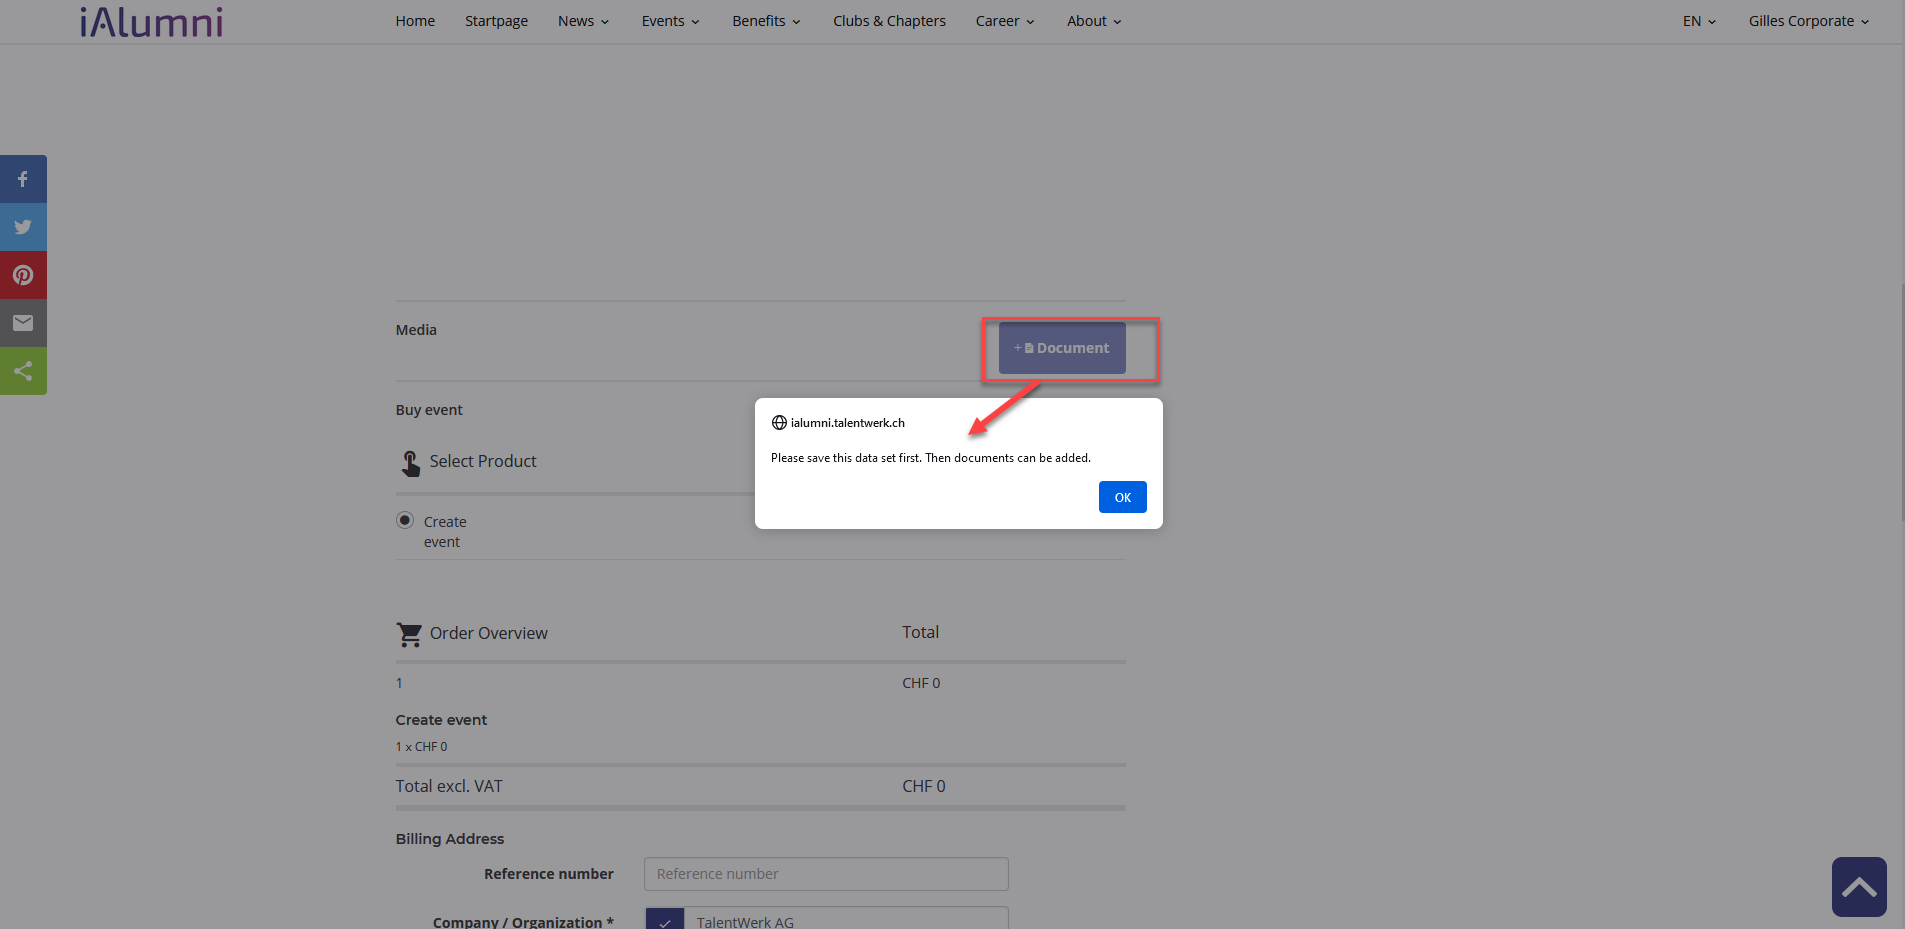
6. Media (optional)
You can add pictures or videos after the event has been activated in the "Manage my event" area.
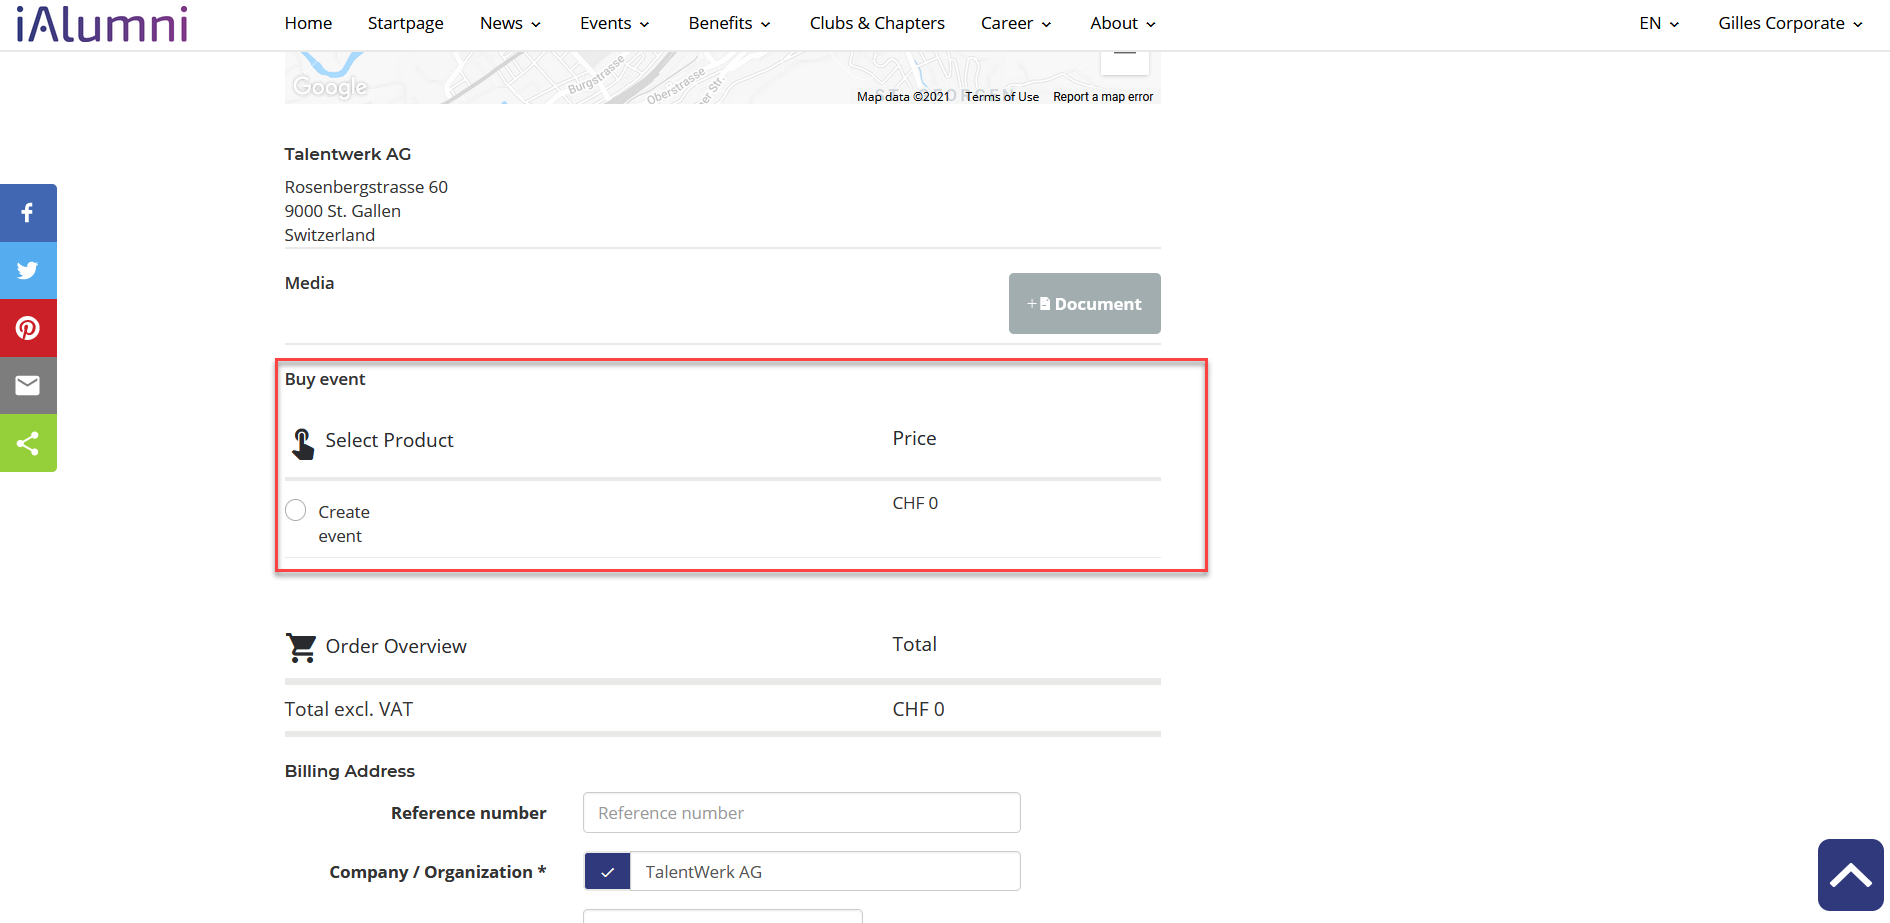
7. Buy event
Select the product. In many cases you can choose between several products. It is best to contact the person responsible for the platform to discuss the different options.
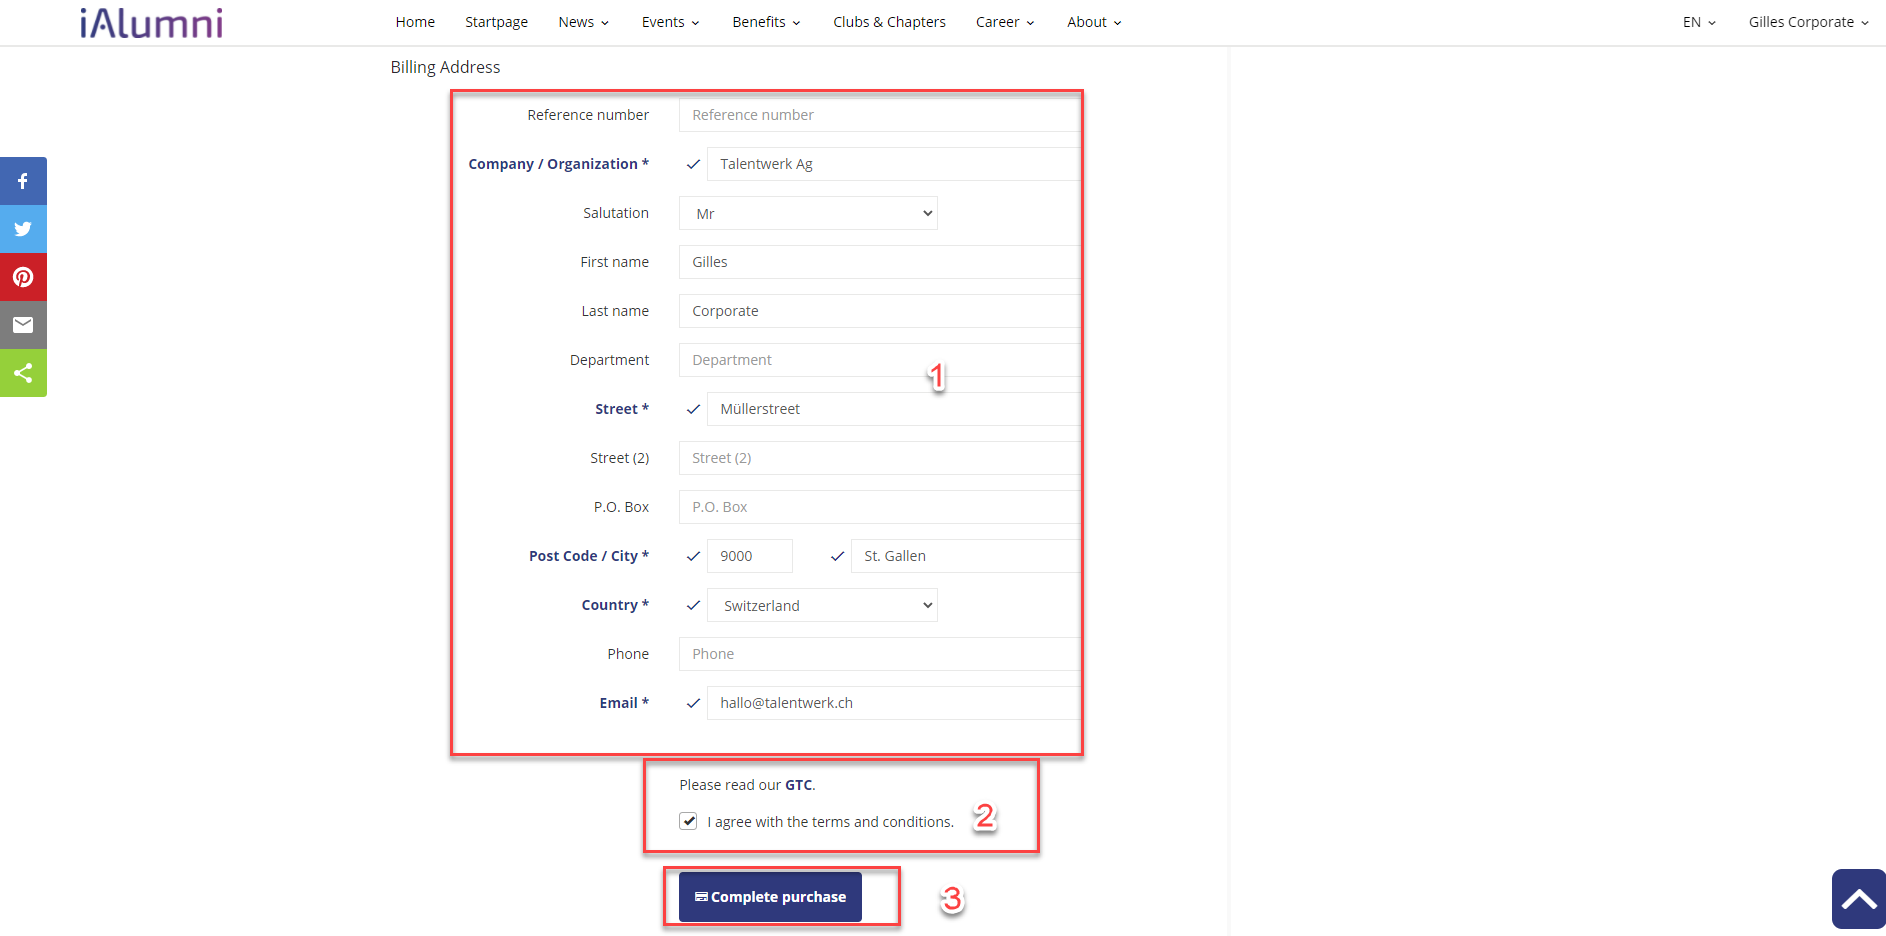
8. Billing Address and Complete purchase
|
As a company, you now only have to wait for the administrator to confirm the purchase and your advertisement will appear on the platform.
Learn how to manage your events here!
Weitere Artikel
Subslots
In this instruction we will explain how to create a new event with subslots.
Read moreContacts
Here we show you how to manage your contacts. We also show you how to export contact data.
Read moreSet Course Online
In this article you will learn how to set a course online after it has been created.
Read more