Deutsch
Member Benefits
Create and Manage Categories for Member Benefits
In this section, you will learn how to create and manage categories for Member Benefits.
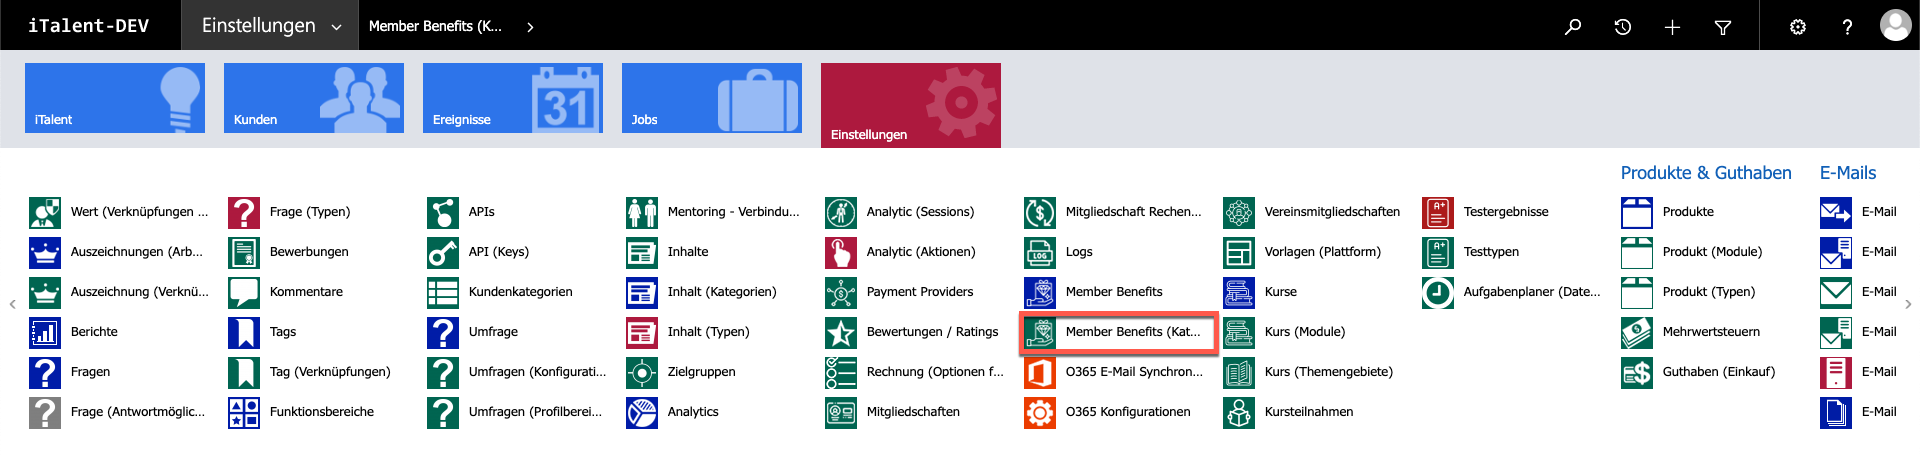
Click on the Member Benefits (Category) records.
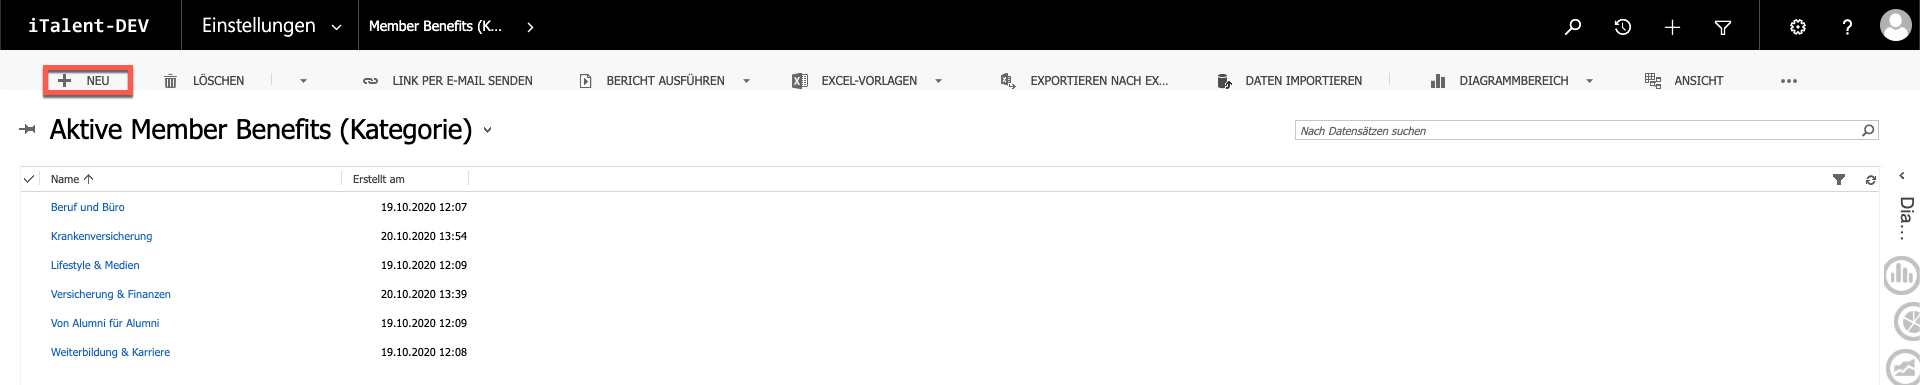
Click on "+New" to create a new category for Member Benefits.
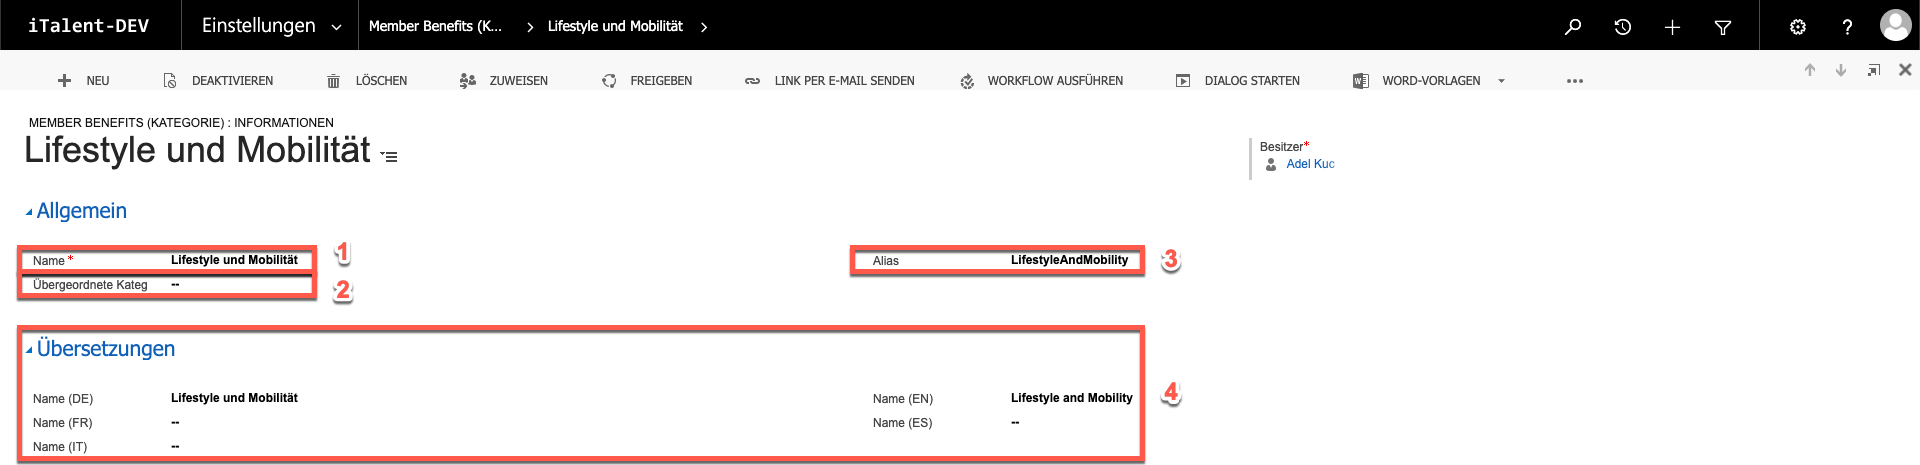
Fill in the fields marked in red.
1. category name
2. (optional) superordinate category
3. Unique alias
(Use the name of the category written together and start each new word with a capital letter)
4. translation of the category
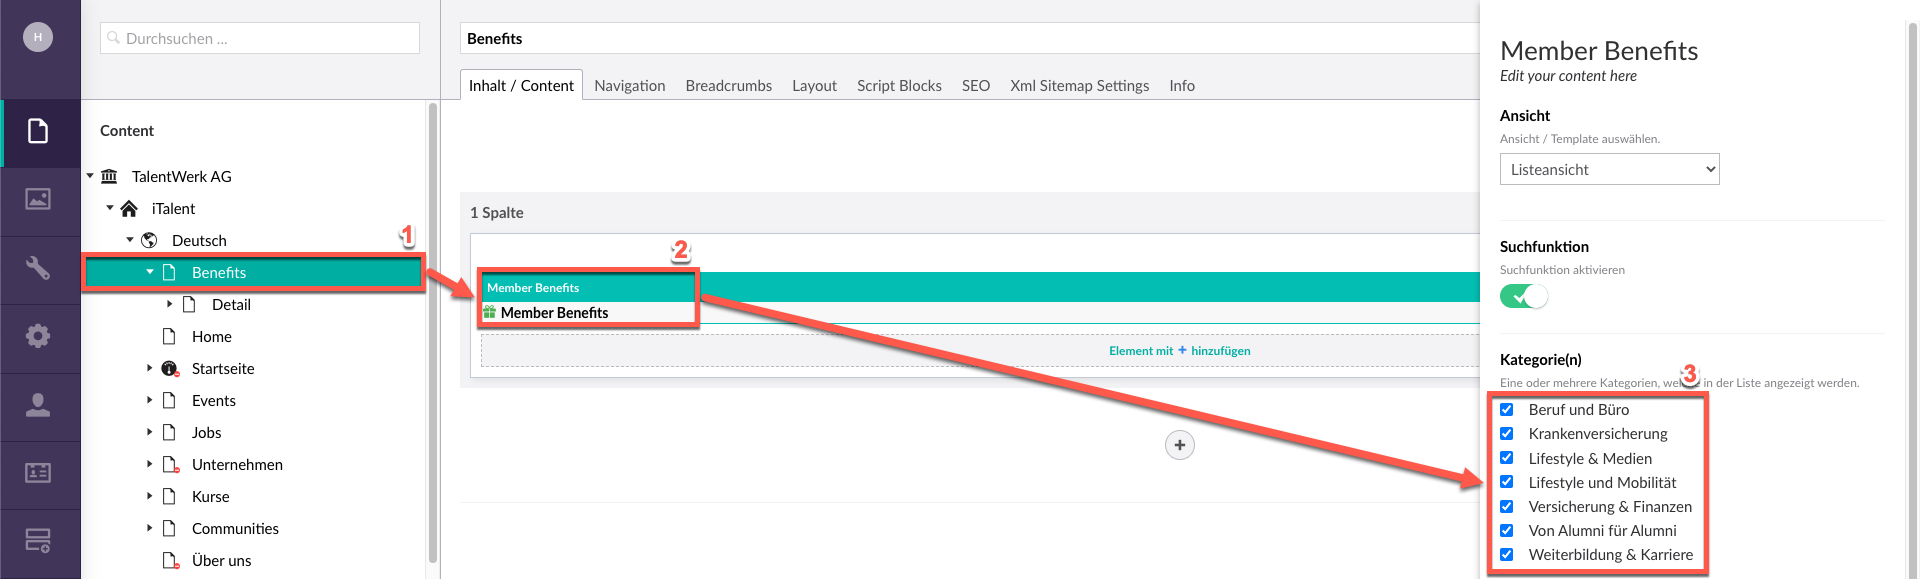
In order for the categories to be visible and functional in the frontend, they must be activated in the Umbraco CMS.
1. Navigate to the "Benefits" page.
2. Click on "Member Benefits".
3. Here you can choose which categories are displayed in the front-end.